How to use Inboxen to create unlimited temporary emails
Maybe you own several email addresses, when creating mail addresses is very simple, to cater to each individual needs. However, users will face problems such as advertising, spam, stealing personal information or you create multiple email addresses leading to the forgotten password. In this situation, it is necessary to use temporary email and virtual email services.
The use of these temporary emails will limit a lot of things, helping us to protect the main email address from spam and continuous advertising. Previously, Network Administrator had introduced you to 5 virtual email creation services. And you will get more inboxen temporary email creation service, without limiting the number of emails in the article below. Users can still receive, view, download attachments or content.
- 5 applications and extension Gmail you should try today
- 2-layer security for Gmail how?
- How to recover Gmail account?
1. How to create virtual email on Inboxen
Step 1:
You access the link below to go to the homepage of Inboxen, then click Join button to use the service.
- https://inboxen.org/

Next click on I accept! Let me join! to register.

Step 2:
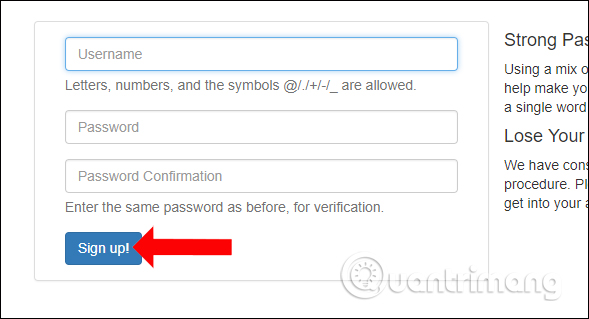
Switch to the new interface, enter your username and password at least 12 characters and click Sign up! .
Step 3:
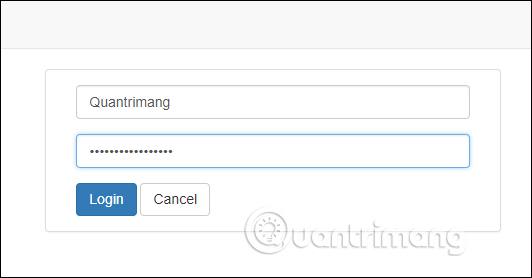
Log in to the account you just created on Inboxen to use the email address creation service.
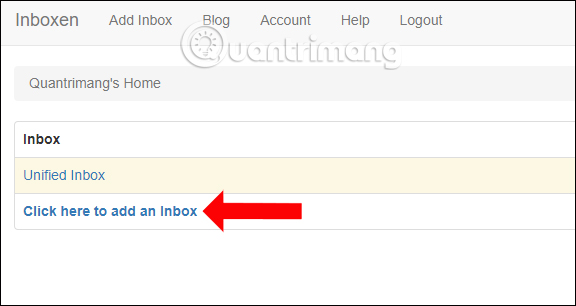
In the next interface click on Click here to add an inbox or Add inbox to create an email address.
Step 4:
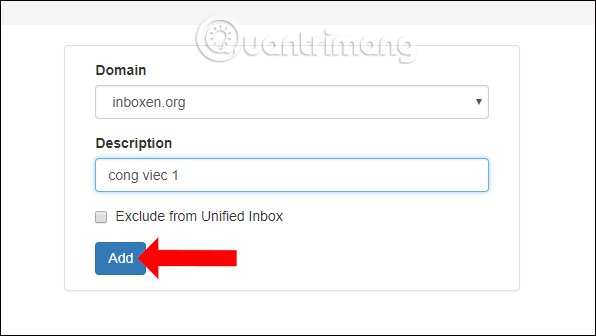
Next we choose the email domain name inboxen.co.uk or inboxen.org that the Inboxen service provides in the Domain. Next click on the description for the email in Description and click Add to create.
The option Exclude from Unified Inbox so that every email sent to the chosen email address domain does not appear in the Unified Inbox summary mailbox.
The service result will automatically generate an email address with the selected domain name and random name, which cannot be changed. Now you just need to copy this email address to use, receive email from others.
To create a new email address click on the Add Inbox button above the interface.
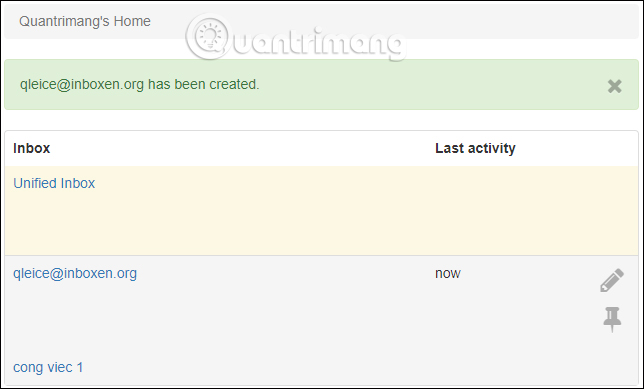
2. How to use virtual email on Inboxen
Step 1:
After creating a temporary email address, users can use that email to send or receive email. If there is an email sent to you, just click on the email address to view the content.
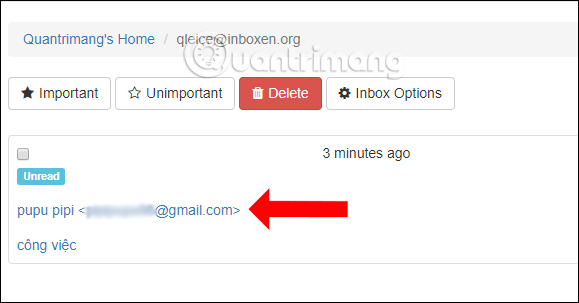
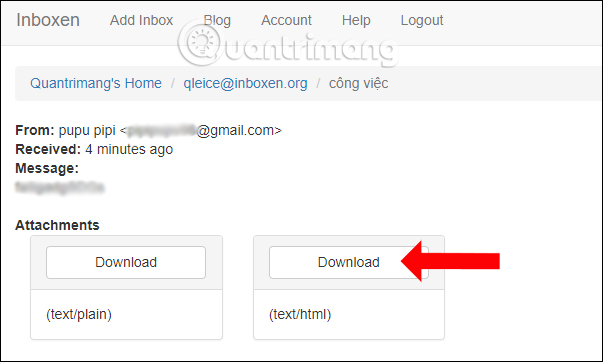
In the content of the message, the service will provide users with many options such as saving the text in the message into txt, html file, downloading the attachment when clicking the Download button .
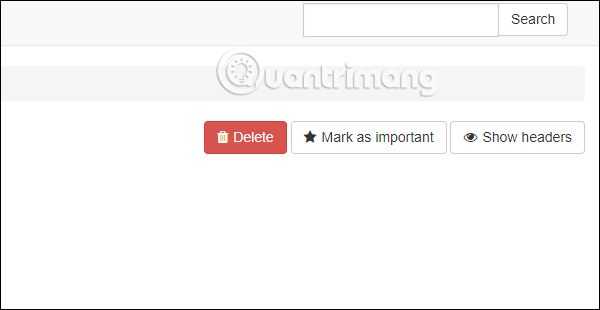
Or on the far right, the user can see the recipient's IP address by clicking Show headers, deleting the message (Delete), and marking important messages (Mark as important).
Step 2:
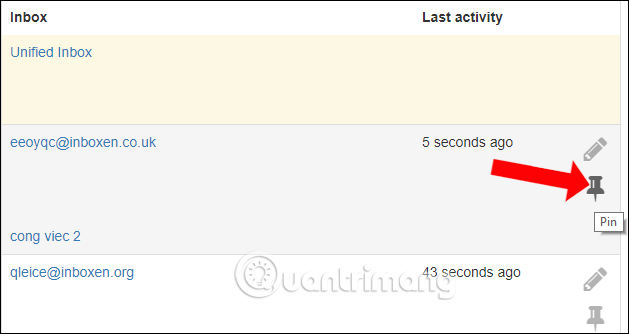
When creating multiple emails on Inboxen, we can divide frequently used addresses to the top of the list. At the usual email address, click the pin icon .
Step 3:
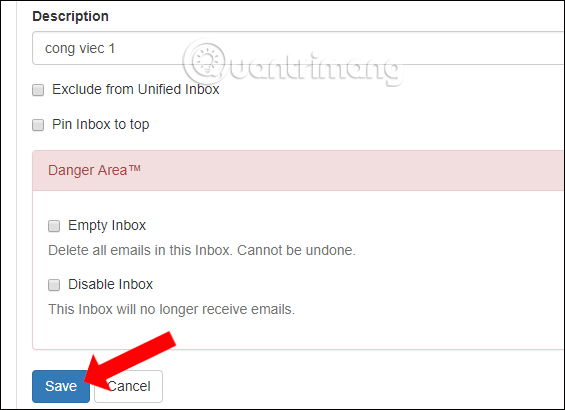
Next when clicking on the pen icon , users will have options including Empty inbox to delete all messages at this email, Disable inbox to temporarily disable receiving mail. Click Save below if there is a new change.
Step 4:
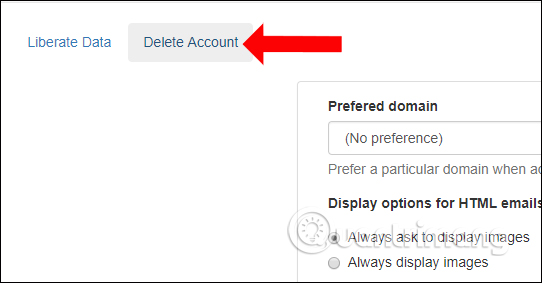
If you no longer want to use this temporary email address, you will need to delete the created Inboxen account. Click Account and select Delete account to delete. You can then re-create a new account because the Inboxen service does not require you to enter any information.
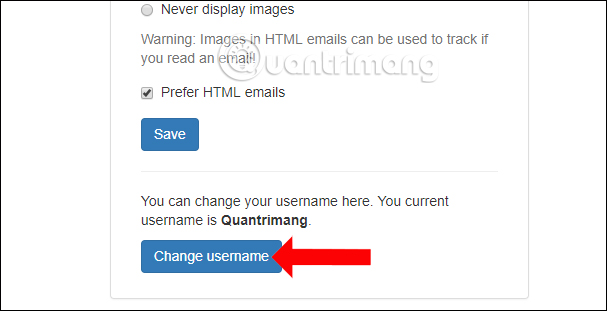
Also in this Account interface, we can click Change username to change the name for the account if desired.
A service to create virtual email, temporary email with a very simple way to do. Inboxen will not need you to enter any personal information to create an account. The number of temporary emails created on the Inboxen is not limited, so we can comfortably use it for many different purposes, without worrying about disclosing personal information.
See more:
- Instructions to create Group, Email group in Gmail
- Instructions for deleting, changing, adding phone numbers in Gmail
- How to transfer, backup phone contacts from iPhone to Gmail
I wish you all success!