Table of Contents
This guide explains how to use Firefox Relay to Create Virtual Email, with clear steps, practical tips, and important checks before you begin.
How to create virtual email on Firefox Relay
Step 1:
First of all, you need to create a Firefox account using the link below. If there is already, then login to your account.
After logging into your Firefox account, visit the link of the Firefox Relay service below.
https://relay. firefox. com/
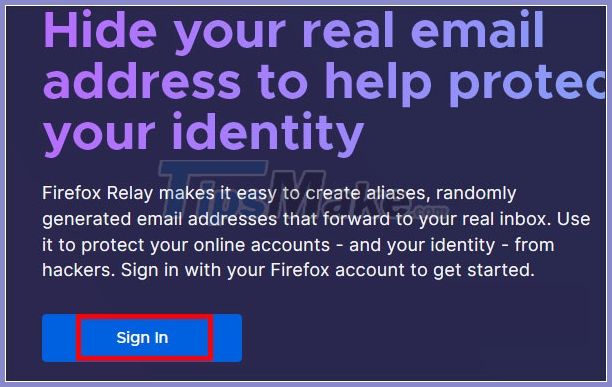
At the interface you click the Sign in button to immediately use your Firefox account to log in.
Step 2:
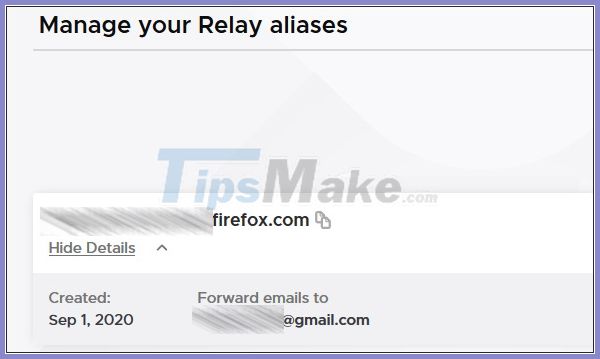
Now display the interface to create and manage virtual email. We click Generate New Alias to have a virtual email address associated with your Firefox account email.

The generated virtual email is at the domain @. relay. firefox. com. Part name is set by Firefox Relay with alphanumeric character string. Copy the virtual email address and use it to sign up for an account.
Step 3:
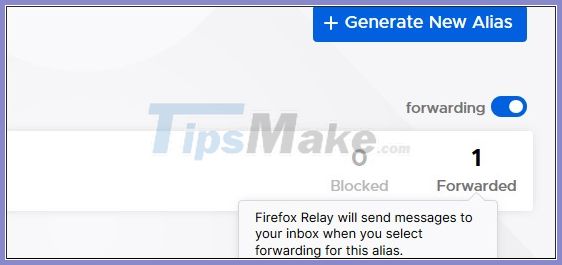
For each virtual email, if an email is sent to and forwarded to the original email, it will be displayed at Forwarded and blocked from displaying at Blocked.
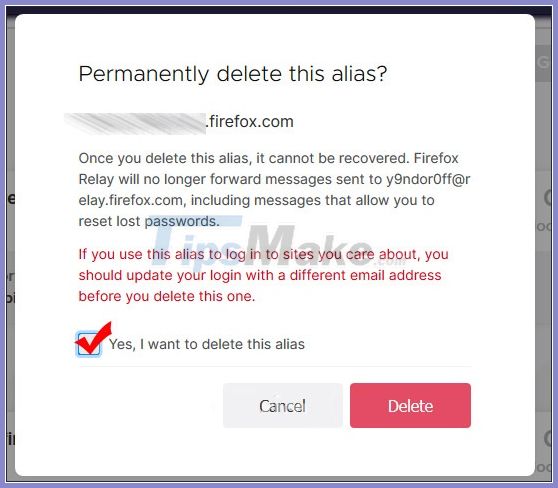
In case you want to delete the created virtual email , click Show Details> Delete and then check Yes, I want to delete this alias, click Delete to delete.
See more:
- How to use AltMails to create unlimited virtual email
- How to create virtual email using Temp Mail on your phone
FAQ
What should I know about Firefox Relay to Create Virtual Email?
Focus on the key features, requirements, limitations, and practical use cases explained in this guide.
How do I get the best results with Firefox Relay to Create Virtual Email?
Follow the recommended steps, use current software or information, confirm compatibility, and review settings before major changes.
Are there any risks or limitations?
Potential limitations depend on compatibility, data quality, cost, privacy, support, and how the product or method is used.
Related Articles
 Here's How to Create a Virtual Email Address Quickly7 minutes read
 How to Create Virtual Email on Idbloc5 minutes read
 How to Create a Virtual Email Using Temp Mail on Your Phone6 minutes read
 How to Use Altmails to Create Unlimited Virtual Email4 minutes read
 How to Create Unlimited Virtual Emails with Lastmx3 minutes read
 What Is Private Relay on iOS 15? Is It Better Than a VPN?7 minutes read
Reader Comments 0
Sign in with email or Google to join the discussion.