Table of Contents
Remove SIM iPhone 4, 4S, 5, 6 and 6 Plus
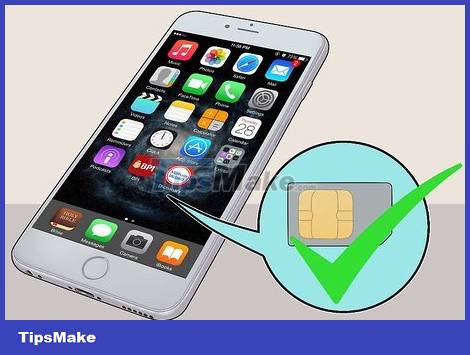
This practical guide explains how to remove the iphone sim card correctly with clear steps and useful context. It also covers common requirements, potential problems, and the details that can help you get better results.

Locate the SIM slot. The SIM slot is located at the top right of the phone.
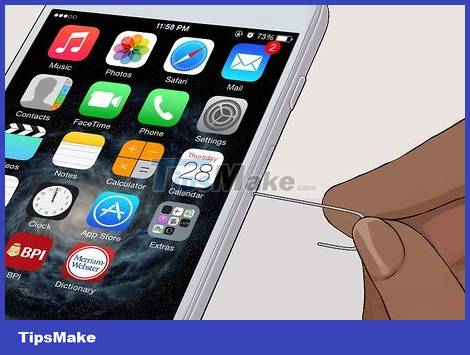
Use a straightened paper clip or SIM removal tool. Insert one end of the paper clip into the hole right next to the SIM slot. Gently poke to remove the tray. Remove the SIM card from the tray. Don't forget to put the tray back in place if you're going to have your phone serviced.
Remove the SIM of the First iPhone and iPhone 3G / WILL
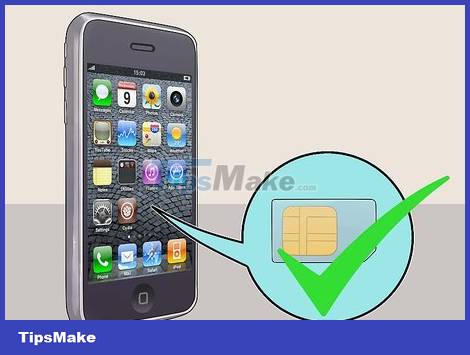
Use the correct SIM card. iPhone and iPhone 3G/S use standard sized SIM cards.
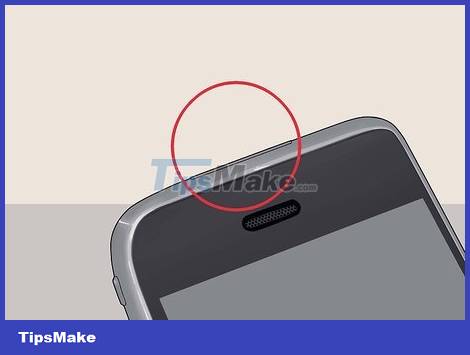
Locate the SIM slot. The original iPhone and iPhone 3G/S had a SIM slot located at the top of the phone, right next to the power button.
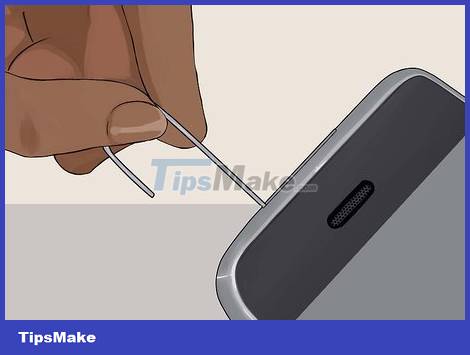
Use a straightened paper clip or SIM removal tool. Poke one end of the paper clip into the hole right next to the SIM slot. Remove the SIM card from the tray. Make sure to put the tray back in place if you intend to service the phone.
Remove SIM iPad 2, 3, 4 and Mini
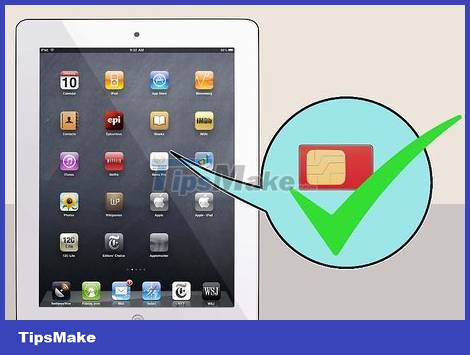
Use the correct SIM card. Only iPads that support both cellular and Wi-Fi networks have a SIM card. The standard-sized iPad uses a Micro SIM card, while the iPad Mini uses a Nano SIM card.
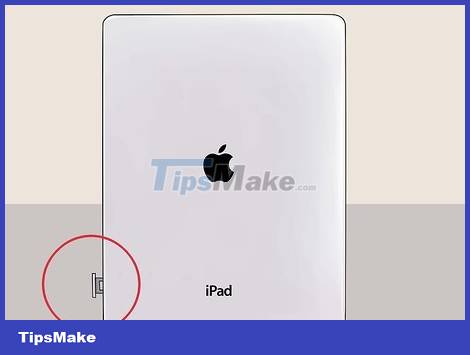
Locate the SIM slot. iPad 2/3/4 and Mini have the SIM slot located at the bottom left. The SIM slot is usually hidden inside. You can turn the back of the iPad towards you and find the SIM slot easily.
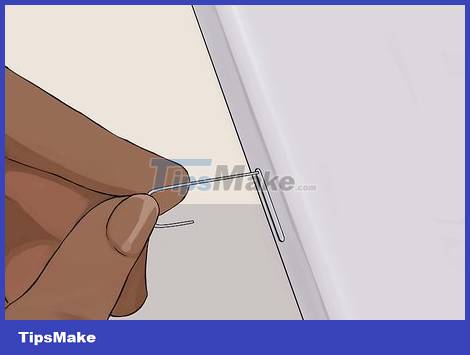
Use a straightening paper clip or SIM removal tool. Poke one end of the paper clip into the hole right next to the SIM slot at a 45° angle. Remove the SIM card from the tray. Be sure to put the tray back in place if you are in need of a phone warranty.
Remove the Original iPad SIM
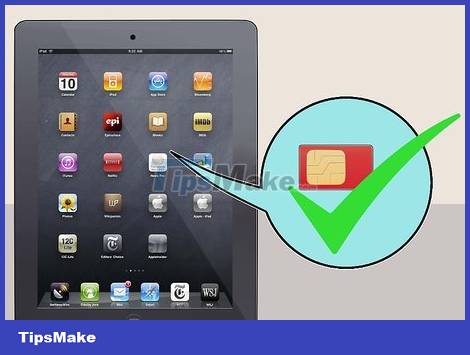
Use the correct SIM card. Only iPads that support both Wi-Fi and cellular networks have a SIM card. The first iPad used a Micro SIM card.

Locate the SIM slot. The original iPad's SIM slot is on the bottom left.
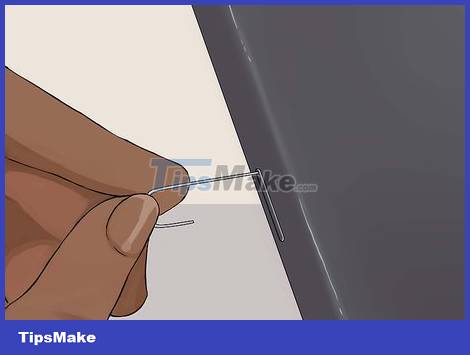
Use a straightening paperclip or SIM removal tool. Poke one end of the paper clip into the hole right next to the SIM slot. Remove the SIM card from the tray. Make sure to put the tray back in place if you are going to service your phone.
Conclusion
Understanding iPhone SIM Card makes it easier to compare options, avoid common mistakes, and apply the information in this guide more effectively. Review the relevant requirements before making changes or choosing a solution.
FAQ
How do you remove the iphone sim card correctly?
Follow the steps in this guide in order, confirm the required settings or tools, and verify the result before making additional changes.
Is it safe to remove the iphone sim card correctly?
It is generally safe when you follow the recommended instructions, use trusted tools, and avoid changing settings you do not understand.
What should you do if the process does not work?
Recheck the requirements, restart the device or application when appropriate, and review each step for missed settings or compatibility issues.
Related Articles
 How to Remove SIM on iPhone, iPad6 minutes read
 How to Insert SIM Card into iPhone: Clear Instructions7 minutes read
 Instructions to Thoroughly Remove the VGA Card Driver on11 minutes read
 Guide to Play 3G with SIM Vietnamobile SIM on iPhone5 minutes read
 How to Remove Laptop Acer Aspire ES1-532G5 minutes read
 How to Remove Air Bubbles Under Screen Protector: Step-by-Step Guide7 minutes read
Reader Comments 0
Sign in with email or Google to join the discussion.