How to Make Battery Cables
Many people jump to blaming their battery when their car, boat, or another machine won't start. But a quick checking of the entire system for corroded or cracked cables, bad connections, or rusty parts, can often reveal issues with the...
Table of Contents
Part 1 of 4:
Grabbing Supplies
-
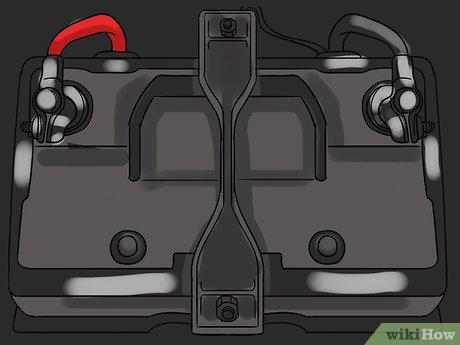 Lift the hood and check the battery, as well as all connected lines and cables, for rust, corrosion or bad connections. Before making new cables, check which ones actually need to be replaced. Remove any snapped, chipping, weak, crusty, or otherwise bad-looking cables so you know what needs to be replaced.
 -
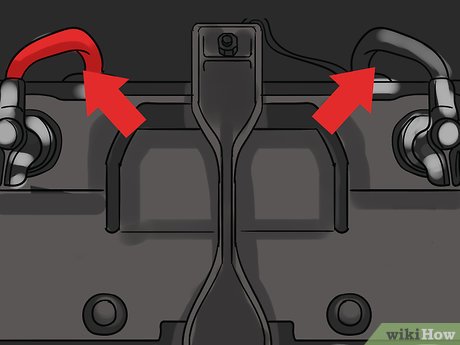 Ensure you have the same gauges of terminals, terminal lugs, and cables. On the cable should be a number with a slash in it, like "2 / 0," followed by the letters "AWG." The terminals should have this slashed number too. This number is the gauge size. The terminal may not, however, say "AWG." Make sure you purchase both a positive and negative terminal.
- If your cables don't match the battery, you can also get cable clamp adjusters, which tighten around any cable to ensure it fits well.
- Non-adjustable terminals or "universal" terminals should only be used as a temporary fix.[1]
-
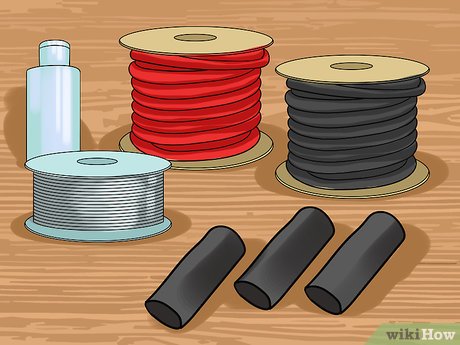
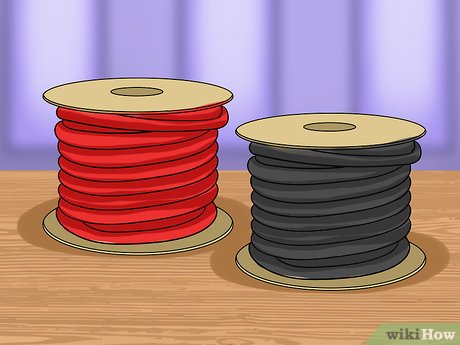 Pick up the appropriate cable for your machine, in the gauge size determined above. Different cables need to be used for different machinery. While there are a lot of options out there, the general strategy is easy to remember:
- Dry Machines (Cars, tractors, etc.) need to use untreated copper wire.
- Wet machines (boats, jet skis, etc.) need to use electroplated ("tinned") strands to prevent rusting.[2]
-
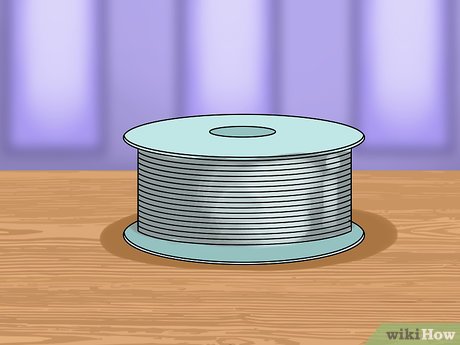 Purchase a non-acidic or active flux core roll of solder wire. Rosin core solder wire is the safest to use on your battery connections. Acidic connections or active core wires can cause issues and corrode the battery when exposed to electricity.
 -
 Grab some rosin flux paste of fluid for the connections, again ignoring acid or active flux pastes. Like the solder wire, this paste is too corrosive to be useful with copper or tinned wired.[3]
- Some companies actually sell terminals pre-loaded with flux and solder.
-
 Alternatively, use the bad cables to purchase replacement parts from your local auto shop or hardware store. Bring in the bad battery cables to ensure you get the right replacements for your car or boat if you don't know what to get. If in doubt, talk to a store clerk for help replacing parts. Bring in your car's make, model, and year to help them understand your specific motor. You'll need:
- Two cable, brass or tinned
- Two terminal lugnuts
- Two terminals
- Solder
- Rosin paste or fluid
- Shrinkable sheathing, cut in four 6" parts.
Part 2 of 4:
Preparing the Cables
-
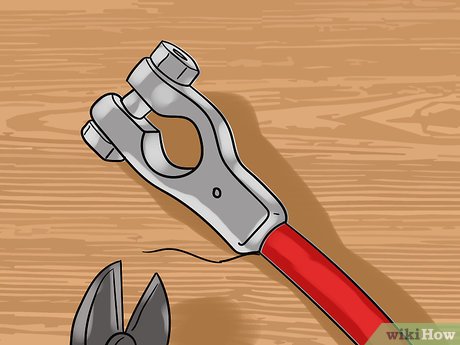
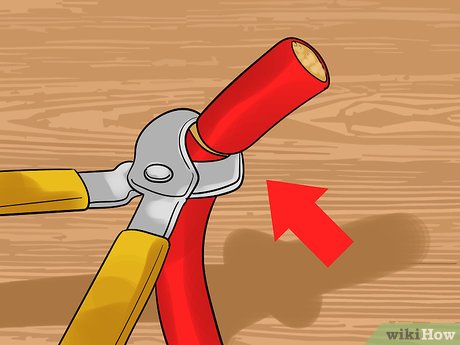 Use a thick pair of cable cutters to smoothly clip the cables. Don't try saw at the cable with a knife of hacksaw, as this makes for jagged, uneven ends of cable that are hard to work with. Use a heavy-duty set of cutters to get right through the cable in one short, smooth motion.[4]
 -
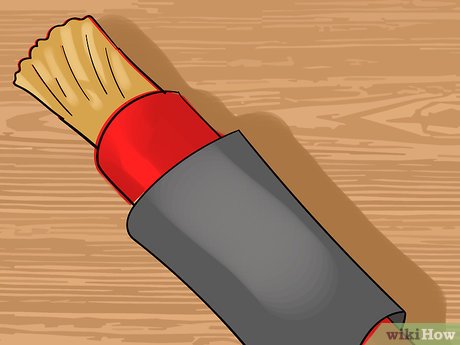
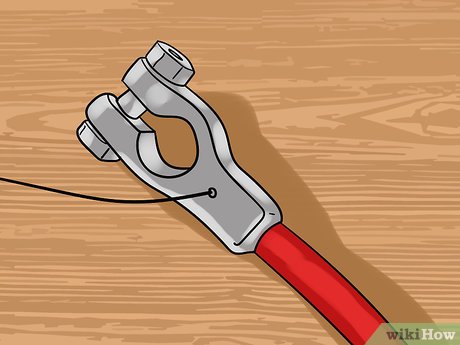
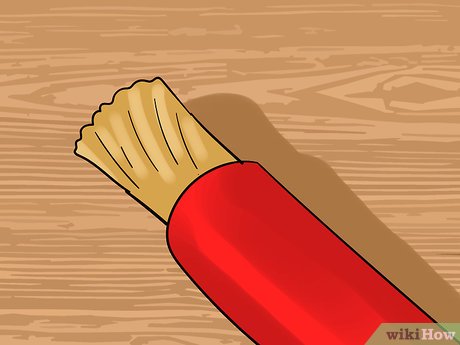 Cut away the final 1" or so of rubber housing to expose the cable. Cut lightly here, trying your best to only cut the rubber housing and not the strands of cable underneath. You can use your terminal lugs (the piece that attached to the battery) to estimate how much you should cut away. Simply line it up with the cable and note how long the hole is, then cut away enough rubber so that the actual metal cable fits in snugly.
- Don't worry if you cut too much away -- you will be re-sheathing the cables later.
-
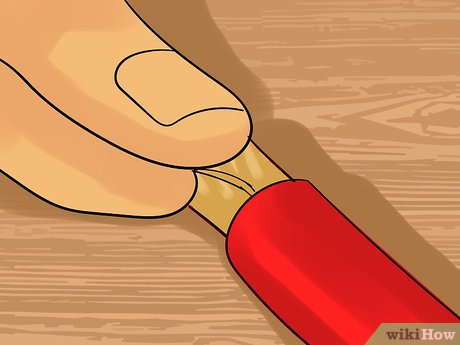 Using your fingers, lightly pull off any loose or unwound strands from the cables before using. Removing these stray bits will slow down corrosion and greatly increase the life of your cable.[5]
 -
 Add two pieces of 4-5" shrink tubing to each cable, shuffling it out of the way until later. It is harder to get this sheathing on after the terminals are attached, so slide it onto the wire now and roll it out of the way, towards the center of the cable. Each one of these sheathings will cover the exposed metal at the ends of your cable when done.[6]
Part 3 of 4:
Attaching the Terminal Lugs
-
 Liberally apply flux paste to the inside of the terminals and the exposed cables. This paste is heated up and creates a strong electrical connections between the two bits. Apply the paste liberally with a cotton swab.
 -
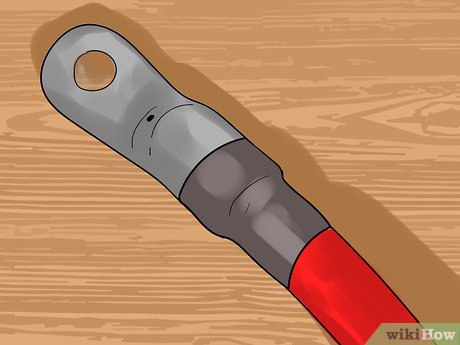
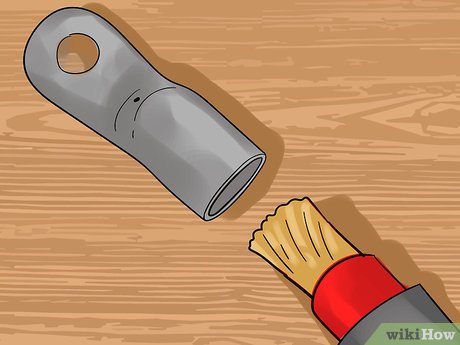 Slide the terminal lug onto the expose cable end, pushing it as far on as you can. Some of the flux will squeeze out, but this is okay. Get the lug snugly onto the exposed cable for now.[7]
 -
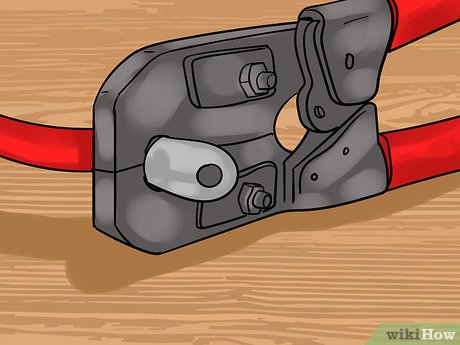 Crimp the terminal lug onto the cable using a flat nail punch or a crimper. If you have a crimping machine, now is the time to use it. Otherwise, get a flat nail punch or angle iron, and a hammer. Place the punch in the center of the nut, then hammer hard into it to crimp the terminal into the cabling. Flip the cable and repeat on the other side.
 -
 Using a flame or other high-heat source (such as from a butane torch), heat the lug until the rosin flux is boiling. You want to get the entire piece nice and hot. You can stand a butane torch up, turn it on, and rotate the cable in front of the flame so the whole thing is evenly heated. Heat until the rosin starts to bubble out of the terminal lug.
- This preheats everything to make soldering easier in the next step.
-
 Still applying heat, solder around the connection between cable and terminal lug. Use your non-acidic, non-reactive solder wire to solder the point where the terminal lug ends and the exposed cable begins. You can do this right after you have the rosin boiling. When done, let it cool for 1-2 minutes before proceeding.
- Make sure you have enough heat to liquefy the solder.
-
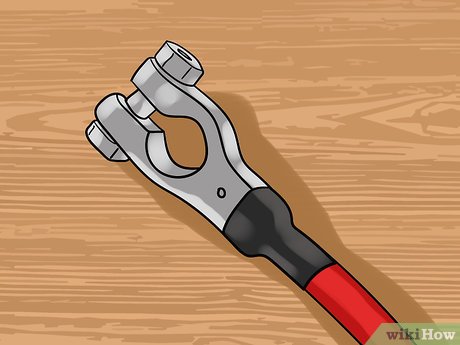
 Slide the shrink tubing back up to cover the expose metal, then use the heat source to shrink it around the connection. All that needs to be exposed is the flat terminal lug, which connects to the battery. The rest of the connection should be covered and snugly fit with the sheathing to prevent corrosion.
Part 4 of 4:
Attaching the Terminals
-
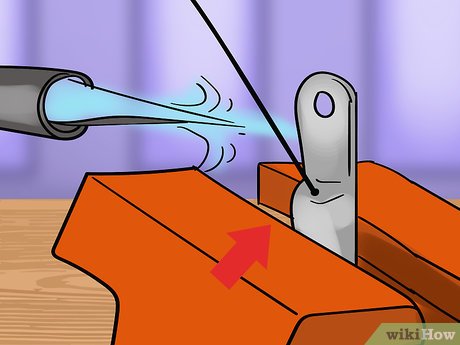
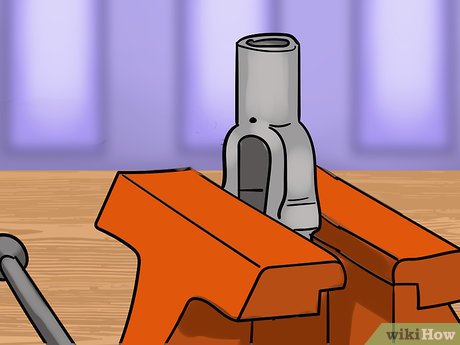 Clamp the terminals in a vice, open side up. The entire terminal is going to get very hot, and you can't attach it and crimp it down ahead of time like the terminal lugs. Clamp it down so it won't move as you insert the hot cable and solder.
 -
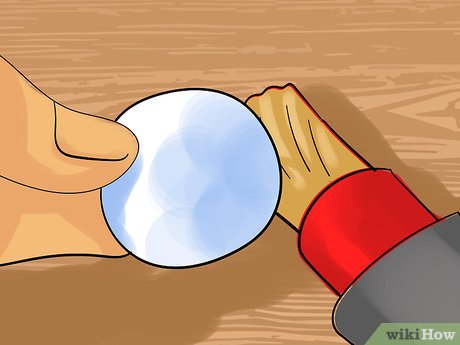 Liberally swab the inside of the terminal and the outside of the cable with rosin flux. The "ingredients" needed to attach the terminals are the exact same as those used for the lugs, though the process is a bit different. Use a cotton swab to coat all parts of the terminal and wire that will connect.
- If you bought pre-soldered and pre-rosined terminals, you should skip this step.
-
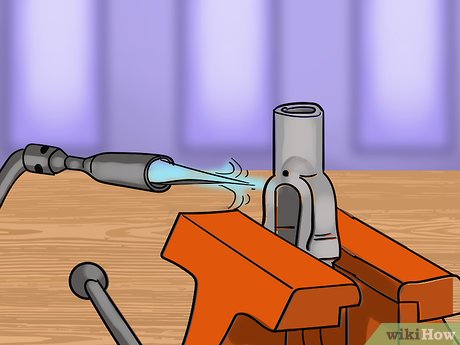 Using your torch, heat the terminal so that the rosin flux is boiling. Make sure you do this in a well-ventilated area. You want big, quick bubbles forming to know you have it boiling.[8]
 -
 Preheat the end of the cable for 12-15 seconds, then push it into the terminal. If both the cable and the terminal are hot, the connection is going to be much faster and more secure.
 -
 Solder the connection between terminal and wire. Just like the terminal lug, solder the edge of the terminal to the expose wire beneath it. Even if you have pre-soldered connections, this isn't a terrible idea for added security.
 -
 Use some wire cutters to clean up any exposed strands of wiring. If some of the strands of wire came loose when inserting the cable into the terminal, strip them off before moving on.[9]
 -
 Slide the sheathing to cover exposed metal, then heat it to shrink it on. These sheathings will greatly increase the usable life of your battery cables.[10]
Was this article helpful?
Your feedback helps us improve.
Related Articles
 How to Hook up Jumper Cables10 minutes read
 What to do with leftover Lightning cables after switching to USB-C?4 minutes read
 How to Hide a TV Cable8 minutes read
 How to check the safety cable for your iPhone2 minutes read
 How to Connect a Vizio Soundbar to a TV7 minutes read
 Laptops: Make the most of your battery life9 minutes read
Reader Comments 0
Sign in with email or Google to join the discussion.