How to install iSCSI Target on Windows Server 2019
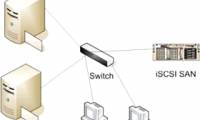
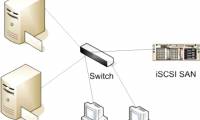
The Internet Small Computer Systems Interface (iSCSI) is a storage network resource that uses the Internet Protocol connection to link data storage facilities.
Table of Contents
It provides block-level access to storage locations through SCSI commands. iSCSI Target is the network (memory) location and it appears as the local hard drive for iSCSI Initiator. Basically, iSCSI Initiator is a client that connects to iSCSI Target.
When enabled and configured, the iSCSI Target Server turns the Windows Server computer into a network storage device.
Network accessible memory is important for testing applications before installing them on the Storage Area Network (SAN).
How to install iSCSI Target on Windows Server 2019
To perform this installation, you need unlimited administrative privileges for computers running Windows Server 2019 operating systems.
Step 1 : Run Server Manager on Windows Server 2019 operating system.
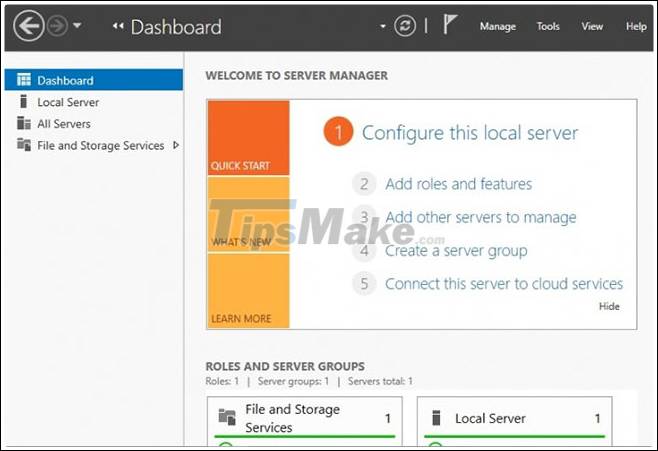
Step 2 : Select the tab Add Roles and Features .
You can choose to skip the Before you begin step by checking the small square check box at the bottom of the page.
Click Next to continue the setup wizard.

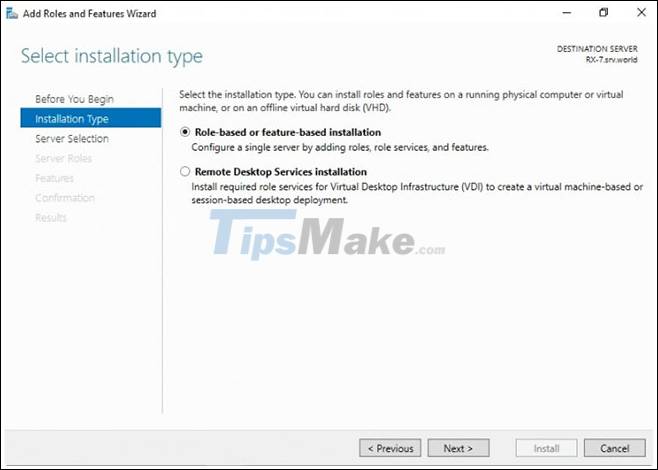
Step 3 : Determine the type of iSCSI Target installation you want
Here, click the Role-based or Feature-based installation button and click Next to continue.
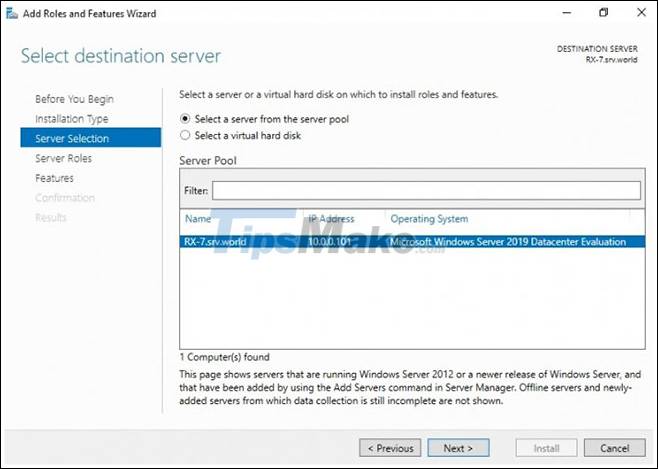
Step 4 : Select the host for the roles and services of iSCSI Target.
This can be either a local server or a virtual hard drive on the server. In the example case, the local server will be used.
Click Next to continue.
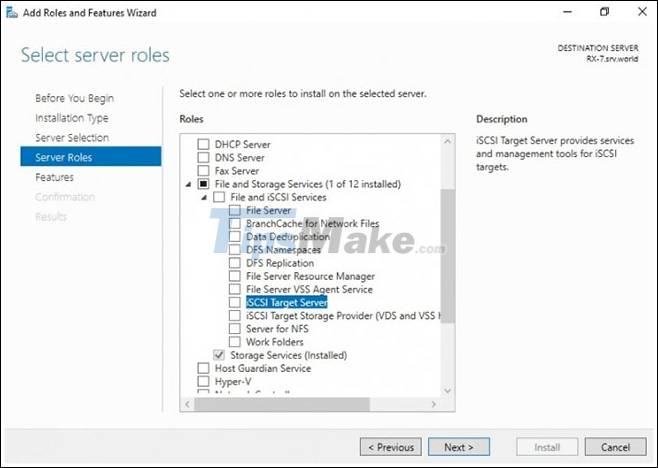
Step 5 : Select the iSCSI Server Roles.
In this step, we will define the list of server roles to install for iSCSI Target.
Click the Files and Storage Services tab to expand it.
Select iSCSI Target Server, and then check the iSCSI Target Server box.
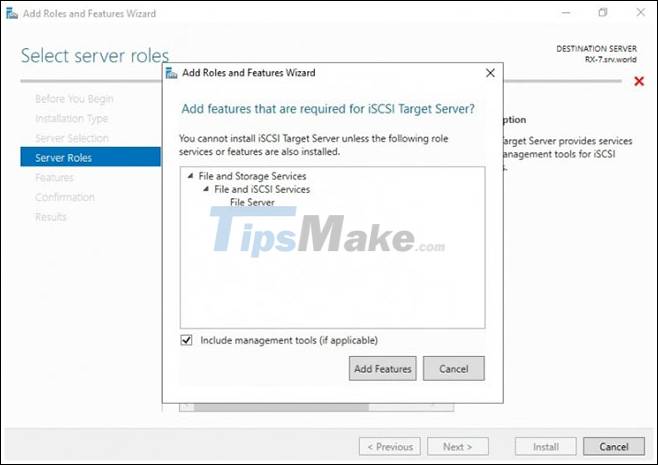
Step 6 : Add features for iSCSI Target.
When you selected iSCSI Target Server in the previous step, a pop-up window titled Add features that are required for iSCSI Target Server? will open.
Here, click the Add Features tab and click Next.
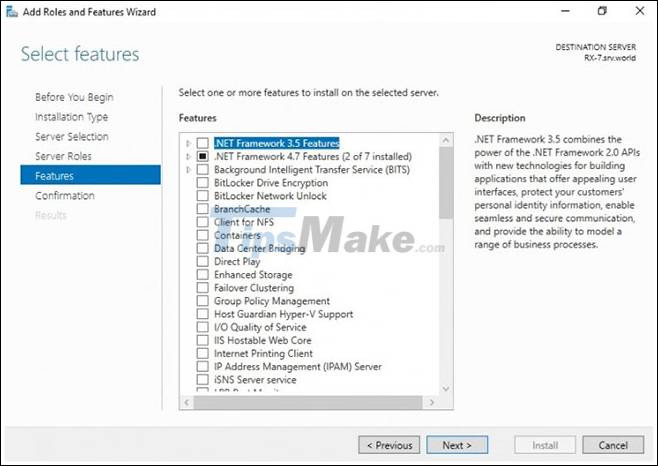
Step 7 : Select the features.
Check all additional features required to install the iSCSI Target Server and click Next.
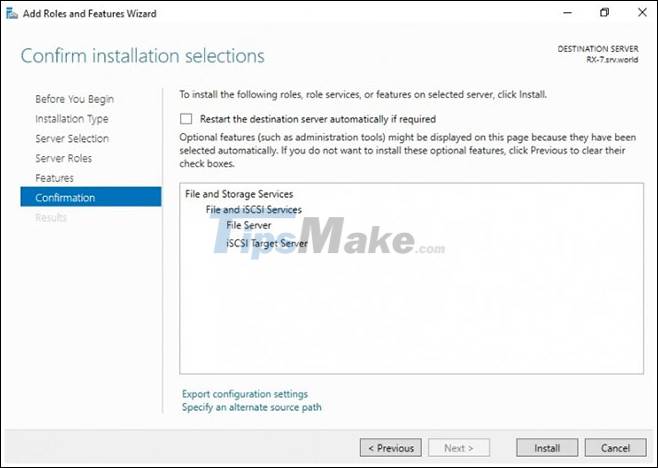
Step 8 : Confirm your installation selection.
Confirm that the iSCSI Target Server and other options you made in the steps above are listed, then select Install.
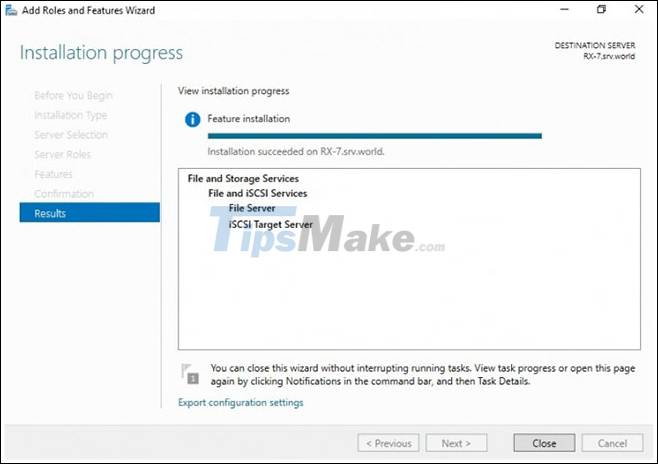
Step 9 : Complete the installation of iSCSI Target Server.
When the installation of selected roles, features and services is complete, click Close to complete the installation of the iSCSI Target Server.
Was this article helpful?
Your feedback helps us improve.
Related Articles
 What is Windows iSCSI Initiator? How to access this tool?8 minutes read
 Instructions for installing iSCSI SAN server in Hyper-V7 minutes read
 How to connect Windows Server 2008 and Windows Vista to iSCSI server (Part 1)10 minutes read
 Connect Windows 7 to the iSCSI SAN server6 minutes read
 Instructions for installing Windows Server 2016 on Windows 103 minutes read
 Instructions for installing Windows Server 2012 step by step5 minutes read
Reader Comments 0
Sign in with email or Google to join the discussion.