How to install Advanced SystemCare Pro, error repair software for Windows 10, 8, 7, Vista, XP
Installing Advanced SystemCare Pro helps fix errors and speed up Windows 10, 8, 7, Vista and Windows XP. The computer will operate faster with Advanced SystemCare Pro, especially for gamers, using Advanced SystemCare Pro helps with better internet connection and smoother game play.
Advanced SystemCare Pro helps you optimize the system, clean and organize the Registry, remove junk files, manage operating system startup, optimize Internet connection,. What the software brings makes Everyone wants to have this wonderful tool in their hands.
System requirements:
- You need to install Advanced SystemCare Pro on the computer that is using the operating system
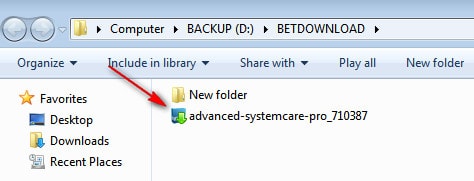
Step 1 : Open the folder containing the software installation file saved as shown below. If you don't have it, you can download the latest version of Advanced SystemCare Pro here. Double click on the software installation file to start the installation process. (Image for reference only)
Step 2 : Click Next to install

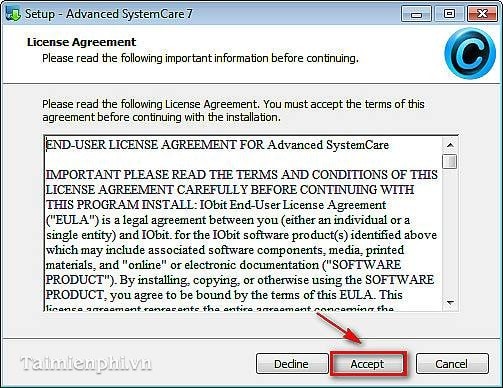
Step 3 : Click Accept to accept the terms
Step 4 : Select Accept and Install

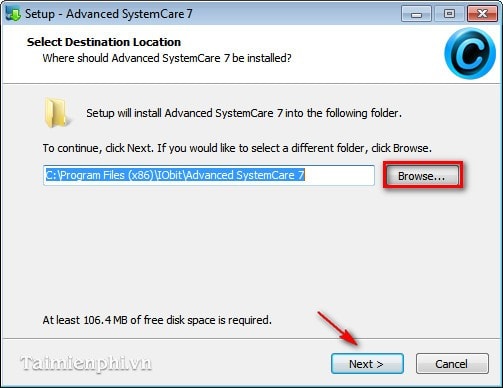
Step 5 : Change the directory containing the installation file by clicking Browse (you can leave the default path)
- Click Next to continue
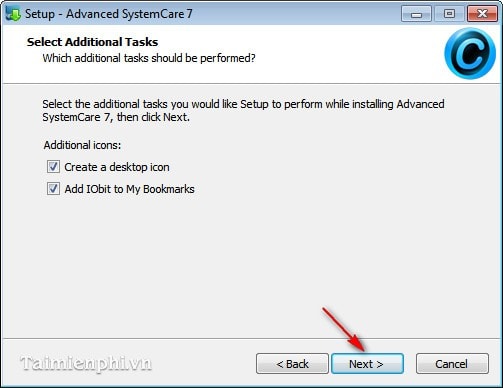
Step 6 : Click Next
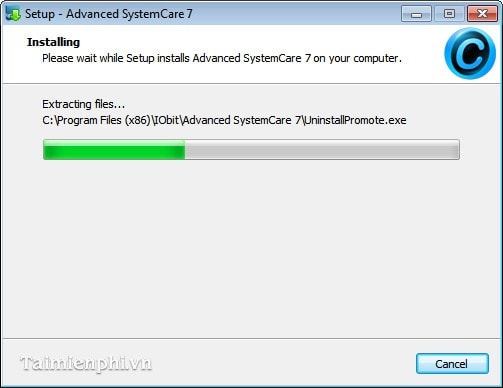
- And this is the software installation process that takes place
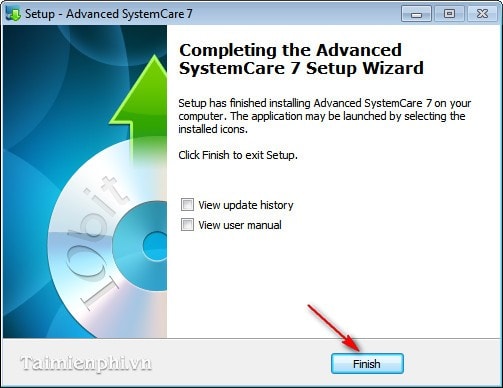
Step 7 : Finish the installation process, click Finish
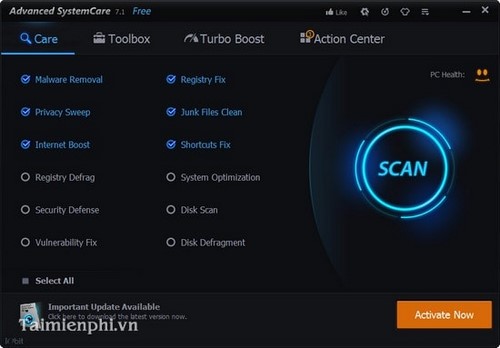
- And this is the interface of Advanced SystemCare Pro
In the framework of the above article, we have shown you how to install Advanced SystemCare Pro on your computer correctly, so you can use this software to fix Windows errors, optimize your computer system effectively, and help your computer. More stable and faster performance than before.
- 6 months copyright reader IObit Advanced SystemCare PRO 12
- How to use IObit Advanced SystemCare
- Giveaway: IObit's top 20% software discount program
- Fix Windows startup errors with Startup Repair
- (Giveaway) Free license for Advanced SystemCare 11 PRO, system optimization from November 16
- How to clean up junks and speed up PC with Advanced SystemCare
- How to use Windows Repair to fix Windows errors
- How to fix Automatic Repair error in Windows 10
- 0x80072F8F error when Activation Windows 7 and Vista, this is how to fix it
- How to fix Automatic Repair loop error on Windows 10
-
 Quickly fix WLAN AutoConfig errors on Windows 11
-
Add your Gmail account to Outlook with POP.
-
How to use Zperiod to automatically balance chemical equations.
-
How to center a table in Google Docs
-
How do I use the Learn Step by Step mode in Perplexity?
-
Instructions on connecting Gmail to n8n via Google Cloud Console
 Quickly fix WLAN AutoConfig errors on Windows 11
 Add your Gmail account to Outlook with POP.
 How to use Zperiod to automatically balance chemical equations.
 How to center a table in Google Docs
 How do I use the Learn Step by Step mode in Perplexity?
 Instructions on connecting Gmail to n8n via Google Cloud Console