How to Connect and Play PlayStation 2
Connect PlayStation 2
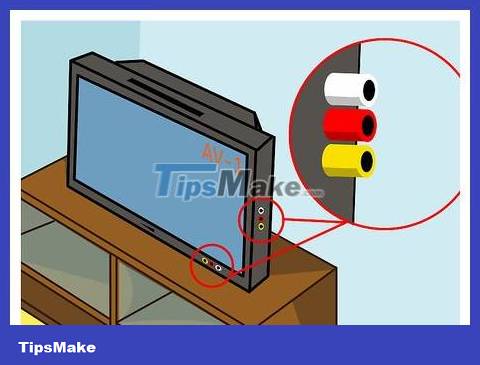
Check the input on the TV. There are different ways you can connect your PlayStation 2 to your TV or receiver, depending on which input is available. Different inputs will provide different levels of image quality. You can usually find the inputs on the back of the TV, sometimes on the side or front of the device.
Composite/Stereo AV - This is the most common way to connect your PlayStation 2 to a TV, receiver or VCR. Composite cables have three plugs: yellow (video - image), red and white (audio - sound). This cable is usually included with all PlayStation 2 models. Newer HD TVs may not support this connection.
Component/YCbCr - This is the most advanced way to connect your PlayStation 2 to a modern TV, most HD TVs have this port. Component cables also provide the best possible picture quality for your PlayStation 2. Component cables have five connectors: red, blue and green (image), red and white (audio). This cable is not included with your PlayStation 2. If you purchase a component cable, check to make sure the cable has a plug compatible with the port on your PlayStation 2.
S-Video - This port is not very common for new TVs. Although the image quality from this connection is better than that of a composite cable, it will not be as good as a component cable. S-Video plugs are usually yellow and have pins instead of standard AV plugs. The PlayStation 2 S-Video cable has an S-Video connector along with red and white audio connectors.
RF - This is the most limited way to connect the PlayStation 2 to a TV or VCR as it results in poor picture quality. The RF connects through the TV/VCR's coaxial port (the same input you would normally use with an old cable box or antenna). Avoid using this type of connection unless you have no other choice.
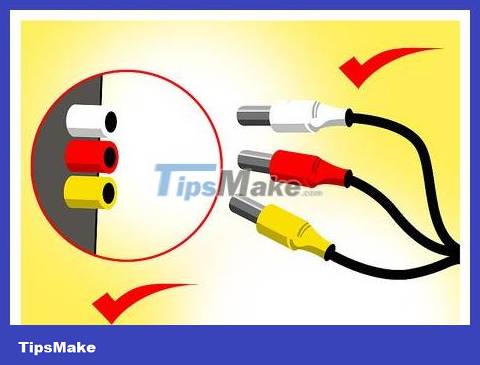
Prepare the correct cable type. If you buy a new PlayStation 2, there will be a composite cable in the box. If you need another type of cable, you can order it from Sony or online stores like Lazada. Because the PlayStation 2 uses a specific connection port, you need to carefully check the description to make sure you buy the correct cable for the PlayStation 2.
The video cable for PlayStation 2 will work with all console models of this generation.
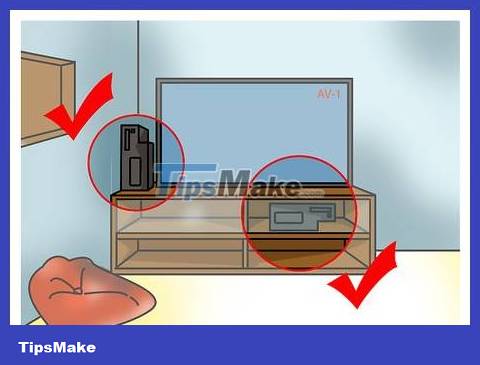
Place PlayStation 2 near a TV or receiver. The PlayStation 2 needs to be placed in a place with lots of open space so it doesn't overheat. Avoid placing the PS2 on top or below other electronic devices. If you have a stand, you can place your PlayStation 2 vertically to save space. The PS2 must be close enough to the TV and power outlet so that the video cable and power cord are not pulled too tight.
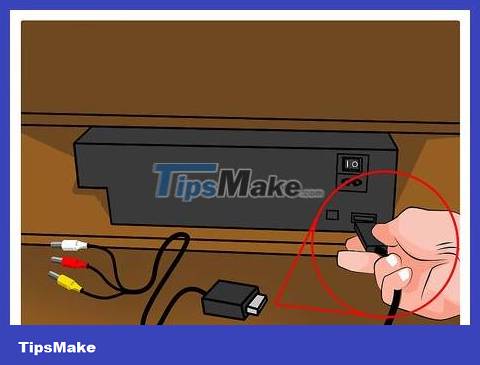
Plug the video cable into the back of the PlayStation 2. All PlayStation 2 video cables plug into the same port on the back of the console. The video port is located in the lower right corner of the back of the PlayStation 2 fat (original), and next to the power connector on the back of the PlayStation 2 slim (slim version). This port is marked "AV MULTI OUT".

Plug the other end of the video cable into the TV. Make a note of the port you're connecting to so you can find the correct input when you turn on the TV. Plug the cable into the corresponding colored port.
The audio connection (red and white) may not match the video input on the TV. If your TV only supports mono, you only need to use the red audio jack.
When connecting the component cable, you will have two red plugs. In which, one end is image and the other end is sound. If you lay the cable flat, the order of the plugs will be red, blue, green (image unit) and white, red (audio unit).
If the TV only has component ports, and you only have composite cables available, you will still be able to connect. Plug in the red and white audio cables as usual, then try plugging the yellow end into the green port. If the image displayed is black and white, try plugging the yellow end into another blue or red port.
If you are in Europe, you may need a Euro-AV connector to plug the composite cable into the SCART socket on your TV. This connector is available in the packaging of new PS2 models in Europe.
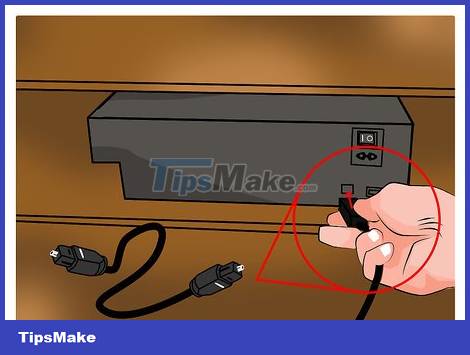
Connect the digital audio cable (optional). With a 5.1 surround sound system, you may need to connect the Digital Out (Optical) audio port on the PS2 to the receiver using a TOSLINK cable. This method only applies if you have the necessary equipment and want to listen to 5.1 surround sound. The Digital Out (Optical) port is usually located next to the video port on the back of the PlayStation 2.

Plug in the PlayStation 2 power cable. PS2 fat and PlayStation 2 slim have different power cables. To connect the PS2 fat, you need to plug the "figure 8" end of the power cable into the back of the PlayStation 2, then plug the other end into a wall/extension outlet. For the PS2 slim, connect the power cable to the yellow "DC IN" jack on the back of the console, connect the power brick, then plug the last cable into a wall/extension outlet.
The cable needs to have a certain amount of slack so that the connection is not too tight.

Connect the Ethernet cable (optional). Some PS2s have online capabilities, so you'll need to connect your PlayStation 2 to your home network via an Ethernet cable to access the Internet. The PS2 slim has a built-in Ethernet adapter, while the PlayStation 2 fat requires an additional network adapter.
You do not need to set up the network at the system level. Instead, each game will handle its own network settings when you make a connection.
Some online multiplayer PS2 games no longer have network access because the servers have long been shut down.
Play PlayStation 2
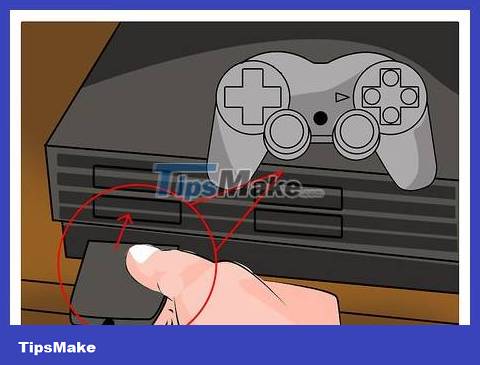
Connect your game controller to your PlayStation 2. You need to use an official PlayStation 2 game controller (named DualShock 2), or a third-party controller designed for PS2. All new PlayStation 2 models come with a built-in DualShock 2 controller. Although you can't permanently use the PS1 controller with the PS2, you can use the PS1 controller when playing PS1 games.

Insert a memory card (optional). If you want to save game progress, you need to use a PS2 memory card with an official capacity of 8 MB, this storage space is enough for quite a few games. In addition, PS2 also has official memory cards with larger capacities such as 16 MB and 32 MB. You can also buy unofficial memory cards with extremely large capacities, but this will potentially conflict or corrupt saved data. An external hard drive is also an alternative to a memory card, but you will need a memory card to install the hard drive's software.
You can play the game without a memory card or HDD, but progress will be lost every time you turn off the system or switch to another game.
The memory card is installed right above the controller. Note: the memory card label needs to be facing up when inserted.
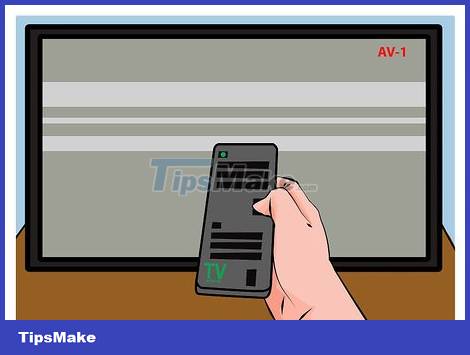
Turn on the TV and switch to the appropriate input. Turn on the TV and switch to the input that the PlayStation 2 is connected to. If the PS2 is connected to a VCR or receiver, you must set the VCR/receiver as the corresponding input, which needs to be done simultaneously for the TV.

Turn on PS2. Press the power button on the front of the PlayStation 2. The light will turn green and if the appropriate input has been selected, the PS2 welcome logo will appear. If there is no game on the device, the screen will go to the PS2 system menu. If you have inserted the game, it will automatically start right after the start screen.
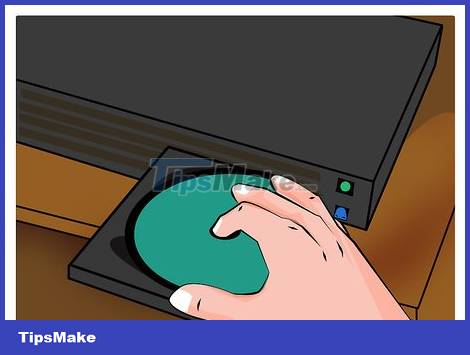
Insert the game into the device. Press the Eject button on the front of the PlayStation 2 to eject the disc tray (PS2 fat) or pop the player cover (PS2 slim). Insert the game disc into the tray or reel. Close the lid (PS2 slim) or press the Eject button again to retract the disc tray (PS2 fat).
Do not take out the game disc while playing, otherwise the game will exit without being saved.
Note: do not touch the disc surface when inserting or removing the game. Thus, the disc will be less scratched, damaged and can be used longer.
Start the game in progressive scan mode (component connection only). If the PS2 is connected via a component cable, you will be able to enable progressive scan (480p). This mode produces clearer images, but is only supported with specific games. To activate this mode, hold down the △+ button ✕after the PlayStation 2 logo appears at the start of the game. If the game supports progressive scan mode, a message will appear instructing you on how to activate it. Additionally, there are no system settings for this mode.