How to Change the Default Print Size on a Mac
To change the default paper size for printing, click the Apple menu → click System Preferences → click Printers & Scanners → click the Default Paper Size menu and choose your new size. Click the Apple menu..
Part 1 of 2:
Setting a Paper Size
-
 Click the Apple menu.
 -
 Click System Preferences. If a submenu opens instead, click the Show All button at the top of the window.
 -
 Click Printers & Scanners.
 -
 Click the Default Paper Size menu.
 -
 Click the paper size that you want to set as default.[1]
Part 2 of 2:
Creating a Custom Paper Size
-
 Click the File menu in any app that can print. You'll need to open the system Print window to set a custom paper size.
 -
 Click Print.
 -
 Click Show Details.
 -
 Click the Paper Size menu.
 -
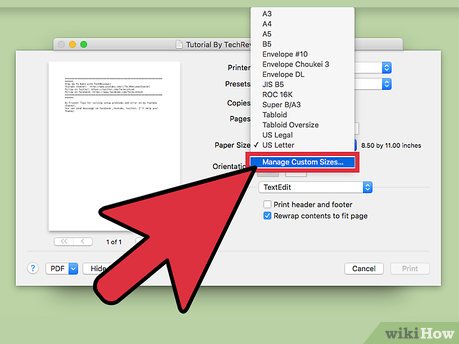 Click Manage Custom Sizes.
 -
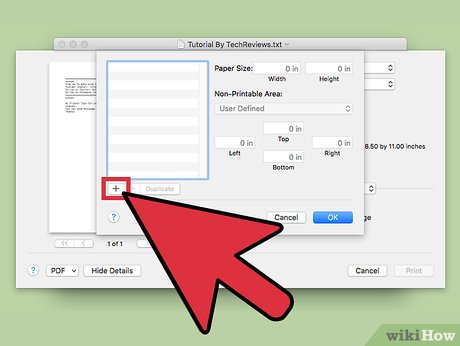 Click the + button.
 -
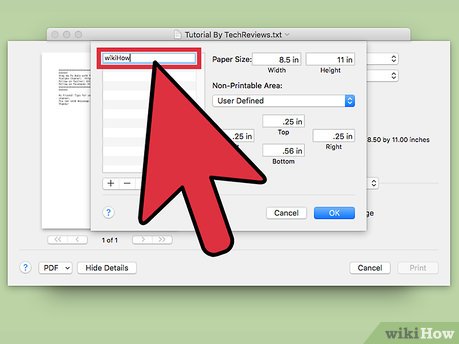 Type a name for the custom size.
 -
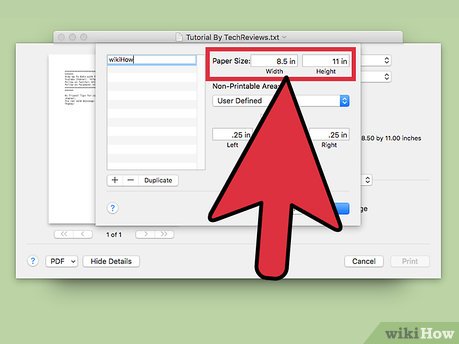 Type the paper dimensions.
 -
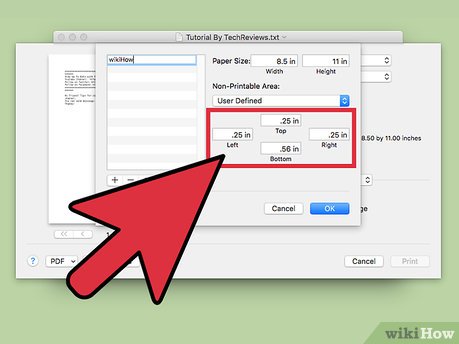 Type the non-printable area dimensions.
 -
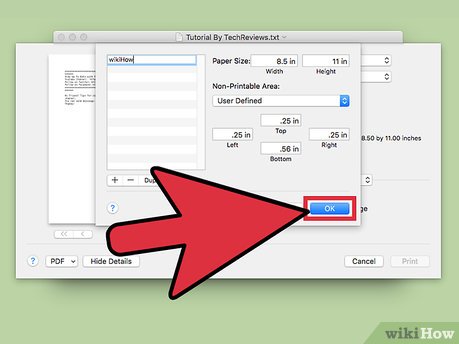 Click OK.
 -
 Select your new size using the method above. Your new custom size will appear at the bottom of the Default Paper Size menu.