Table of Contents
To blur photos using adobe photoshop fix Android successfully, begin with the right preparation and follow each step carefully. The guide also covers common issues you may encounter.
Adobe Systems is now one of the manufacturers that owns the most famous photo editing software, such as Adobe Photoshop, Adobe Photoshop Lightroom, Adobe Photoshop Express or Adobe Photoshop Fix application.
Adobe Photoshop Fix also owns image editing tools such as skin smoothing, lightening, color correction,. to give users the artistic and unique images. In this article, Network Administrator will guide you how to blur images using the Adobe Photoshop Fix application on Android.
Step 1
First of all, we download the Adobe Photoshop Fix application on Android under the link below. In addition, Adobe Photoshop Fix also has version for iOS operating system.
- Download the Adobe Photoshop Fix Android app
- Download Adobe Photoshop Fix for iOS
Step 2
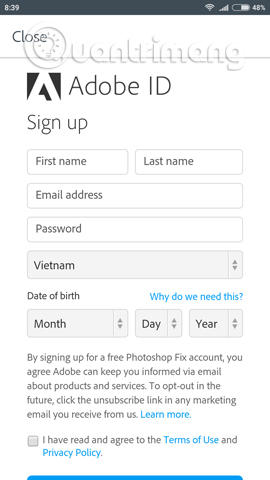
Next, start the Adobe Photoshop Fix application on the device. To be able to use Adobe Photoshop Fix, we need to Register for an Adobe account . If you already have an account, click Sign in, otherwise click Sign up for free to register . The Adobe account registration process is very simple, you just need to enter your username, email address, password, date and time to complete.

Step 3
After completing the login, you will arrive at the Adobe Photoshop Fix interface. We click The plus sign icon Below the interface. Soon you will see the tools, click The Camera icon to Take a new photo .
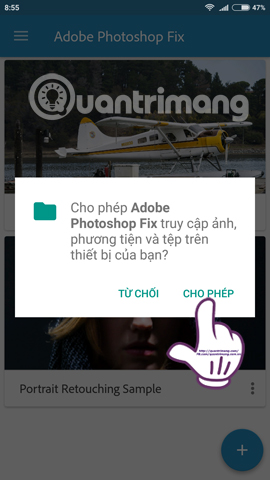
When needed to get the Photos available in the collection On your device, we choose The Top Device icon . Next press Allow For the app to use the device and access the album.


Step 4
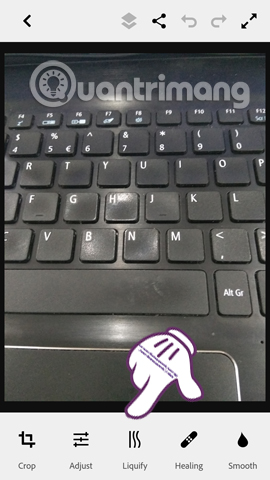
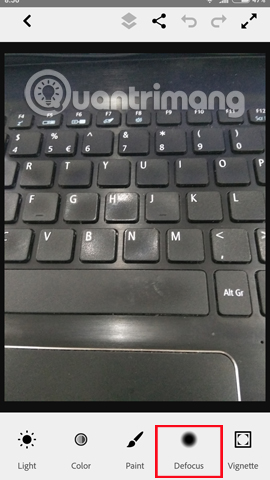
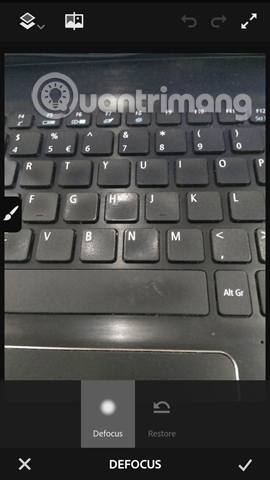
After you have the image to edit, just below appears tools to edit images. We Swipe right To find Defocus to blur the image To use.
Step 5
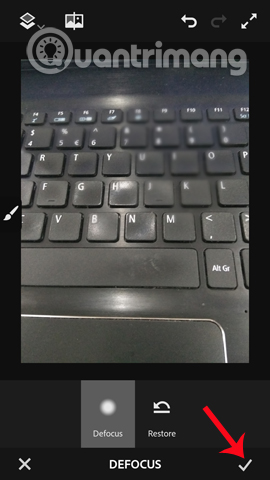
To Blur a Certain Area On the image, we just need to Click that area . Immediately, the area will be blurred. To Go back to the blurring step , we Click Restore . When you have finished editing, click the Tick below to save The image.
Step 6
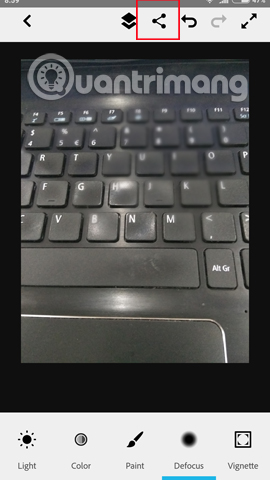
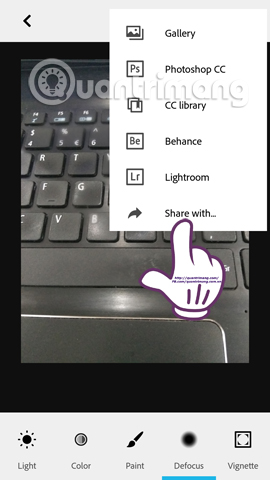
Return to the interface with editing tools. We can choose to add other tools for photo editing. when needed to Send photos , click The Share icon As shown below. Soon the editing application of Adobe System appeared. Click Share with. To open more applications.
You will see many applications to share photos, via Bluetooth, Email, Messages,. You choose one of the above applications to send photos.
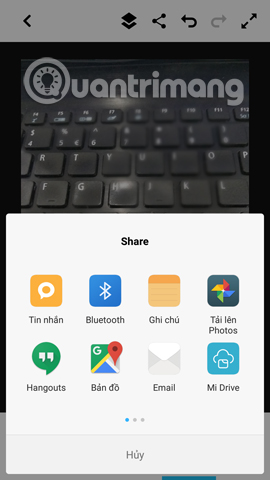
Above is how to use one of the image editing features of the Adobe Photoshop Fix application, blur the image, focus only on a single area and blur the background around. Hopefully with the above article, you will have more tips to refresh your image with Adobe Photoshop Fix.
Refer to the following articles
- 10 easy video editing applications on Android
- How to edit anime style image with Everfilter
- Guide to creating Gif images on Android
I wish you all success!
FAQ
What should I prepare before I blur photos using adobe photoshop fix Android?
Review the requirements in the guide, confirm that your device or software is compatible, and save important work before changing settings related to blur photos using adobe photoshop fix Android.
Why might blur photos using adobe photoshop fix Android not work as expected?
The most common causes are incompatible versions, missing permissions, incorrect settings, or an interrupted internet connection. Recheck each step and restart the app or device when appropriate.
Can beginners follow these blur photos using adobe photoshop fix Android steps?
Yes. Follow the steps in order, avoid skipping confirmation screens, and compare your interface with the screenshots because labels may differ slightly between versions.
Related Articles
 Remove Bad Details from Photos with Adobe Photoshop5 minutes read
 Create Creative Blur for Photos on Adobe Photoshop3 minutes read
 3 Tips to Improve Low-Resolution Image Quality: Low Resolution Photo4 minutes read
 How to Mask Your Face in Photoshop: Step-by-Step Guide2 minutes read
 Why Is Lens Blur a Photoshop Tool Used for Artistic Photo Editing?6 minutes read
 Instructions for Blurring Photos on Canva Are Very Simple4 minutes read
Reader Comments 0
Sign in with email or Google to join the discussion.