How to activate Virtual Touchpad Windows 10 Creators Update
Virtual Touchpad on Windows 10 Creators Update is a virtual Touchpad for touchscreen devices only..
Virtual Touchpad is a virtual touchpad exclusively for Windows 10 Creators Update operating system and can only be used on touchscreen devices. This feature has a lot of customization, set up for users to use especially in case Touchpad has problems or the touch screen fails.
However, to use this feature, your computer needs to update to Windows 10 Creators Update version. In particular, Virtual Touchpad will only apply to devices that support touch screens only. The following article will show you how to enable and customize Virtual Touchpad on Windows 10 Creators Update.
Step 1:
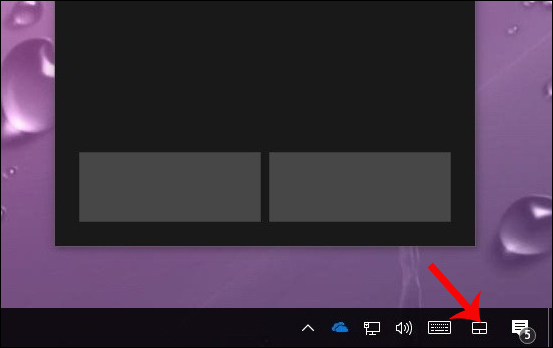
First of all, you will have to right click on the Taskbar and select Show touchpad button .

Step 2:
After opening the Virtual Touchpad on the computer, we will see the Touchpad icon in the Taskbar with 3 main functions including left mouse, right mouse button and touchpad similar to that on laptop.
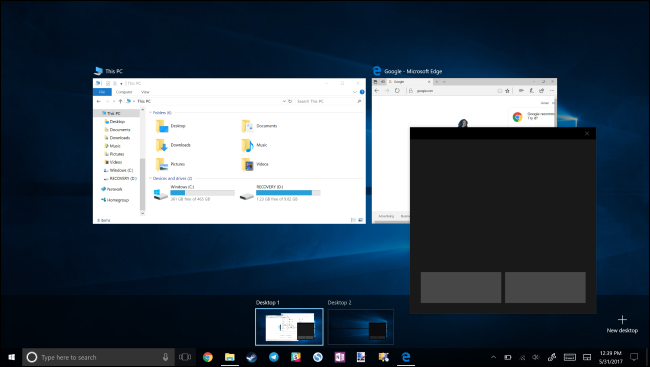
Virtual Touchpad can work on any computer screen and act as a virtual keyboard. Just need to click on the Touchpad icon in the Taskbar to use it.
Step 3:
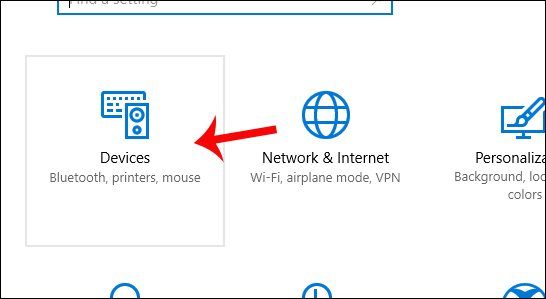
To customize Virtual Touchpad, press Windows + I key combination to open the Windows Settings interface. Then click on Devices .
Step 4:
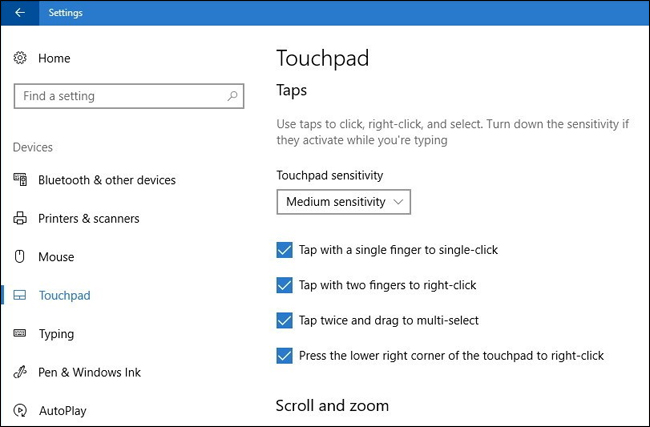
In the new interface click on the Touchpad item in the list to the left of the interface. When successfully activating Virtual Touchpad, Touchpad will appear as shown in the picture for user to use.
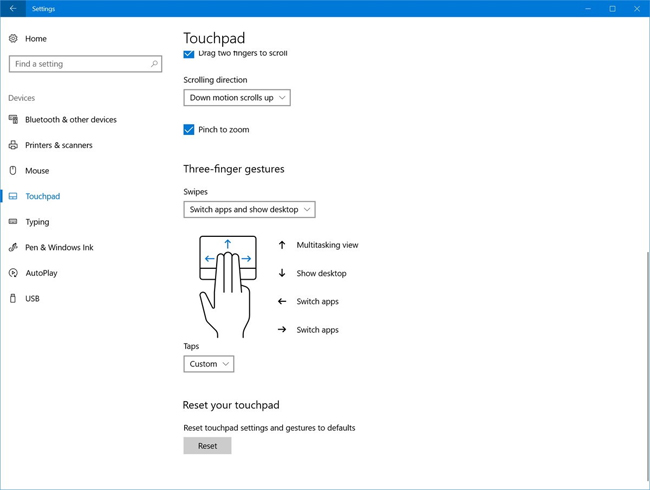
Here we can choose the speed for virtual transitions, choose to perform manipulation with 1 finger, 2 fingers or 3 fingers at the same time to use Virtual Multi-touch Touchpad.
Step 5 :
Next, we will adjust to Scroll and zoom operation using 2 fingers to zoom out or enlarge the image. Next you can adjust the operation with 3 fingers with various setting options.
Step 6:
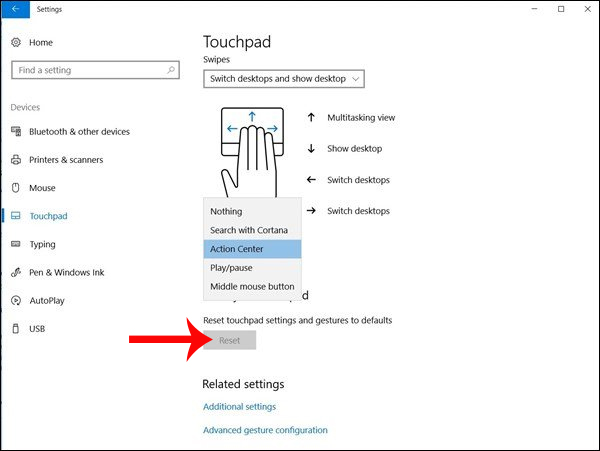
After setting up 3 finger operation you will proceed to adjust the operation for 4 fingers. In case you want to return to the previous settings just press the Reset button .
We can refer to the custom sections for Virtual Touchpad in the article How to customize Touchpad on Windows 10 Creators Update. The implementation interface will be the same so you can follow.
One more option to use on Windows 10 Creators Update with touch screen device when Touchpad has problems during use. In general, the use of Virtual Touchpad is not different from the Touchpad, the gesture setting steps are still the same.
I wish you all success!