Instructions for activating and customizing virtual Touchpad on Windows 10
The virtual touchpad is used as a physical touchpad (regular touchpad) on the Windows operating system, and supports all the features available as physical touchpad. It can be said that virtual touchpad is a useful feature in some cases when users connect to external monitors (external monitors). With the virtual Touchpad feature built into the operating system, users can easily activate and use the virtual Touchpad on Windows 10 without having to install any 3rd party software or applications..
The virtual touchpad is used as a physical touchpad (regular touchpad) on the Windows operating system, and supports all the features available as physical touchpad. It can be said that virtual touchpad is a useful feature in some cases when users connect to external monitors (external monitors). With the virtual Touchpad feature built into the operating system, users can easily activate and use the virtual Touchpad on Windows 10 without having to install any 3rd party software or applications.
- How to automatically disable Touchpad when connecting a mouse on Windows 10
1. Virtual touchpad integrated on Windows 10
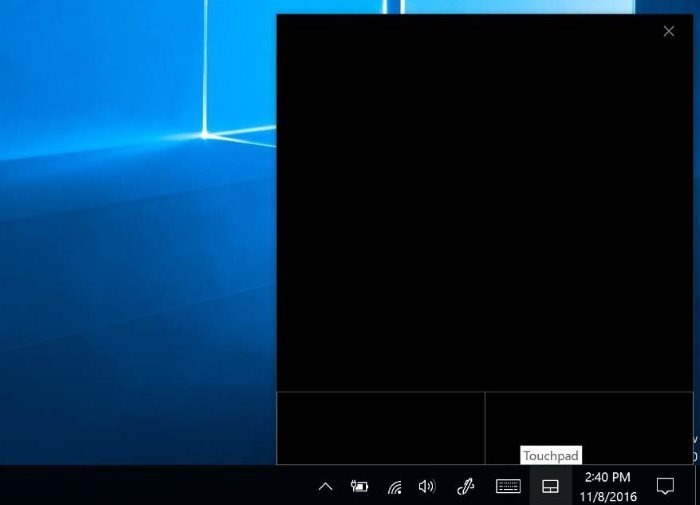
If enabled, the virtual Touchpad will display in the bottom right corner of the Windows 10 Desktop computer screen and you can use it to control the display on your Windows 10 computer.

However, until now, Windows 10 does not allow users to move virtual Touchpad to other locations on the screen.
The virtual touchpad is used as a physical touchpad (regular touchpad) on the Windows operating system, and supports all the features available as physical touchpad.
It can be said that virtual touchpad is a useful feature in some cases when users connect to external monitors (external monitors).
With the virtual Touchpad feature built into the operating system, users can easily activate and use the virtual Touchpad on Windows 10 without having to install any 3rd party software or applications.
2. Enable Virtual Touchpad on Windows 10
By default, the virtual touchpad is disabled on Windows 10. Therefore, to use the virtual touchpad you must activate it.
Step 1:
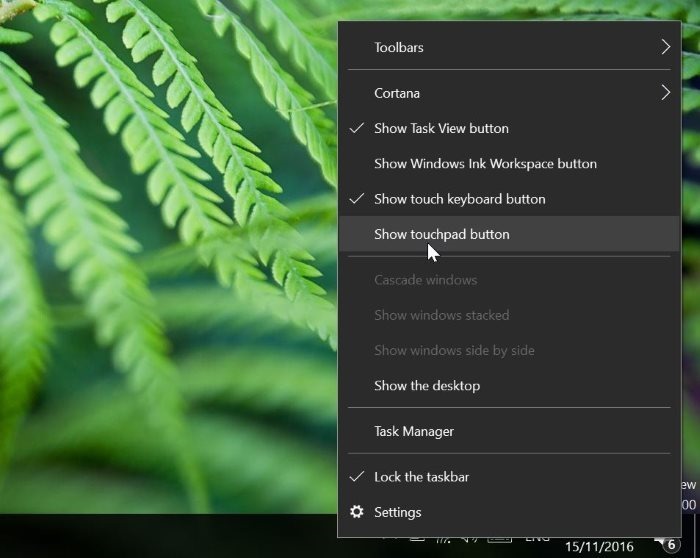
Click any space on the Taskbar, then click the Show touchpad button option to add the virtual Touchpad to the system tray.
Step 2:
Click on the Virtual Touchpad button on the Taskbar system tray to activate and start using the virtual Touchpad.
If you want to disable the virtual Touchpad, you just need to click the virtual Touchpad button again.
3. Customize virtual Touchpad on Windows 10
After activating the virtual Touchpad on Windows 10, the next step you need to do is to configure the virtual Touchpad like the physical Touchpad through the Settings application.
Step 1: Open the Settings application by pressing Windows + I.
Step 2: On the Settings window, find and click Devices.
Step 3: Click on Touchpad.
Step 4: Here you can enable or disable custom Touchpad settings. All settings will be automatically saved.
4. Use virtual touchpad
To use the virtual touchpad, just place your finger on the touchpad on the touch screen and move like a normal mouse. The cursor will move around the screen when you move your finger.
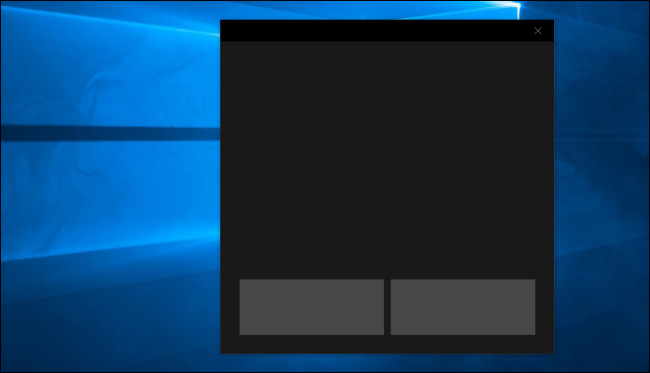
You can move the virtual Touchpad window to anywhere on the screen. Just touch the title bar of the window and move it to where you want.
Virtual touchpad works just like physical touchpad. You can left or right click by pressing the corresponding screen.
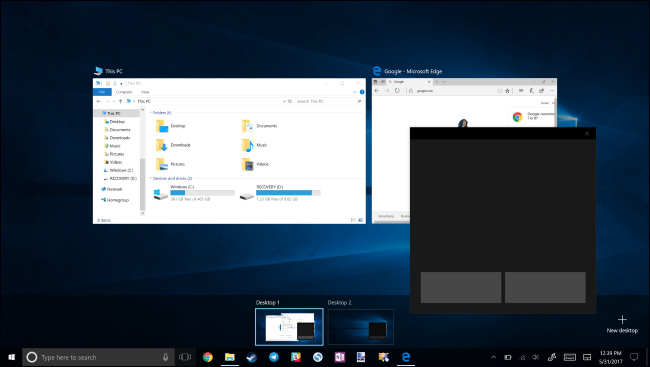
You can also perform advanced operations with virtual Touchpad such as placing 3 fingers on the virtual Touchpad and swipe up to open the Task View interface to switch between windows or put three fingers into the Touchpad and swipe down to display display the main screen.
Note: Virtual Touchpad settings apply to both Windows 10 Creators Update. In addition, this option is only available on touchscreen devices.
Refer to some of the following articles:
- Touchpad on Windows 10 does not work, this is how to fix it
- Summary of Touchpad operations on Windows 10
- Summary of some ways to turn off Touchpad on Laptop
Good luck!