Table of Contents
To create an AI timelapse-style transformation in Google Flow, prepare consistent images of the same scene at different stages, generate a video transition between each pair, and join the clips in order. Flow generates the movement between your references; it is not a recording of real work happening over time.
A room renovation is a useful example: unfinished room, prepared surfaces, completed finishes, then furniture. The main challenge is keeping the camera position and room layout consistent across every stage.
1. Plan the transformation
Choose one scene and a small number of distinct stages. Write down what changes in each stage and what must stay fixed. For a room, retain the same windows, doorway, wall proportions, lighting direction, and camera angle.
Use the same aspect ratio throughout. A vertical composition suits a vertical feed; a landscape composition suits a wider presentation. Avoid putting important details at the extreme edges where later cropping or platform controls may cover them.
2. Prepare consistent reference images
You can create the images in Gemini, Copilot, ChatGPT, or another image editor. Use an existing frame as the reference for the next edit when that tool supports it, rather than generating each stage independently.
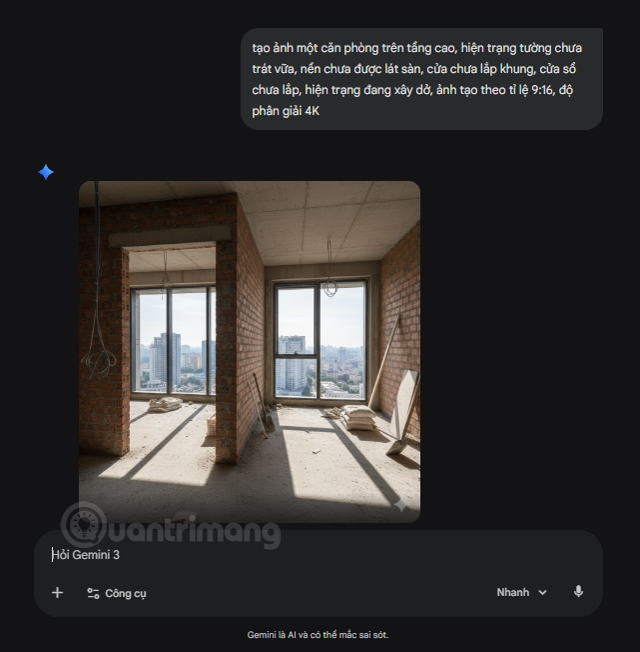
Start with an unfinished room, then ask for one controlled change at a time. A prompt could be:
Keep the exact camera position, window, doorway, ceiling height, and room proportions. Change only the unfinished brick walls to smooth plaster. Keep the floor unfinished and preserve the lighting.
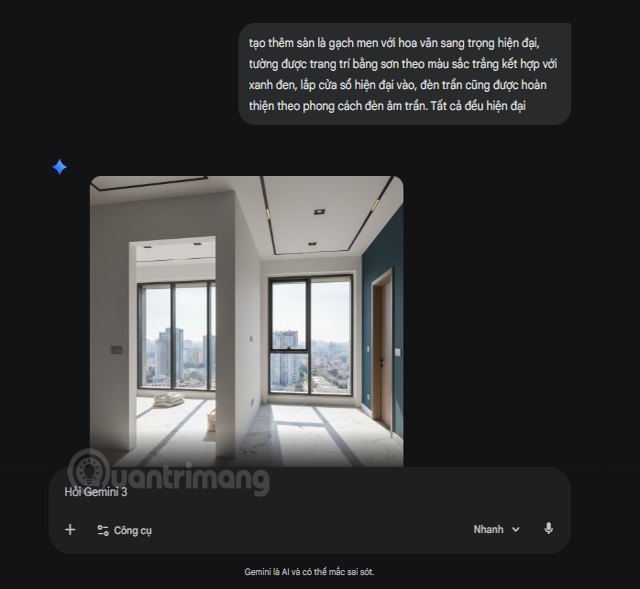
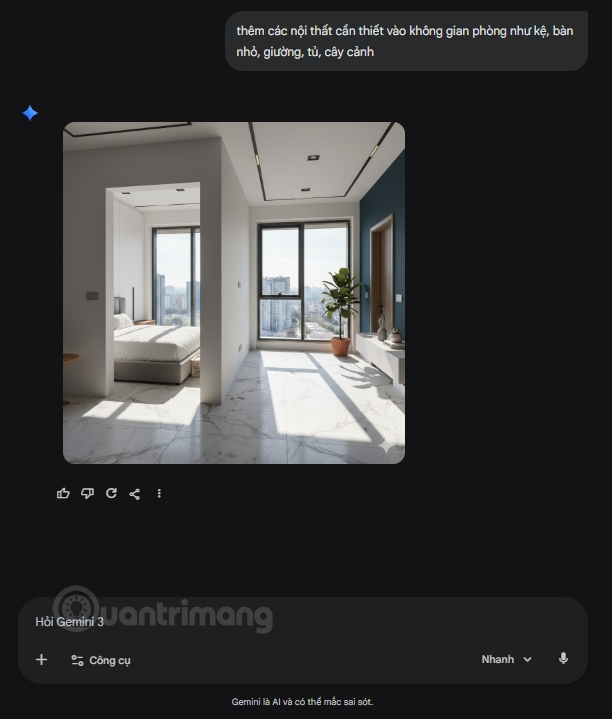
Continue with painted walls, flooring, and furnishing. Compare the images side by side before animating them. Regenerate a frame if a window moves, the room changes size, or furniture appears where the next stage needs workers to move.
Name the files by stage to keep your own project organized. Filenames do not instruct Flow to animate an entire sequence automatically. For related reference-image controls, see using reference images in Flow.
3. Open a Flow project
Go to Google Flow, sign in with the account you intend to use, and create a project. Check current regional availability, account access, and credit requirements before planning a large batch of generations.

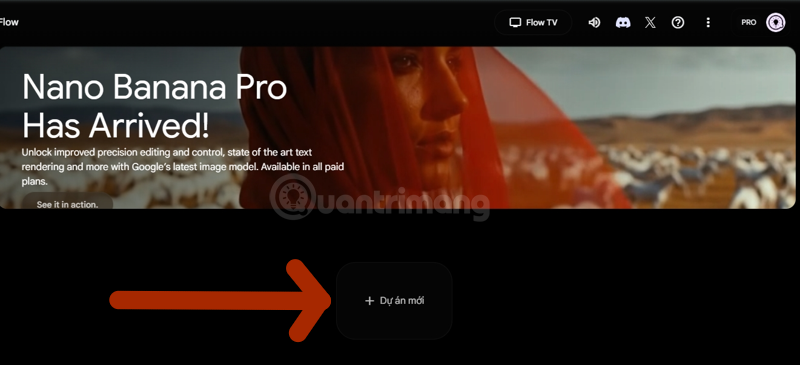
The screenshots show an earlier interface. Controls can change, so use the current prompt box and model settings rather than expecting every button to remain in the same position.
4. Generate one transition at a time
In the current desktop workflow, choose Video and then Frames from the prompt controls. Add the first stage as the start frame and the next stage as the end frame. The selected model must support both frames.
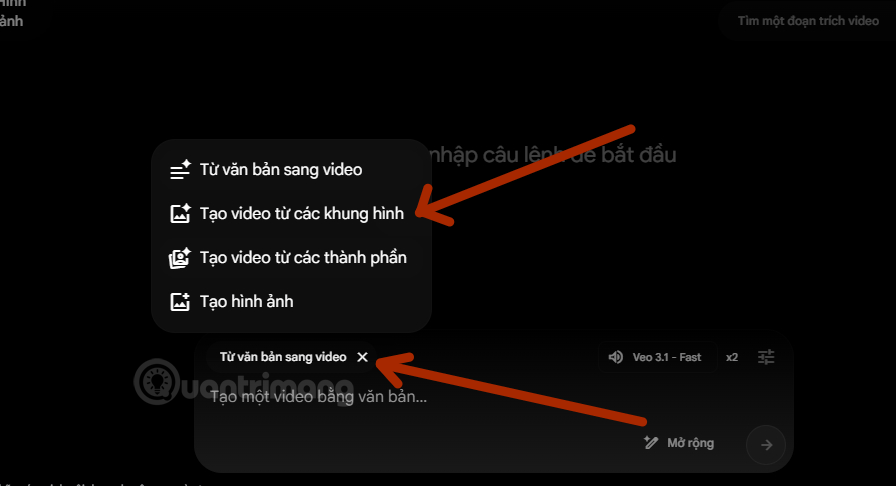
Upload or select the two appropriate images. They define the endpoints of this clip, not a slideshow of every stage in the project.
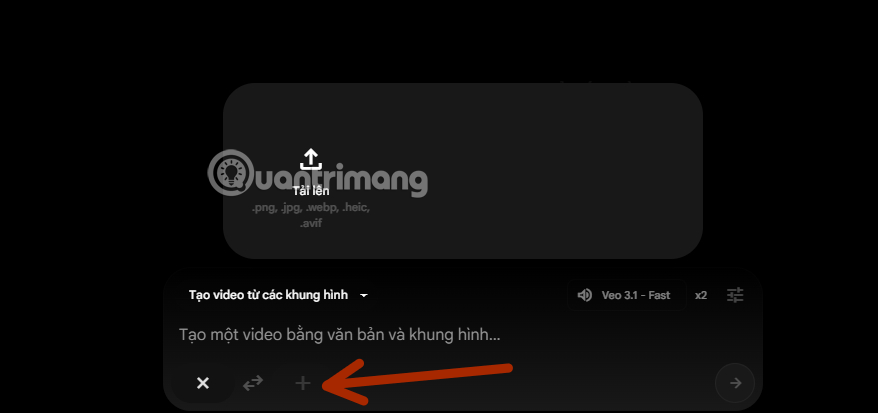
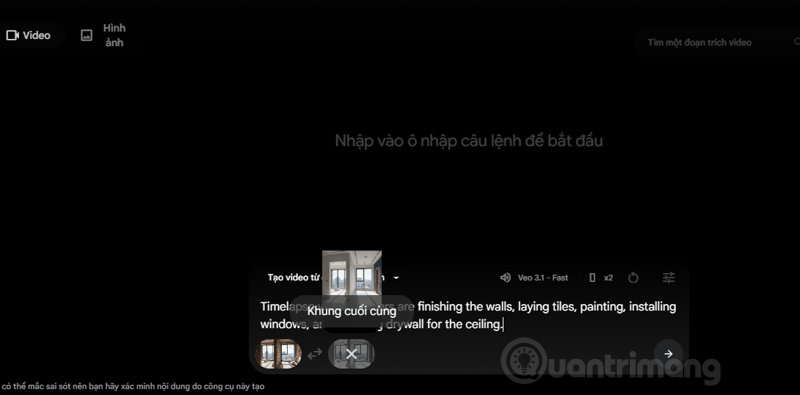
Describe the transition and camera behavior explicitly. For example:
Locked-off camera, no pan or zoom. A fast renovation timelapse takes this room from unfinished brick walls to plastered walls. Show a coherent sequence of work, keep the window and doorway fixed, and finish with the exact composition of the end frame.
Choose the available aspect ratio, clip length, model, and number of outputs. Check the credit cost before generating. Audio support and other controls vary by model; there is no fixed set of four models that applies to every account.
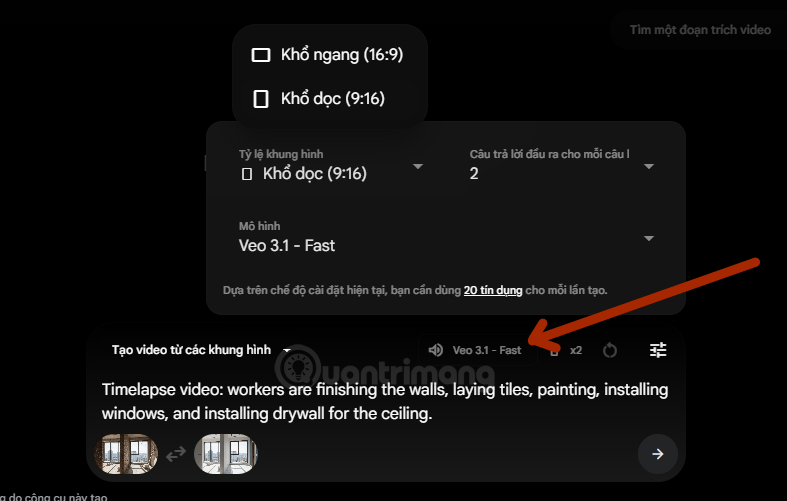
Google's video creation guide explains the current frame workflow.
5. Inspect and assemble the clips
Review the whole clip before keeping it. Watch for changing room geometry, objects melting into one another, abrupt jumps, implausible worker movement, and an ending that fails to match the reference. Tighten the prompt or simplify the transition when necessary.
Repeat for each adjacent pair of stages. Use Flow's Scenebuilder to arrange and trim clips, or download the clips and assemble them in a video editor. TipsMake's Flow sequence guide and CapCut combining tutorial cover those options.
Trim duplicate endpoint pauses so the transformation continues smoothly. Add brief stage labels when they help the viewer understand the sequence, and use music you have permission to publish.
6. Check the finished video before publishing
Preview the final export at its intended size, including captions, crop, audio levels, and the join between clips. Describe the video as AI-generated when it could otherwise be mistaken for footage of a real renovation. A clear transformation and believable continuity are more useful than extra effects or claims that a particular prompt will make the video go viral.
Related Articles
 How to Shoot Epic Timelapse Videos with Your Phone9 minutes read
 Invite to Admire the Beauty of New York City Through 4K Timelapse2 minutes read
 Explore the City of London Through a Timelapse Image2 minutes read
 Overview of Creating Professional Videos with AI10 minutes read
 How to Make Stop Motion Videos on Android Phones8 minutes read
 How to Create a 3D Animated 'Stomach Crying for Help' Video with Veo 3 in Geminigen AI7 minutes read
Reader Comments 0
Sign in with email or Google to join the discussion.