Why are photos blurred and how to fix them when taking photos!
For every photographer, no matter what the purpose or subject of the image is, how to photograph it all has the same requirement to produce the best quality picture. However, sometimes during the shooting process, the results will not be as expected. Images may be blurred, vibrate, unclear. So, what is the cause of blurry image and how to overcome this situation?
1. Incorrect autofocus:
The camera will handle everything itself when we choose auto focus and in some cases they focus on the point we don't want. When there is a "tit" sound or the focus point turns red at AF, it is possible. But in some cases you have to focus on yourself. You need to move the AF point on the camera exactly where the subject is standing, focusing on the eyes of a person for example.
Switching to autofocus at 1 point (AF area) is probably best, or quit AF and switch to MF.

2. Using AF incorrectly:
For moving subjects, such as pedestrians we turn to AF and continuously shoot, there will be a system called AI Servo. It's better to use AF with focus mode at 1 point and select the autofocus point exactly where we want it.
Do not use continuous AF when shooting static objects. We can choose the angle, focus point and wait for the subject's actions to be the most natural, use AF but don't overdo it, the sharpness of the image may be affected.
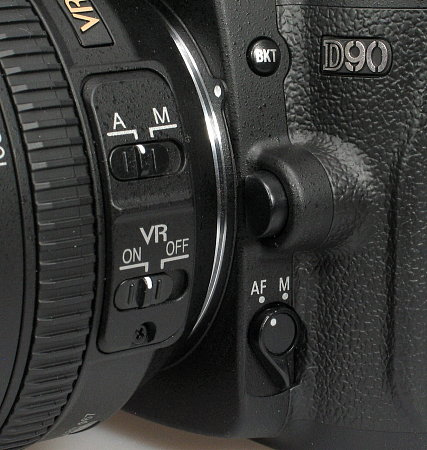
3. Do not use MF mode:
Sometimes AF cannot focus on objects, possibly due to insufficient contrast or other causes. If so, switch to MF, this will help us focus more easily without moving.
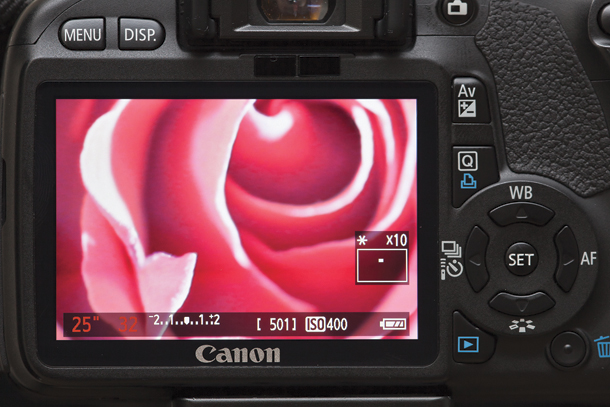
4. Do not check MF before shooting:
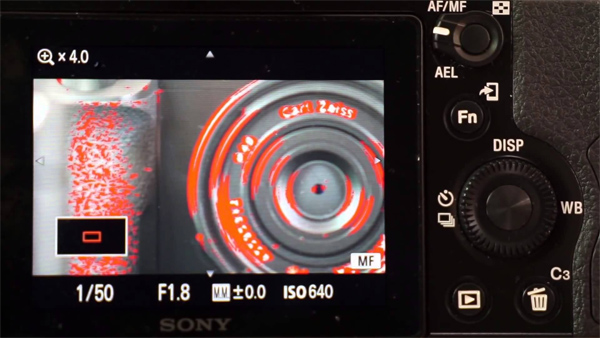
MF is quite handy but you need to have some time to practice to master it. To increase your ability, use the camera's Live View mode, or turn on Focus Peaking if there is a camera on our camera. Try to practice to master MF skills. You will need to check the viewfinder before shooting in MF mode to make sure that the viewfinder is still open.
5. Keep the shutter speed low:
For DSLRs with high-resolution LCD screens, such as Nikon D810 or Canon 5DS, for example, good or bad photos cannot be determined right away, because browsing photos via LCD, but the LCD screen is very good. High resolution, our perspective with photos will be the same.
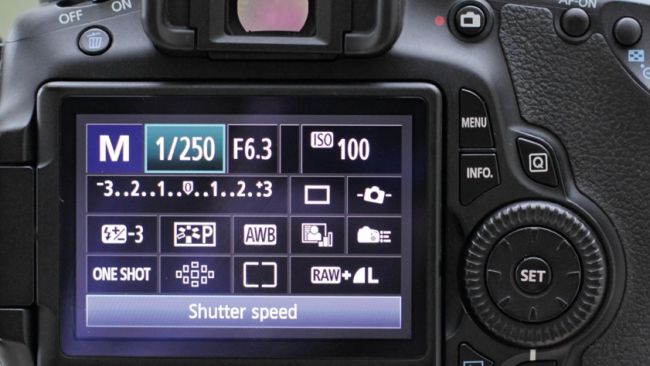
So, using Tripod, it will help to make photos taken with low shutter speeds will not be blurry and clearer. Also depending on many conditions, topics, but keep the lowest speed of 1 / 125s, use a higher MF or ISO to make the image bright enough.
No matter what type of camera you are using, try to keep the shutter speed higher than the lens focal length. For example, the speed parameter 1/250 will be for users of a 200m lens.
6. Aperture is too big or too small:
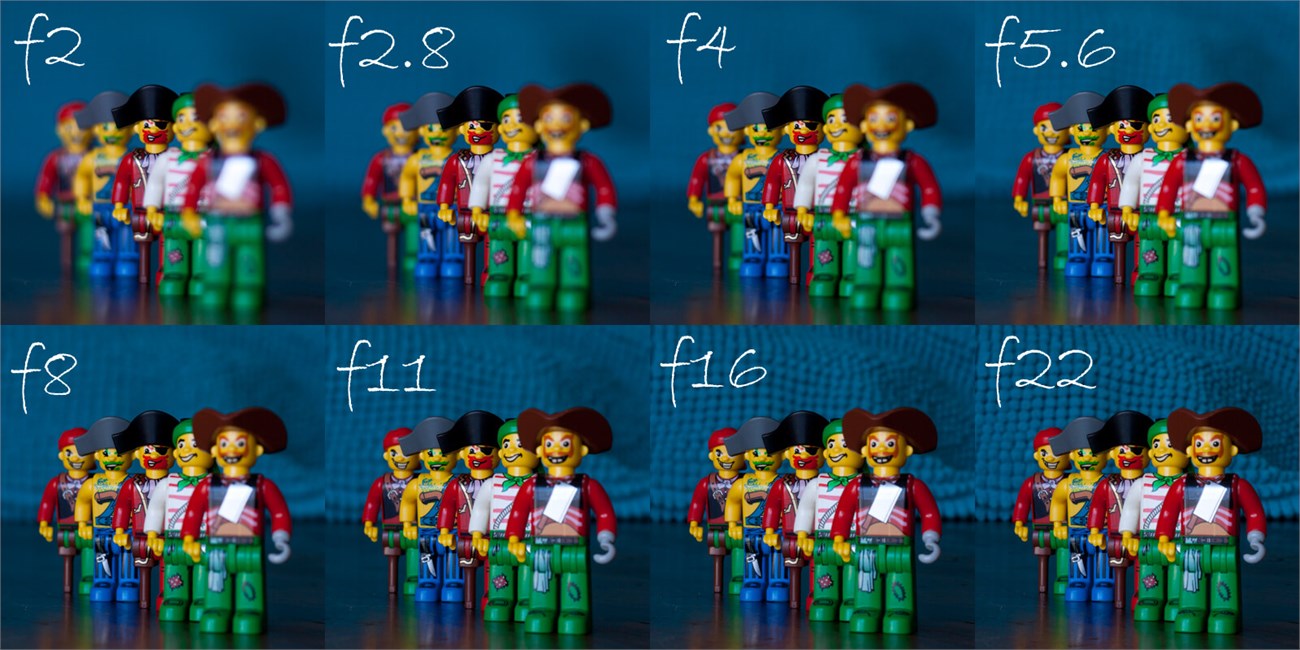
To take a picture of the scene, use f / 2.8 or higher. This also limits the depth of the image field, so we should be careful when focusing.
If taking portraits please set AF. For example, we focus on the subject, making the background blur. If you use the ultra-small aperture (f / 20) we will have more depth of field, but slow shutter speeds will limit the light entering the sensor. Not suitable for shooting a moving subject.
7. No control of noise particles:
When higher ISO is also when we choose a higher shutter speed, you can limit the picture noise. Too much noise in the picture will make it bad, viewers will lose their feeling as soon as they look at the image.
So, don't push the ISO too high, we have to adjust the parameters depending on our camera, contact the camera as much as possible to understand how your tool should be adjusted. In low light, you can switch to a more stable lens with a larger aperture, or even use a flash.
8. Do not use sharpening software:
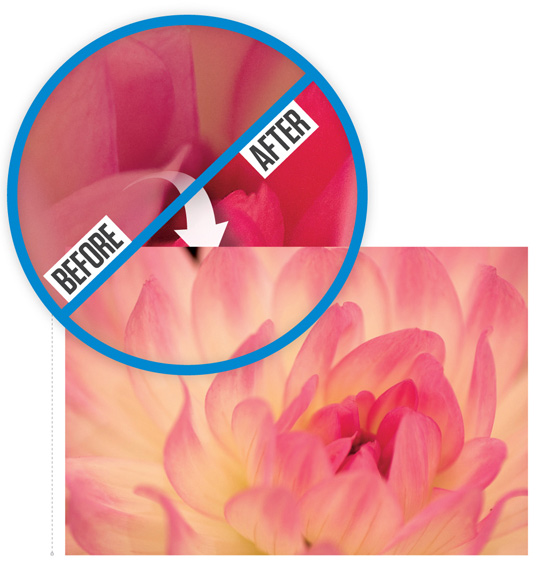
If the technology is not good, we will need RAW images to modify the net. Lightroom is a fairly popular tool, always producing much better photos than the original.
However, when using the sharpening tool in Lightroom, pay attention, because it seems that the sharpening of the picture looks more and more hard. Pay special attention to the edges of the object. Reducing noise can also make the image sharper.
- Download Lightroom software for Windows
- Download Lightning software for iPad
9. Unknown lens adjustment:
Many people think about how to make the image look clearer but they overlook the fact that they are using a lens that is not really suitable for their needs. The ability of each lens to be different, optical performance is why there are so many types of lenses that cost tens or even hundreds of times more expensive than other lenses.
10. Do not prepare other photographic equipment:
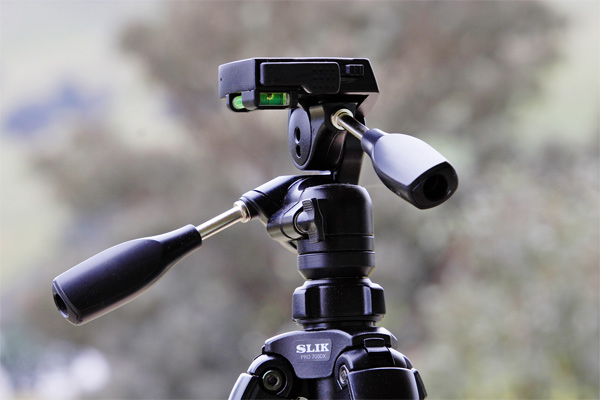
The important thing in photography is to use the Tripod (for exposure photography). If you have conditions, buy an extra set of Gorillapod Joby spare pins and put them in your pocket, maybe in some cases it will be very useful. It may not be possible to replace if the Tripod is broken, but it is still better to have nothing to use
Refer to the following articles:
- 10 simple photography techniques for impressive photos
- 9 basic rules of composition in photography
- Basic guide when buying digital cameras
Hope this article is useful to you!