Set up Remote Desktop on Windows Server 2019
Today's article will show you how to set up Remote Desktop on Windows Server 2019..
Remote Desktop setup: Server-side installation
Please enable Remote Desktop to connect to the server from another computer. This example shows how to enable the only session functionality of Remote Desktop that Windows Client OS also has.
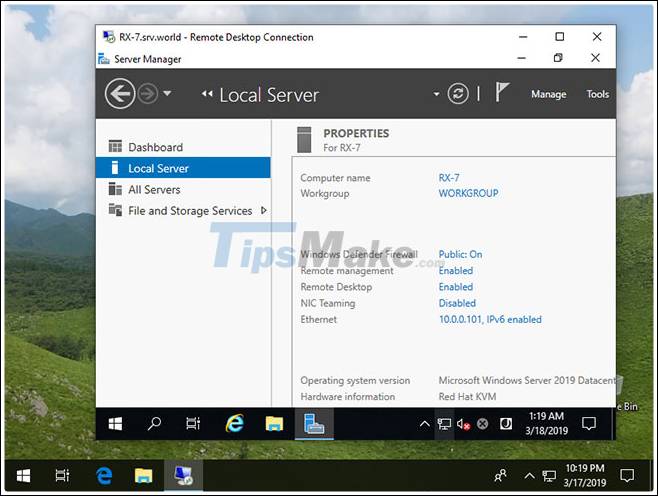
Step 1. Run Server Manager and select Local Server on the left panel, then click Disabled for Remote Desktop section .

Step 2. Check the box Allow remote connections to this computer .
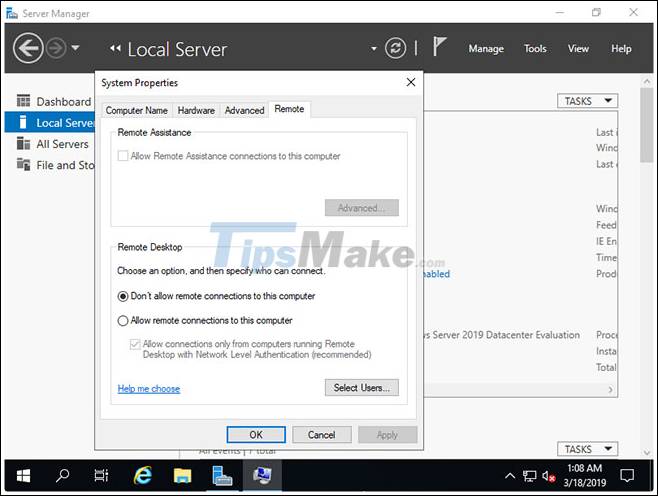
Step 3. Notice that the firewall exception for Remote Desktop is enabled, click the OK button .

Step 4. Remote Desktop function has changed to Enabled state .

Remote Desktop setup: Client-side installation
Here's how to connect to a Remote Desktop session from Client OS. This example was performed on Windows 10.
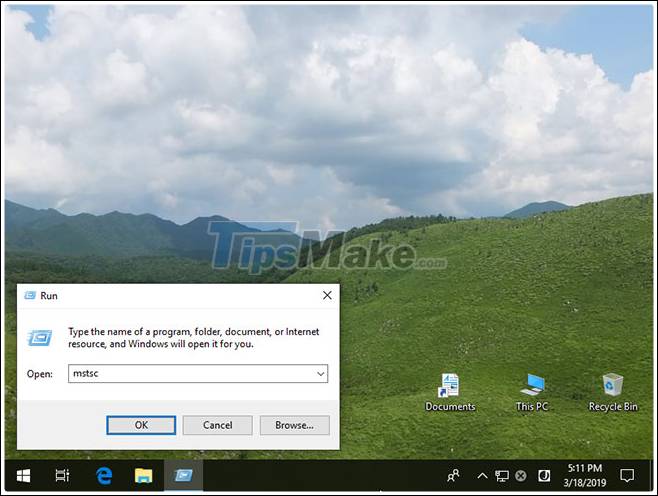
Step 1. Right-click on the Windows icon , open Run and type mstsc as follows.
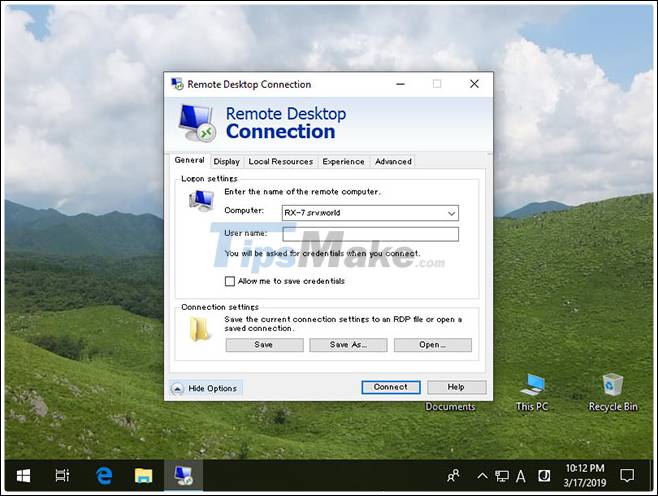
Step 2. Enter the Hostname or IP address you want to connect to and click the Connect button . For other sections, change or set whatever parameters you like.
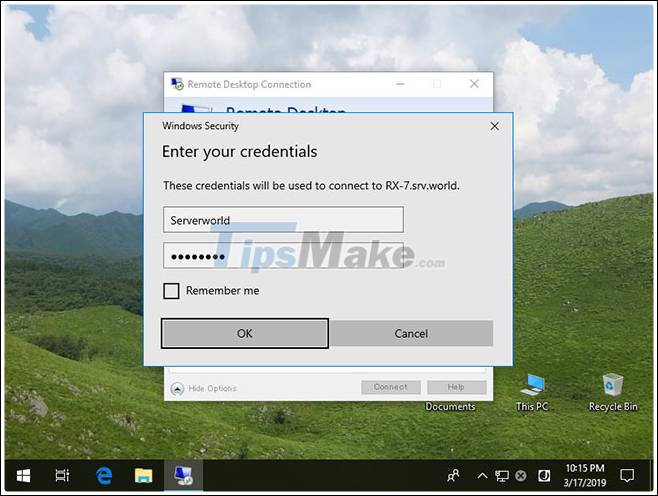
Step 3. Enter the username and password you want to login.
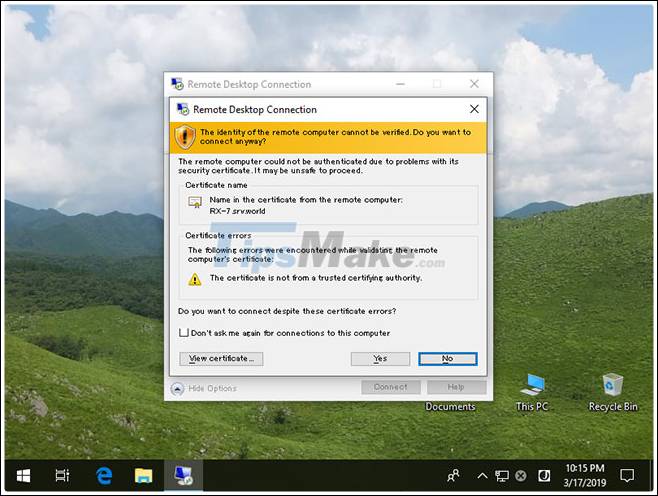
Step 4. The message for the certificates is displayed as follows. Click Yes to continue.
Step 5. Everything is connected.