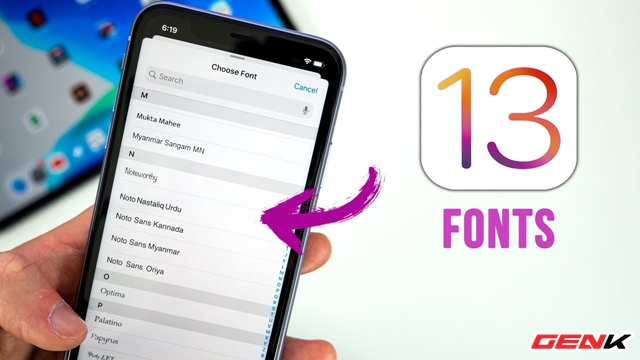
iOS 13: How to install and use new fonts
A new feature on iPhone running iOS 13 that you should explore and try.
Since its launch, iOS 13 has many changes and improvements that make users eager to upgrade. And Font is one of the new features that so far few users pay attention and use because . do not know how.
If you are wondering how you can use the Font feature on iOS 13, this article will suggest you. As follows.

Visit the App Store, find and download the Adobe Creative Cloud application.

After installing Adobe Creative Cloud, launch the application and proceed to register / login account.

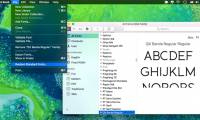
In the application interface, click the Font tab.

Find the font you like in the list and click "Install Fonts".

Click "Install" to confirm the operation.

After installation, you can continue installing other fonts if you like.

Fonts after installation will be arranged in the Installed Fonts tab and Settings> General settings> Fonts.

When clicked, you can track the information about the Font that you have installed, as well as delete if desired.
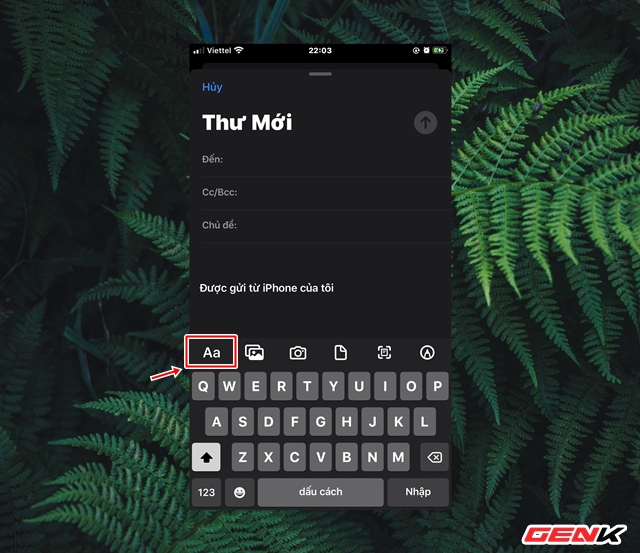
To use installed fonts, navigate to editing applications like Mail or Notes and click on the "Aa" icon on the keyboard.
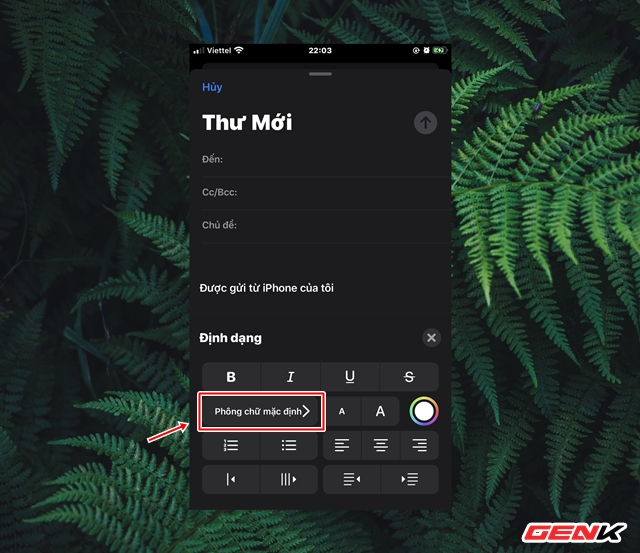
Click the "Default font" checkbox.
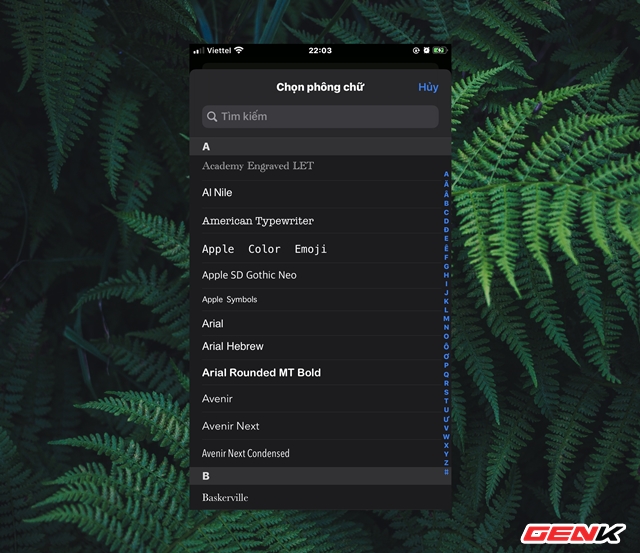
And select the Font that you want to use in the list.
Very simple, right?
Was this article helpful?
Your feedback helps us improve.
Related Articles
 How to install and remove fonts on Mac10 minutes read
 How to install and uninstall fonts on Windows 113 minutes read
 How to install and remove fonts on Linux7 minutes read
 The simplest way to install additional fonts for computers and laptops3 minutes read
 Instructions for installing Font on Windows3 minutes read
 How to Install and Use Fonts in Linux7 minutes read
Reader Comments 0
Sign in with email or Google to join the discussion.