How to use Tree command to navigate file directory in Linux
The tree command is perfect for quickly viewing your entire directory structure. It displays your directories and files in a clean tree layout right in the terminal.
Table of Contents
The tree command is perfect for quickly viewing your entire directory structure. It displays your directories and files in a clean tree layout right in your terminal. You can control the depth of the command, include hidden files, and even save the results to a file. This article will dive into how to get the most out of the tree command.
Note : Do not confuse the tree command with the pstree command . The tree command deals with file directories, while pstree deals with lists of running processes.
Basic syntax and settings
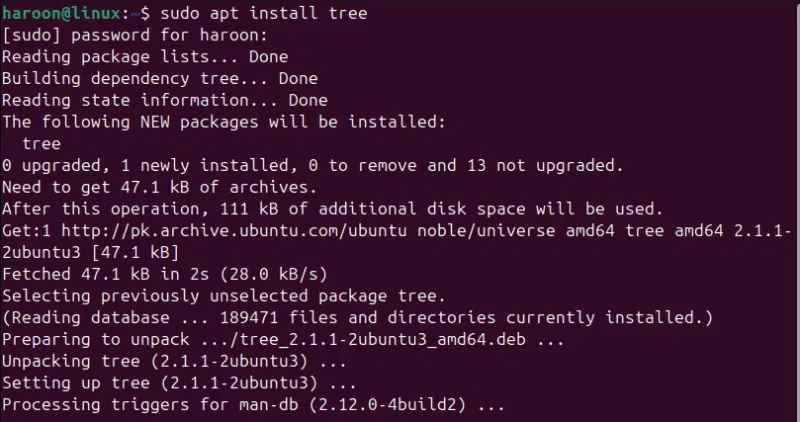
Tree isn't installed by default on every Linux distribution, but it's very small and easy to add. You just need to use your distribution's package manager. For example, on Debian/Ubuntu, use the following command:
sudo apt install tree
For Fedora, CentOS or RHEL users, you should use the following command:
sudo dnf install treeArch Linux users can use the following command:
sudo pacman -S treeOnce installed, the simplest way to use it is:
tree
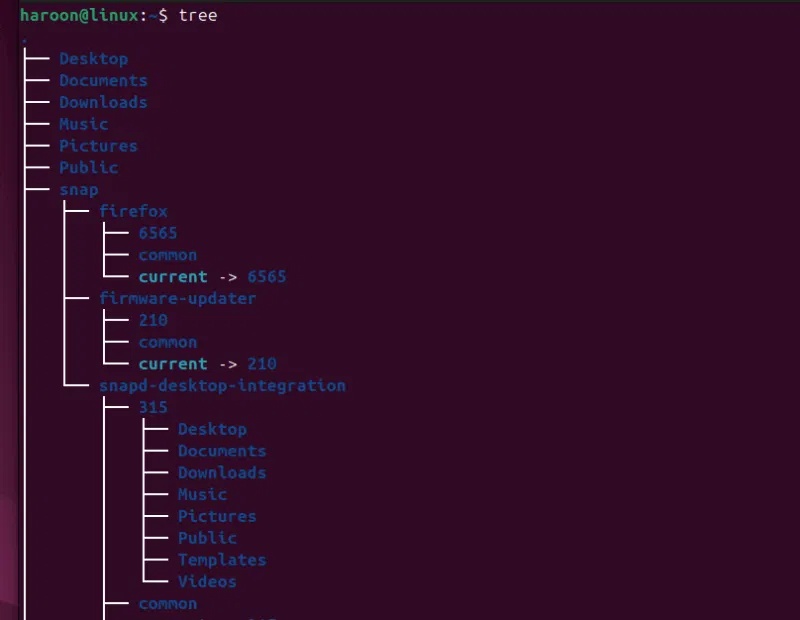
This command will print the current directory tree, showing files and directories with their connections and a final summary, such as the number of directories and files. By default, this command lists everything recursively, showing files and directories in a hierarchical view.
Control directory depth
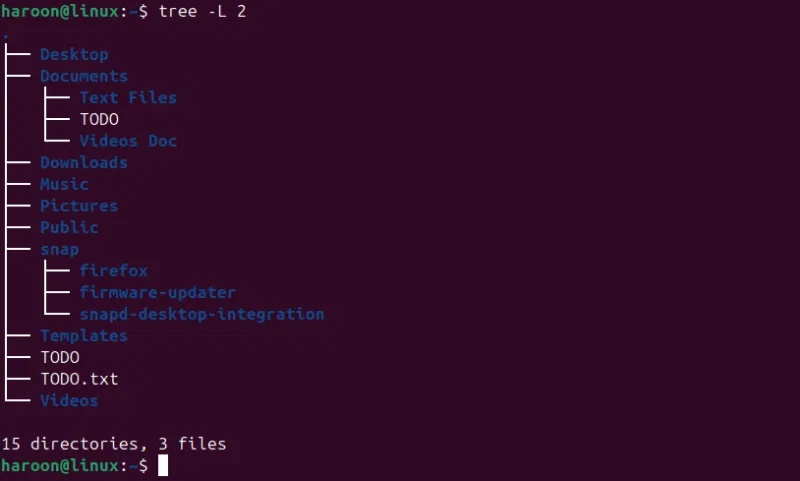
Sometimes you don't want full unlimited access to subdirectories. Maybe you're only interested in the top two levels, or you just want a clear overview rather than going too deep. To get a specific level, you can use the -L (level) flag of the tree command. For example, to show only two levels, you could use the following command:
tree -L 2
You can also combine it with other flags to be more effective. For example, you can combine the -L option with -d to show only directories and ignore files, but up to the third level:
tree -d -L 3Unlimited, this option can be expanded infinitely, suitable for small setups but too much for large folders.
Include hidden files and folders
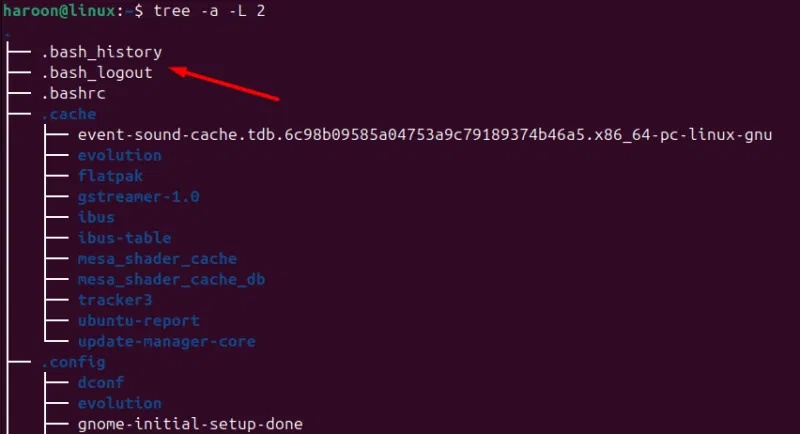
In the Linux world, any file or directory that begins with a period (.) is considered hidden. These files or directories are not typically used on a daily basis. They are often configuration files or metadata directories, such as ".bashrc", ".profile", or the ".git" directory common in Git repositories. The tree command will hide or ignore these hidden files and directories by default.
However, you can include them with the -a flag:
tree -aNow you will get every directory, including all important hidden configuration files. If you want hidden files along with depth control, use this command:
tree -a -L 2
Display files by matching pattern
Sometimes you don't want to see everything; you're looking for something specific. Maybe you're only interested in Python files, or you're looking for all your Markdown documents. The -P option lets you specify a pattern to match.
For example, if you just want to see Python files, run:
tree -P "*.py"If you are looking for all text files, use:
tree -P "*.txt"You can also use wildcards and get creative with your patterns. Let's say you need to find all files that start with config; you can do that with:
tree -P "config*"When you use -P, the tree will still show the directory structure, but it will only show files that match your pattern. Empty directories, that is, directories that do not contain matching files, will still appear in the output. If you find this confusing, you can use the --prune option :
tree -P "*.py" --pruneThis option will remove any empty directories from the output, giving you a cleaner view that only shows the paths to the target files. One more thing: If you want to exclude names that match a pattern, use -I instead of -P.
Display file sizes in an easy-to-read format
Honestly, seeing file sizes in bytes isn't really that helpful. When a file is 524288 bytes, you have to stop and do some mental math to come up with about 512 KB. Fortunately, the -h option solves this problem beautifully. It displays the file size in a readable format, exactly how we think about file sizes. For example:
tree -h
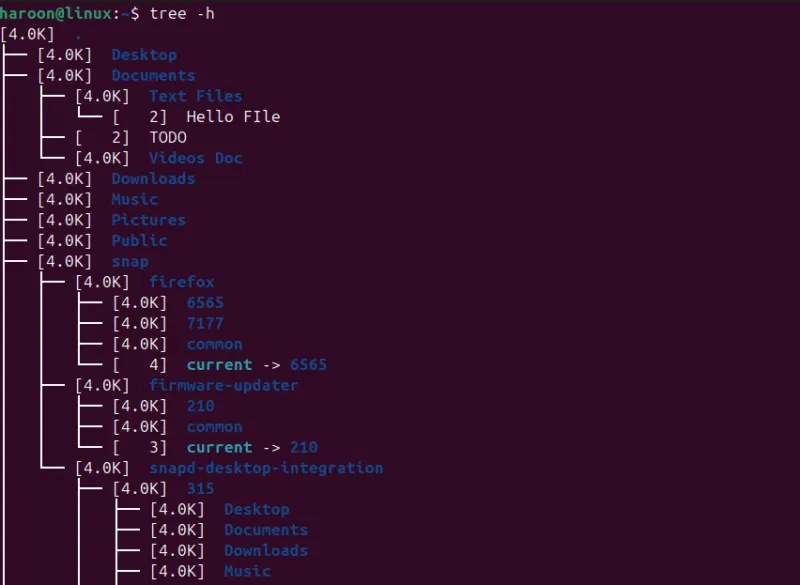
Now instead of 524288, you'll see 512K. A file that's 1048576 bytes will become 1.0M. This is useful when you want to see where all your disk space has gone. You can quickly scan through the directory tree and spot suspiciously large files.
Here is another command combination that many people use often:
tree -hL 2This command shows two levels of depth, with human-readable file sizes.
Combining tree with other commands
In Linux, the real power isn't in any single command, but in how you combine them. The tree command just outputs text. And we can pass it to other commands and perform various operations on it. The (|) takes the output from the command on the left and sends it as input to the command on the right.
Let's say you want to run a directory tree on a large directory, but you don't want it to flash across the screen in 30 seconds. You want to be able to scroll, search, and read it at your own pace. You can do this by combining tree with the less command:
tree /usr/lib | lessRun this command, and your screen will lock to the first page of the tree output.
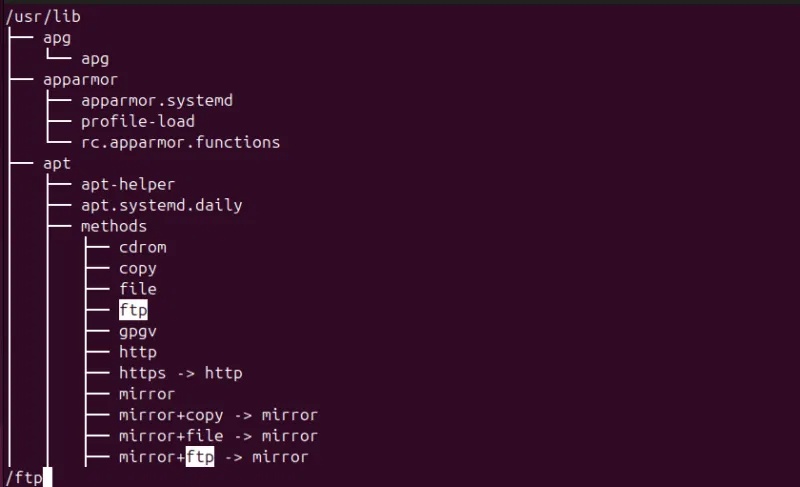
You can now use the arrow keys (Up/Down), spacebar to move down a full page, / followed by a word to search for that word in the entire tree, q to exit and return to the command prompt.
Save or export the results of the tree
Sometimes you need to save that tree structure for later use. Maybe you're documenting a project, creating a report, or just want to take a snapshot of the directory structure before making changes. The simplest way to do this is to use a redirect command like this:
tree > directory_structure.txtThis command will save the entire tree output to a text file. Simple, efficient, and you can open it in any text editor.
You can also create an HTML page with clickable links and collapsible sections using the built-in -H option:
tree -H . > structure.htmlOpen it in a browser and you'll get an interactive view of your folder structure.
To archive the document, you can also save the output in a specific format:
tree -L 3 -a --dirsfirst > project_docs.txtThe --dirsfirst option lists directories before files, making the output more organized. This is perfect for README files or project documentation.
Finally, you can also add to existing files if you're building a larger document:
tree -L 2 >> documentation.txtThis command will append the tree output to the end of your existing document file without overwriting what is already there.
Was this article helpful?
Your feedback helps us improve.
Related Articles
 Learn the file system and folders on Linux operating systems19 minutes read
 How to copy (and paste) files and folders from the Linux command line5 minutes read
 Basic Linux commands everyone needs to know28 minutes read
 The Cat command in Linux5 minutes read
 How to use Isof command on Linux14 minutes read
 Basic file system in Unix / Linux11 minutes read
Reader Comments 0
Sign in with email or Google to join the discussion.