How to use Terabox storage with 1TB for free
Users can backup, sync, access and share content right on the application. The article below will guide you to back up data on Terabox.
What is Terabox?
As the name suggests, the TeraBox app offers one terabyte (1TB) of storage, but unlike other competitors in the cloud storage industry, this is completely free. However, there are limitations, including advertising, file size and quantity limits, and bandwidth throttling.
Paid plans improve these drawbacks and offer 2TB of cloud storage. The price is reasonable, but there have been privacy and security concerns with TeraBox, so use it safely and sensibly.
Like Google Drive, TeraBox users will most likely access their files - whether it's to upload, download or view - using a browser. Here, there are folders running along the left side for file types, such as documents, photos, videos and music. The Trash tool is also accessed here - deleted files stay there for 10 days before they are permanently deleted (this can be upgraded to 30 days with paid Premium accounts).
To share files, users can choose between items already in the cloud storage or from another computer or device. In addition to choosing how to share files (via email or with a single link), TeraBox users can choose how long the file will be available (24 hours, 1 month, 6 months or forever) and add an access password access to which areas need increased security.
Instructions for using Terabox to save data
Step 1:
Users click on the link below to enter the Terabox interface on the computer
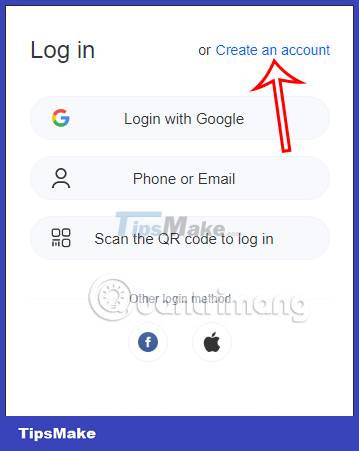
At the website interface, click Create an account to create a user account.
Step 2:
Then you choose to create an account via email or phone number to use. You will immediately be transferred to Terabox's main interface to perform the data storage process.
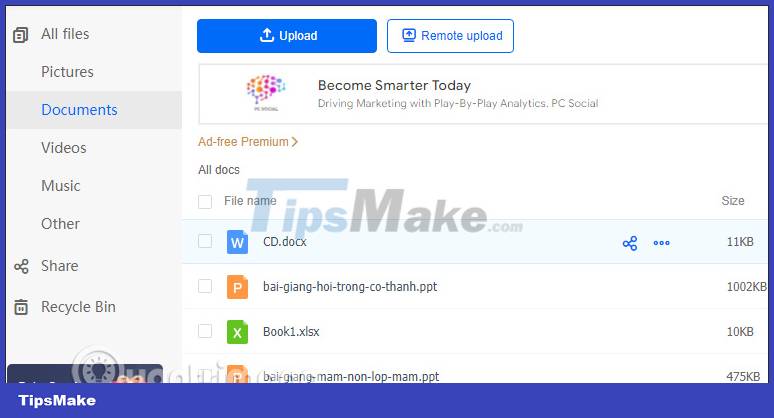
You will see the Terabox service categorizes stored data formats so we can easily search quickly.
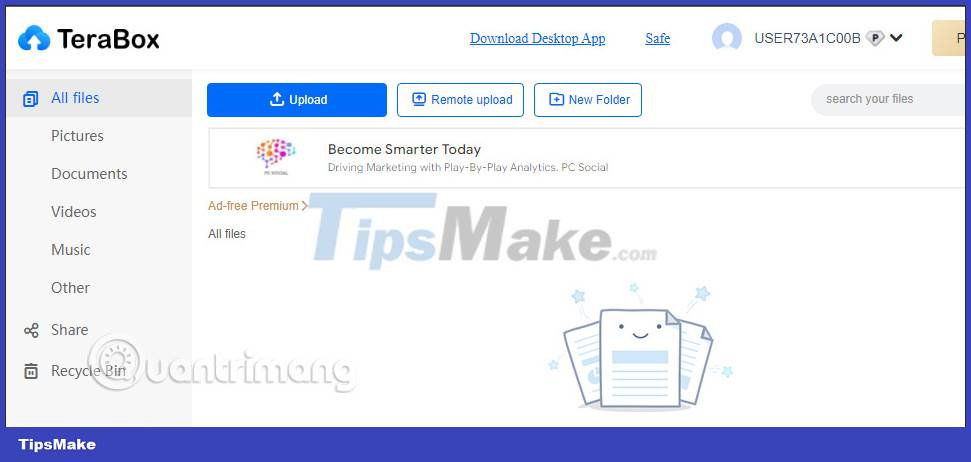
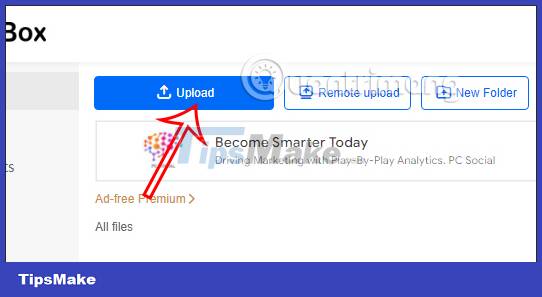
We click Upload to upload files or folders to the service. In addition, you can create folders right on the service to store data.
Step 3:
Immediately after that, the process of uploading data to Terabox will be conducted. While downloading data, users can press stop to postpone the data download process.
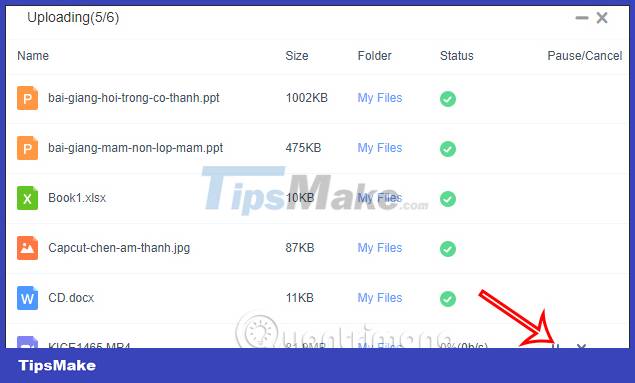
After downloading, the service automatically transfers the files to the correct file type so you can click to select them immediately when you want to find data.
Step 4:
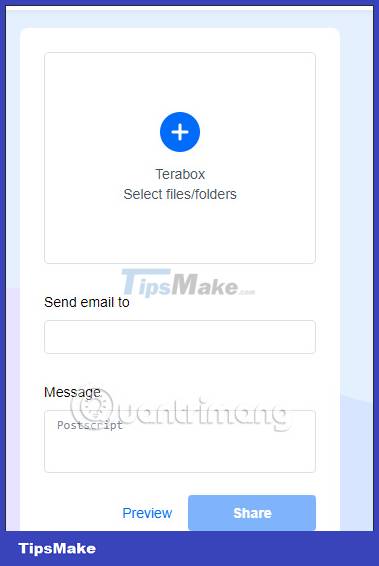
In addition, in the Terabox service, you can share files stored in the service by clicking Share. Here, users upload files or folders in the service to the interface, fill in the email to receive the file and then click Share to send.
Step 5:
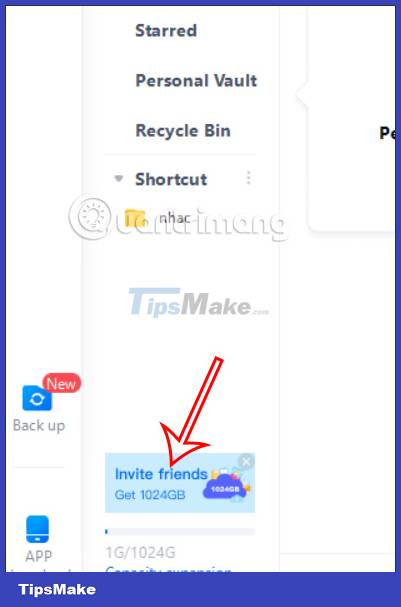
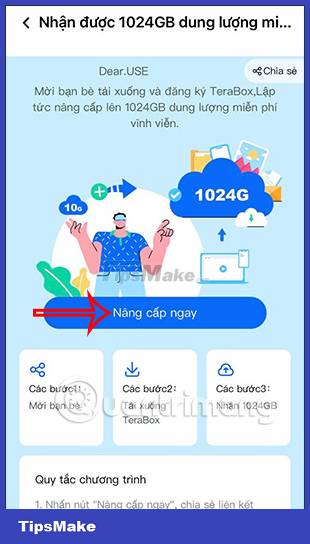
To receive 1024GB, you will click on the Invite friends notification to receive 1024GB.
At this point you will switch to the instruction website page. We will scan the QR code to install the Terabox application on your phone. Log in to your account and you will see instructions for sending you a link to install Terabox.
We click Upgrade now and then see the link to share with friends so they can install the application. For each Terabox account, there will only be 1 link to invite friends and only 1 time to receive 1TB. After your friends register for a Terabox account, this link automatically disappears.
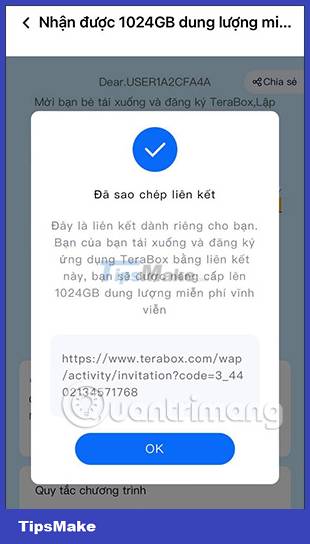
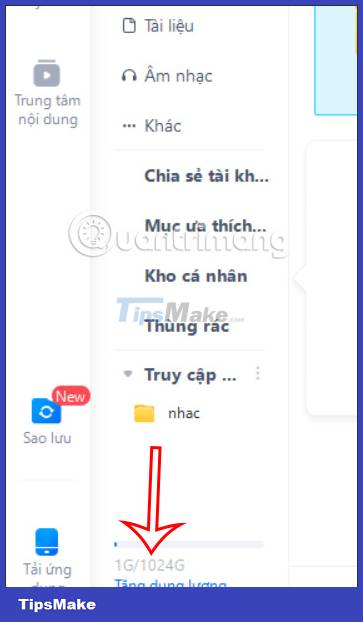
As a result, you have 1TB for free as shown below.
