Unlimited online data storage on Sendit.cloud
Online data storage services are now widely used by many people, because of the convenience when you can upload and download data at anytime, anywhere and especially do not occupy system resources. We can name some famous cloud storage services like Google Drive, Dropbox, One Drive, Mediafire, Mega.nz, .
There are also many other hosting services like Sendit.cloud, which the Network Administrator would like to introduce to you in this article. Sendit.cloud is a completely free, unlimited online storage service. The speed of uploading and downloading files on Sendit.cloud is relatively fast, with support for playing video and audio content on the download page.
Step 1:
First of all, we can access Sendit.cloud's homepage according to the link below.
- https://sendit.cloud/
Step 2:
Sendit.cloud supports service users who do not need a registration account to store files. However, if the account is not registered, the uploaded file will be deleted within 7 days and the data management features will be much more limited.
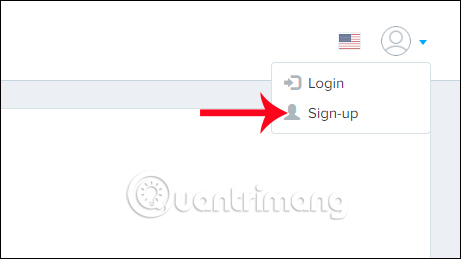
To register an account using Sendit.cloud, first click on the icon on the right of the interface, then select Sign-up .
Step 3:
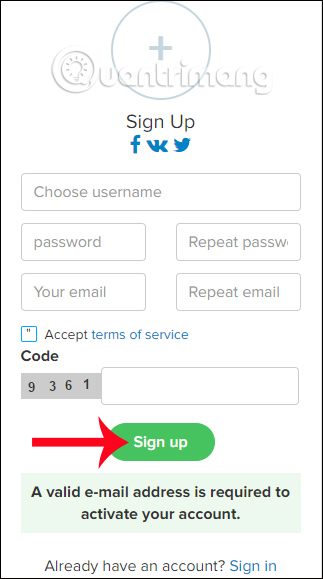
Account registration interface appears. We enter the required information in this interface. Then click Sign up button to register your account.
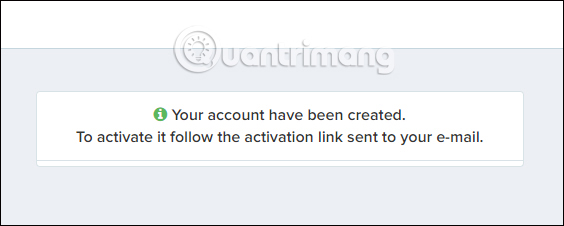
When the following message appears, your account has been created. And we need to access the registration email to activate that account.
Step 4:
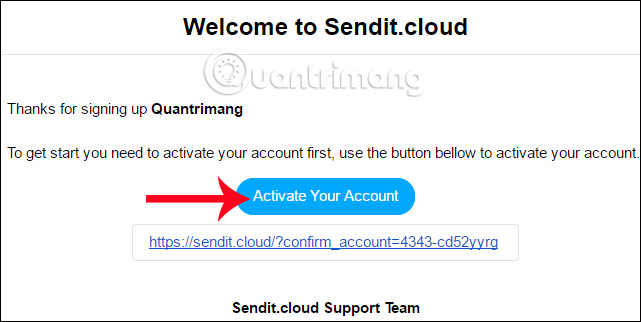
Log in to the registration email and click the Active Your Account button to activate the account on Sendit.cloud. Thus, we have registered to use Sendit.cloud successfully.
Step 5:
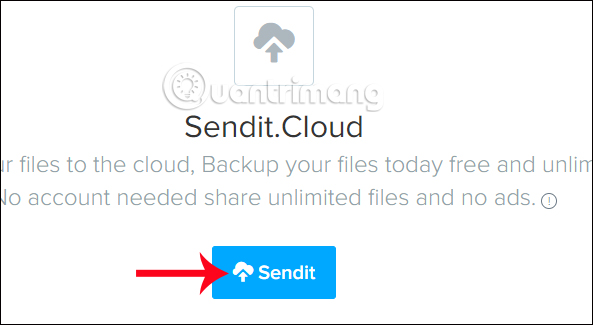
Go back to the interface on the Sendit.cloud page, to download the data click on the green Sendit button in the middle of the interface.
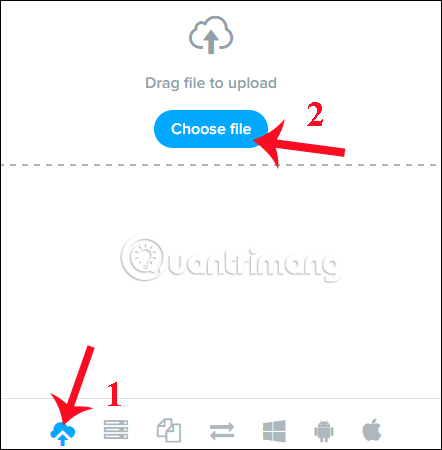
Sendit.cloud supports users with 5 ways to download data , including:
Upload : when clicking on the cloud icon you will see a Choose file button to upload data from the computer. Or you can drop or drag the file to the interface Drag file to upload. The service will not limit the number of files, formats and file sizes.
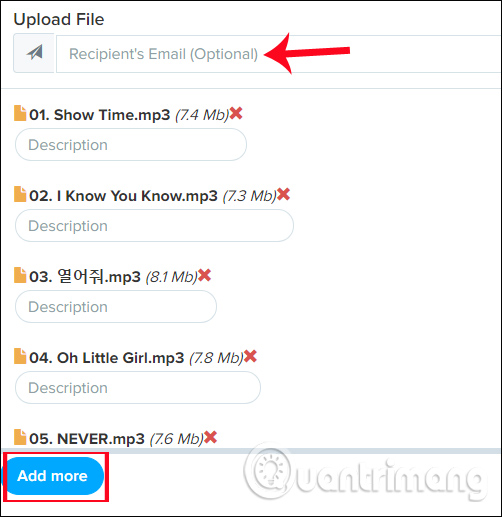
Next to add data click Add more or press the X icon to remove any file that does not want to upload Sendit.cloud. Above the Email Recipients bar to enter the email address you want to send data to if you want.
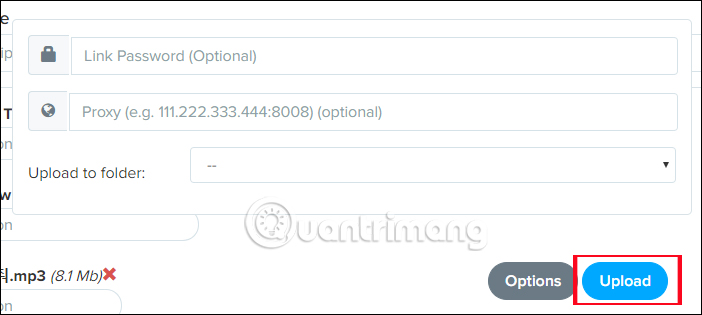
In addition, when clicking the Options button, you will have the option to create a data password, add a proxy. Finally click Upload to download the file.
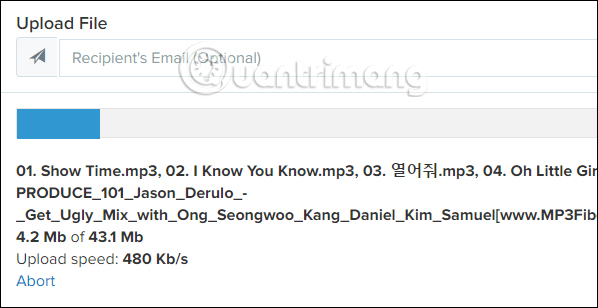
Finally we wait for the download process on Sendit.cloud to complete.
Remote URL Upload : we can download data from any website via the URL link of the data. We paste the data URL and select the TOS and click Upload to download the file.

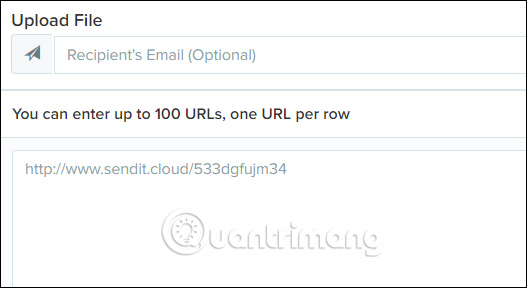
Clone / Copy Sendit files : upload Sendit file to account by sharing link (support up to 100 links).
Finally, FTP Uploads download files from FPT servers and Upload from Windows, Android and Mac to download files from Windows, Android or Mac.
Step 6:
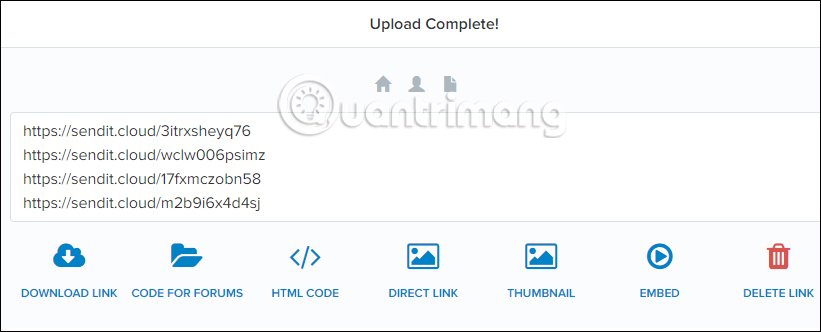
After the data download process is completed, we will be sent by Sendit.cloud to provide the shared link, embed code, HTML code, . option to delete the uploaded data.
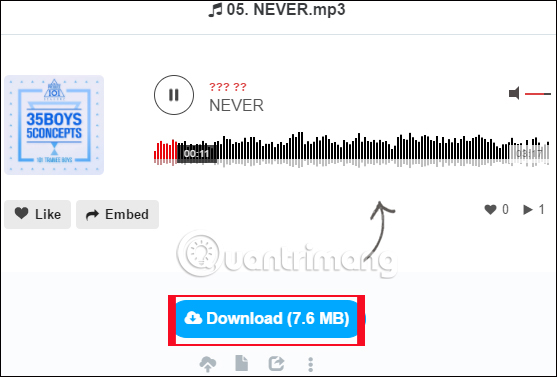
If with an mp3 or video file, we can view them on the download page. If the data has a password, the user can still view it but cannot download it.
Step 7:
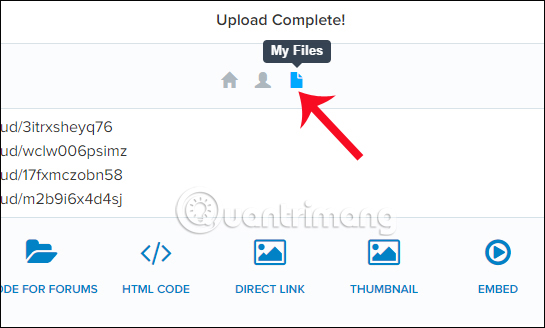
To manage uploaded files, click on the My Files icon at the top.
Step 8:
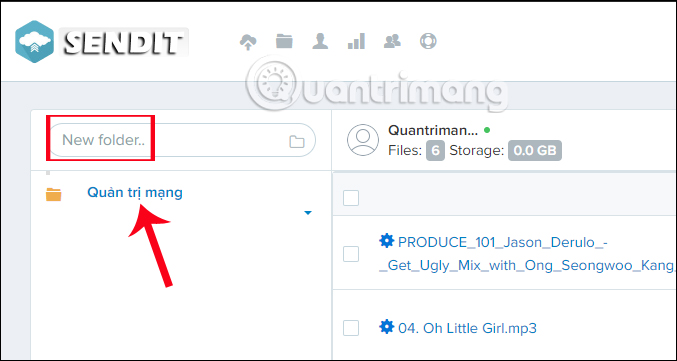
Switch to Sendit.cloud upload data management interface. Here in the leftmost New folder , enter the folder name and press Enter to create. Soon the new folder will appear below.
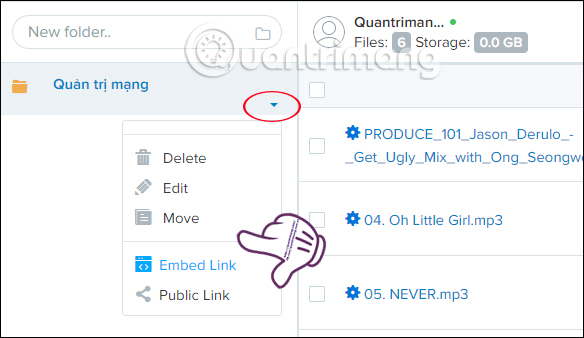
In a folder created when clicking on the triangle icon , you will have the option to get the embed code, the share link of the folder, edit the name, or delete the folder.
Step 9:
In this interface by default the files will be displayed as file formats. If you want to change the display mode to the thumbnail of the file contents , click on the gear icon in the upper right corner and choose File Preview> Save .

Step 10:
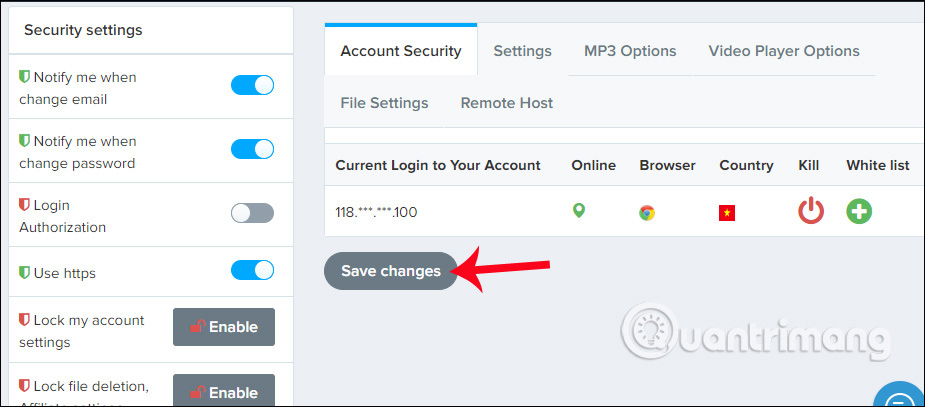
In addition, Sendit.cloud provides some other management features when clicking on the account icon and selecting Settings .
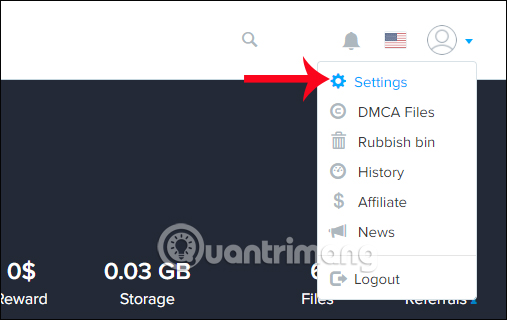
In the Settings interface, there will be options:
- Account Security: provides IP address information, browser usage, account access location. Click the Kill icon to delete the login information and the White List to mark this access address reliably.
- Settings: change the email address and account password.
- MP3 Options: turn off the audio player.
- Video Player Options: enable or disable the video player.
- File Settings: options for files like displaying the number of downloaded files, download, upload date, end of file download time, file tracking, etc.
- Remote Host: login to the supported FTP server account.
Finally, if you have changed the content click Save changes below to save it.
Above is the detailed usage of Sendit.cloud online storage service for free. Besides unlimited data storage, Sendit.cloud also provides users with multiple data management options, providing shared links, download links, embed codes, and more. This we will be able to easily manage data stored on Sendit.cloud.
Hope this article is useful to you!