How to Uninstall MegaBackup
Method 1 of 4:
Uninstalling MegaBackup from a Mac
-
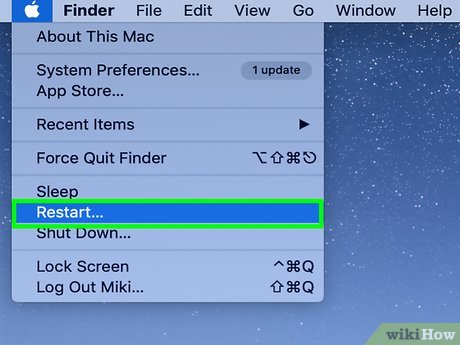
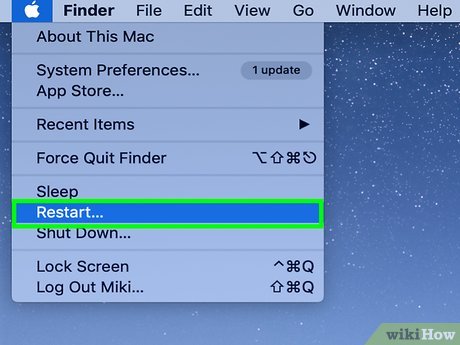
 Save your work, and restart your OS X. You'll need the Admin password during the reboot process, so be sure you know it.
 -
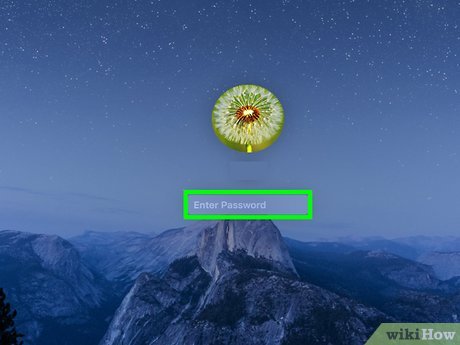
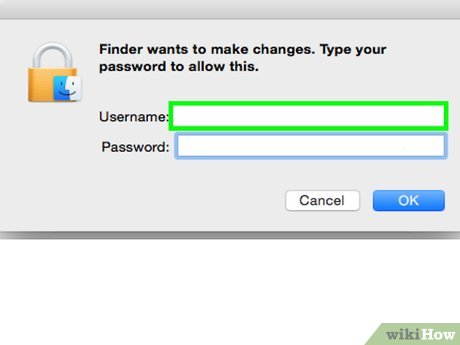
 Enter the passcode correctly. This is the key to uninstalling the app in your system.
 -
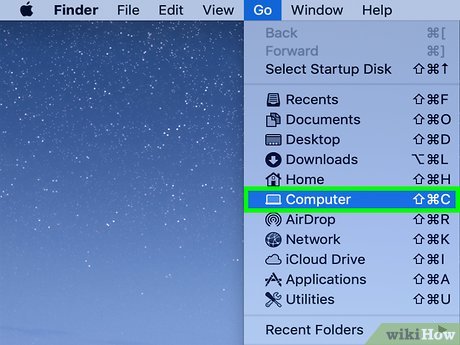
 Enter the Go menu on the top of your display. Then choose the Computer entry in the list.
 -
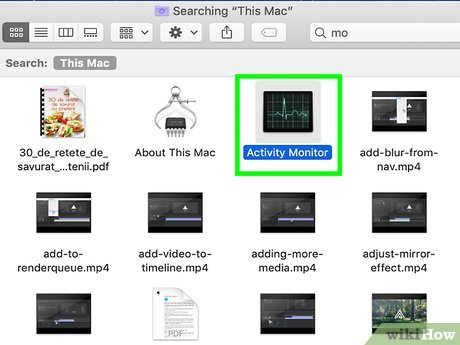
 Input MO, then select and then double click on the Activity Monitor icon from the promoted results.
 -
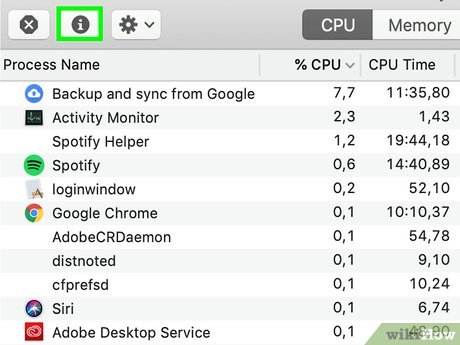
 Locate the MegaBackupAgent process above. Then hit the i icon (information) on the left top of Activity Monitor. Write down the installation info for the MegaBackup app.
 -
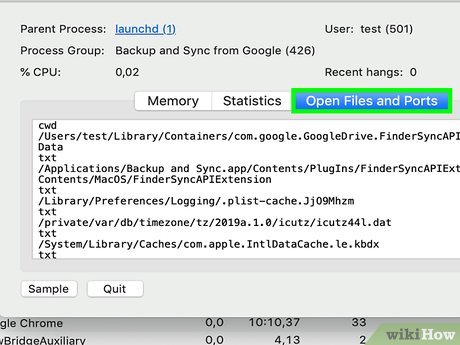
 Hit the Open Files and Ports tab. Make a screenshot of that section - this will help clear megabackup related remains and free up your disk space later.
 -
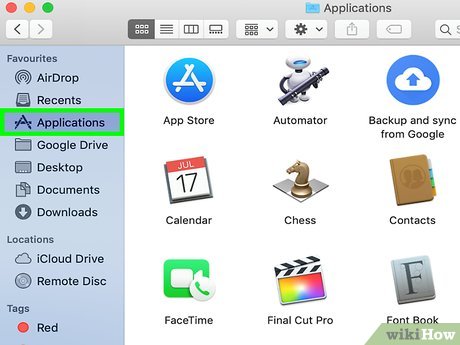
 Close the Activity Monitor. Then directly navigate to the Applications folder on the left pane.
 -
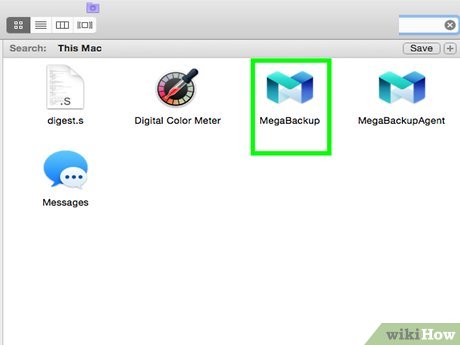
 Check out the apps you installed. You can also type me in the search box, then hit the Applications portion, and then drag MegaBackup to the Trash icon in the Dock.
 -
 Provide the uninstall wizard with your Mac password. Then hit the OK button to continue with the uninstall process.
 -
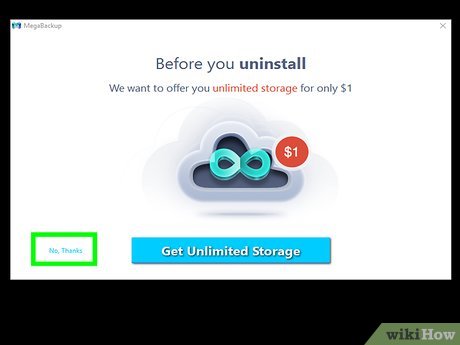
 Hit the No,Thanks option to proceed the uninstallation.
- Then your MegaBackup app should be uninstalled in seconds.
-
 Save your job, reboot your Mac, then you temporarily unhide those protected files, search and erase all of MegaBackup related leftover information.
Method 2 of 4:
Uninstalling MegaBackup on Windows 10
-
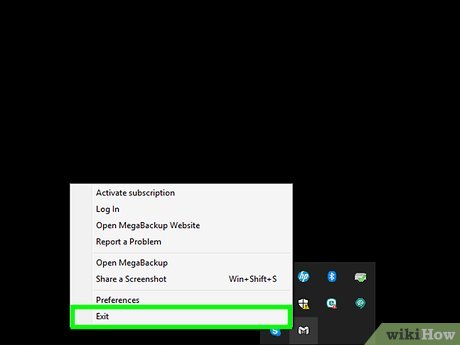
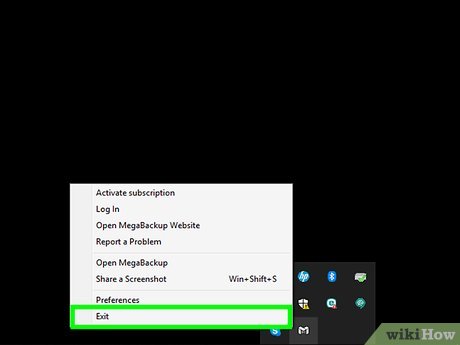
 Make sure you have the admin rights/password, then exit the MegaBackup app.
 -
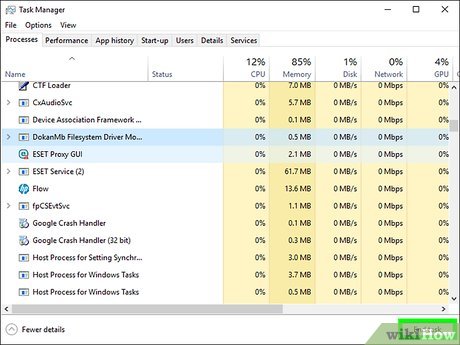
 Right click on your Taskbar. Then choose Task Manager, and then terminate the DokanMb Filesystem Driver Mounter process manually.
 -
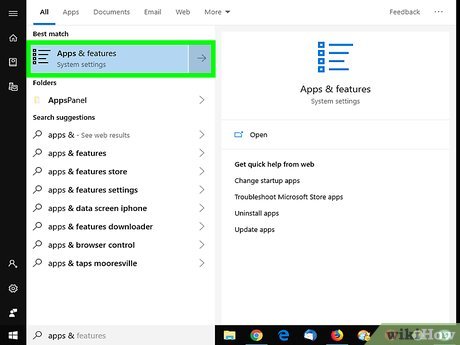
 Type apps & fea in the search tool, then choose Apps & features on the top of the list.
 -
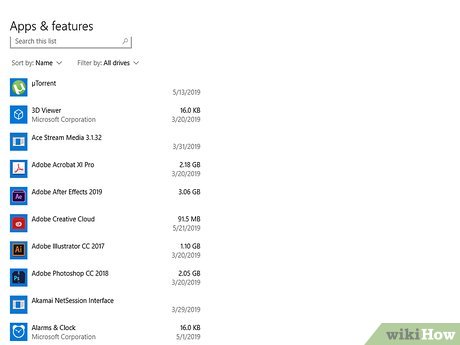
 Wait while your operating system is loading the "All Apps" list.
 -
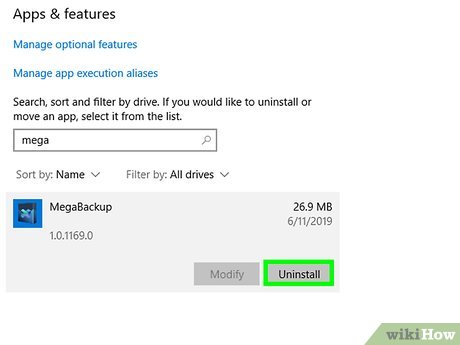
 Hit the highlighted MegaBackup item. Then hit the Uninstall tab behind it and then press the last Uninstall button when you're told that "This app and its related info will be uninstalled".
 -
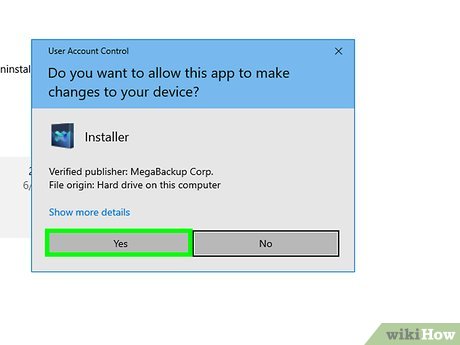
 Press the Yes button on the User Account Control alert.
 -
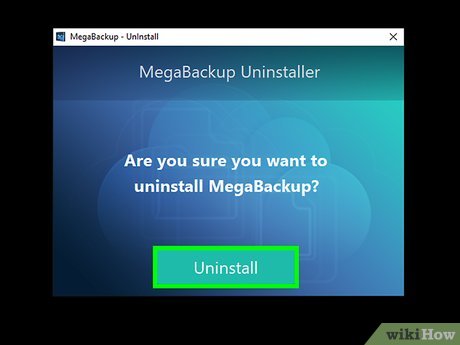
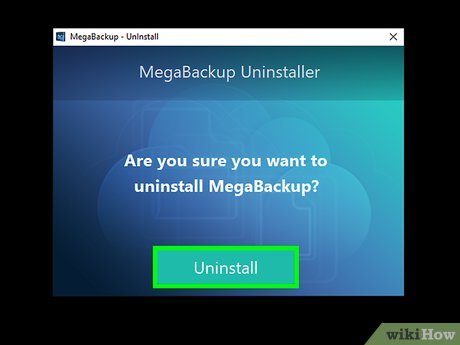
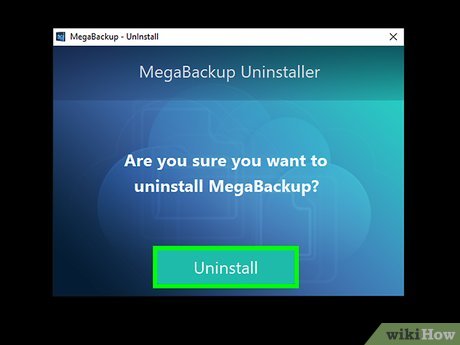
 Press the Uninstall button on the "MegaBackup - UnInstall" wizard above.
 -
 Choose the afore-mentioned No, Thanks option again.
 -
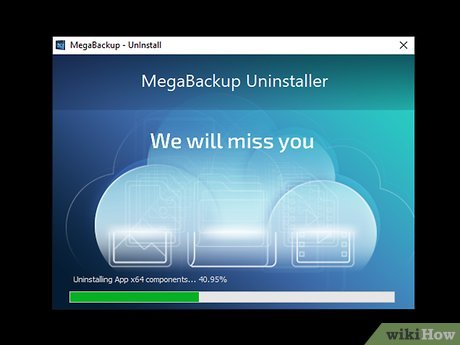
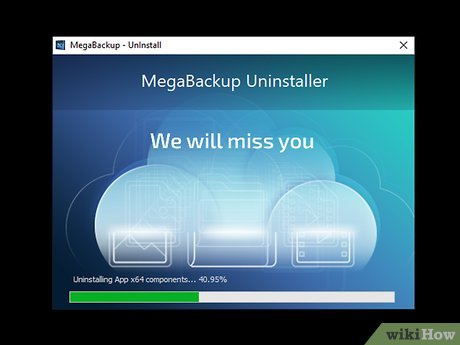
 Sit tight while the express uninstall is in progress.
 -
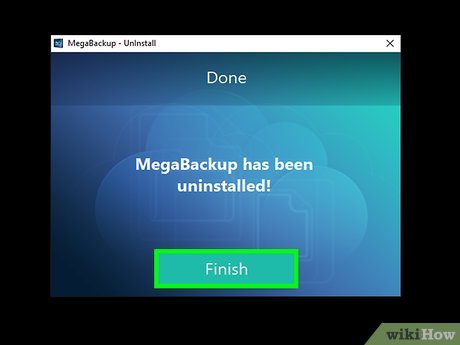
 Press the Finish button, then hit the Yes button to reboot your OS automatically when you're ready to do so.
 -
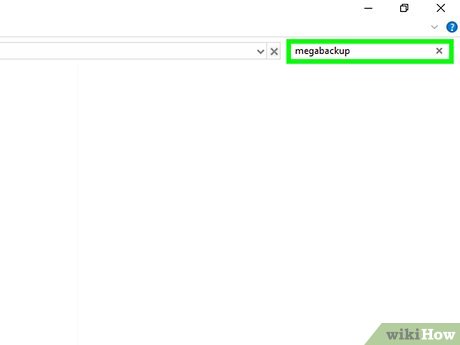
 Try clearing MegaBackup related remnants, if you're experienced at making changes to filesystem and/or Registry Editor.
Method 3 of 4:
Uninstalling MegaBackup on Windows 8
-
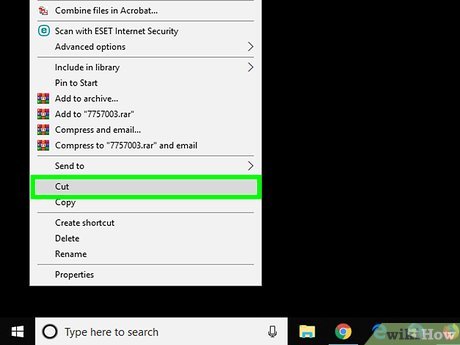
 Export or move all of your personal data that's been saved in the MegaBackup client. To do so, right click on the target item, save it on another location.
 -
 Repeat the given instructions to gain the admin rights. Then quit the unwanted MegaBackup software.
 -
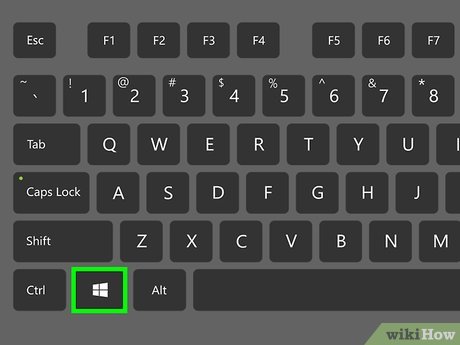
 Press the Windows key on your keyboard. Then check out the huge Start menu, and then right click on the MegaBackup icon, you finally hit the Uninstall button on the left bottom of your display device.
 -
 Locate MegaBack in the "Uninstall or change a program" list, then double click on that app. Then, review the given instructions above to get the work done.
Method 4 of 4:
Uninstalling MegaBackup on Windows 7
-
 Know that it will take a longer time to complete the task, as that software will get Microsoft .NET Framework 4.5 preinstalled.
 -
 Re-read the given details to erase the main app first, on the other Windows methods. Then uninstall the mentioned ".NET 4.5" (product version, 4.5.50709), if you do not need that installation.
Share by
Kareem Winters
Update 05 March 2020
