How to turn Dropbox on iPhone into a document scanner
If you often have to use online storage tools, then surely you will not be unfamiliar with Dropbox application. With the main function of data backup and synchronization, users can freely store all kinds of data and access it anytime, anywhere, on any different device. And in the new features that Dropbox has updated, scanning and saving documents in the app has attracted the attention of users.
This feature helps users to scan document images, then store them in PDF format. This will help save our time quite a lot when it comes to word processing, or there is no need to install other support scanning applications when it can be used right in Dropbox. So how to use the data scanning feature on Dropbox? Let's find out with the Network Administrator in the article below.
How to scan and save documents on the Dropbox iPhone application
First of all, update the latest version of Dropbox with the link below:
- Download Dropbox for iOS for free
Step 1:
At the main interface of the Dropbox application, click on the circle plus icon right in the middle of the screen. Shortly after 3 options appear, click Scan Document . A message board appears, press Try it Out .


Step 2:
Soon the application will ask you for permission to use Camera , click OK . Continue to allow images in the device , click OK .


Step 3:
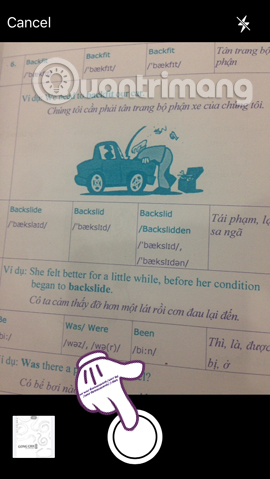
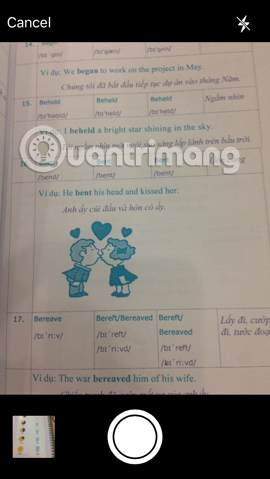
When the shooting interface appears, navigate the camera and align it to match the text content, the data you want to scan and press the capture button . Soon, the application scans the image and displays it as a document as shown below.
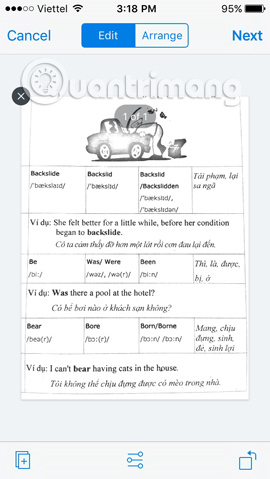
Step 4:
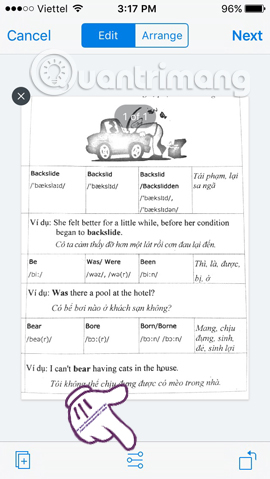
Next, we can edit the document content after scanning.
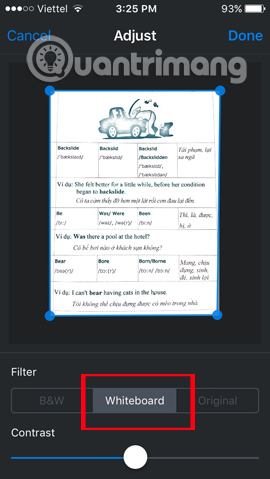
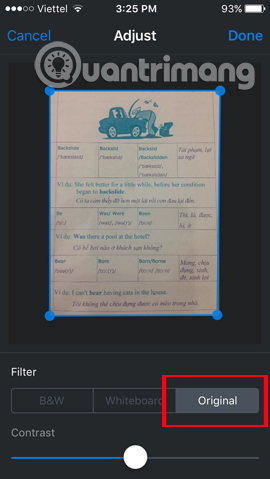
Click the slider in the middle of the screen. Switch to the Adjust interface. Here, click on B&W to erase the entire color of the text, leaving only the two basic black and white colors .
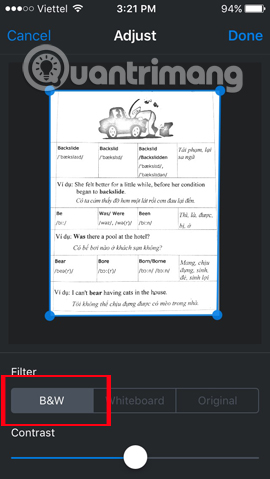
Select Whiteboard to add some color, Original to keep the original color of the image.
Step 5:
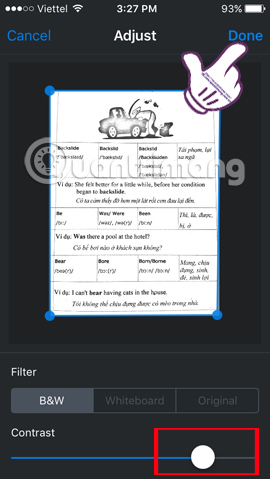
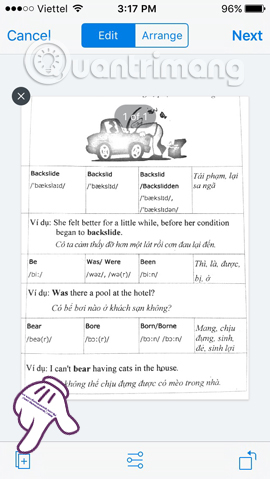
Move the horizontal slider at Contrast to increase or decrease the document contrast. Click Done to save. Soon you will have edited document images. Click the plus sign icon on the left side of the screen to capture a new page.
Step 6:
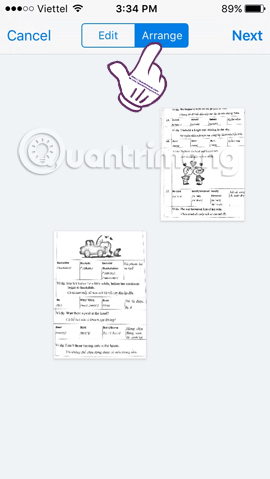
To review the scanned document pages, click Arrange . A list of content scanned pages appears.
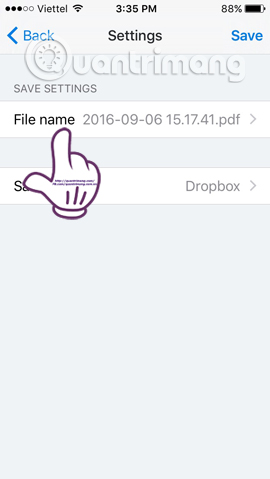
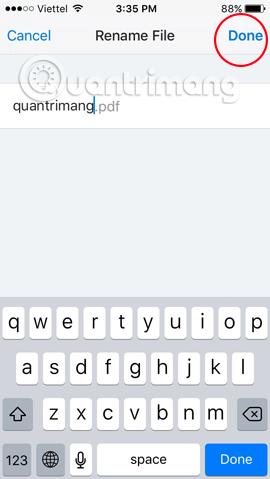
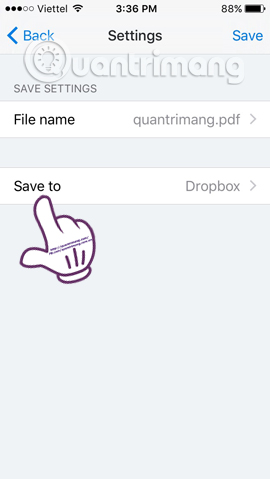
Here, you can drag left or right to change the position for the pages. Then click Next to continue. At the Settings interface, the File name entry can click to select and change the file name easily. Click Done to save.
Step 7:
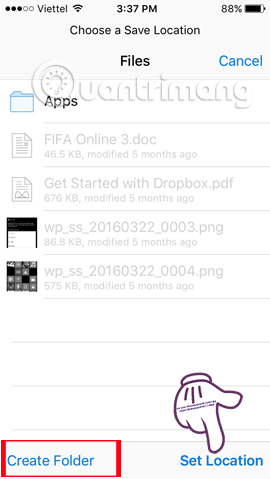
Next in the Save to section, we can select the folder to store in Dropbox or create a new folder Create Folder to save. Click Set Location .
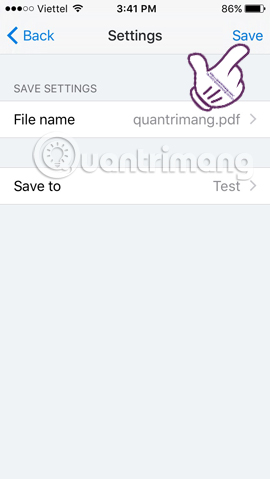
Go back to the Settings interface and click Save . You wait for the process to save the document on the device. Finally, open the scanned document content as a PDF file.
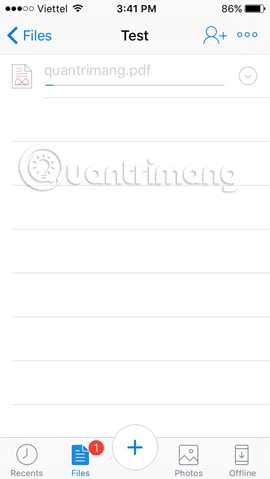
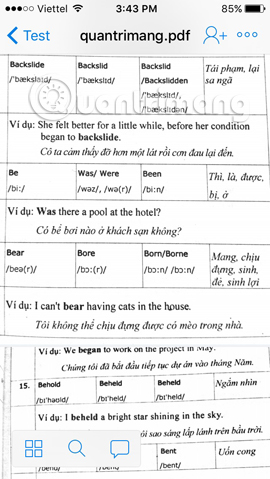
The above is step by step scanning and saving data through new features of Dropbox application. With this feature, users can create multiple PDF files just by scanning documents, editing documents such as color or contrast as you like.
Refer to the following articles:
- Synchronize the folder on your computer with Google Drive, Skydrive and Dropbox
- Enable two-layer security with Dropbox account
- Secure data on DropBox with BoxCryptor
I wish you all success!