How to Repair an Electric Fan
Part 1 of 3:
Disassembling the Fan
-
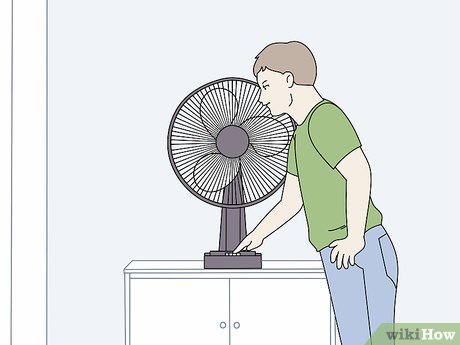
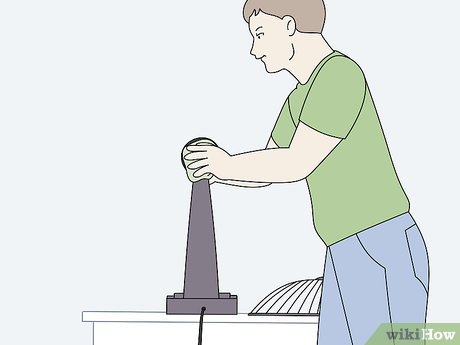
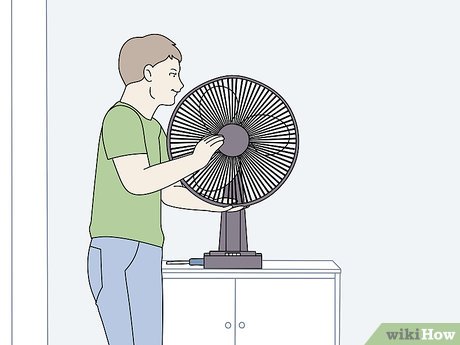
 Turn your fan on to make sure that the motor works. Plug your fan in and turn it on to the highest power setting. If the fan blades move a little or it starts to turn, the motor is probably still good. If you don't hear anything, put your ear up to the middle of the case behind the blades. Press the button to turn the fan off and on again, this time listening closely for the motor. If you hear it humming or buzzing, your motor is likely still functioning.[1]
- Check the fan in multiple outlets. It's possible that the circuit breaker on an outlet was flipped and the fan simply wasn't getting an electrical signal.
Tip: For most table and standing fans, it won't be worth it to tinker with the engine to try and get it to start again. The motor is probably dead anyway. You're better off just buying a new fan if the engine isn't firing. Feel free to disassemble the engine if you really want to try it yourself though!
-
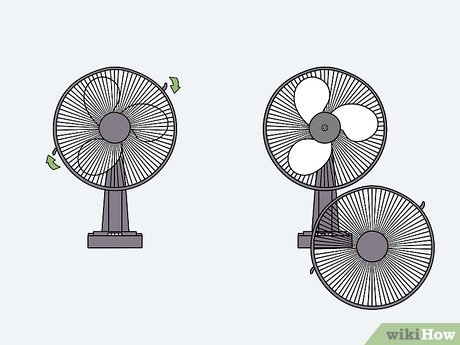
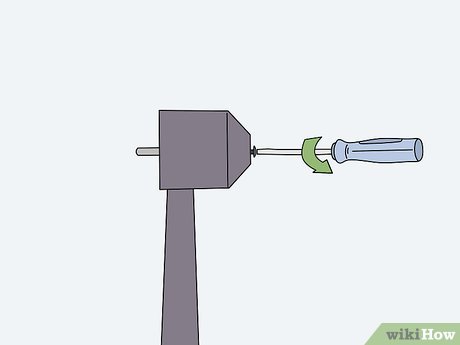
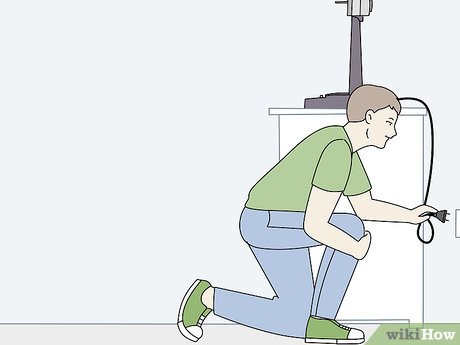
 Unplug the fan and either unhook the blade guard or unscrew the pin. Pull the fan's electrical cord out to keep it from turning on randomly while you're working on it. Feel around the sides of the blade guards for clips that are holding the 2 parts together. If there are clips, unhook them and remove the front half. If you don't see any hooks keeping the blade assembly together, try turning the circular center of the fan counterclockwise. If it loosens, unscrew it and set the front of the blade case down.[2]
- The pin is the piece of metal in the center of the fan that the blades and case rotate around.
- The blade guard, or blade casing, refers to the plastic or metal case that keeps people from getting hurt by the blades. On most fans, it either holds together with clips where the 2 pieces meet, or it relies on a cap in the middle to keep the case screwed tight.
- If you see screws holding the case together, unscrew them with a screwdriver to remove the case that way.
-
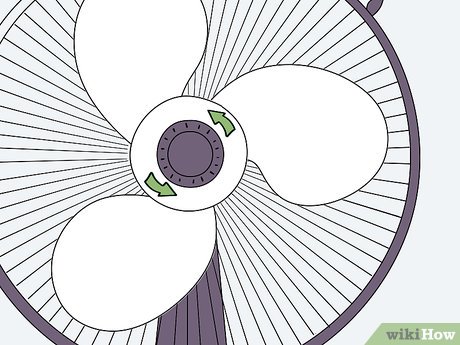
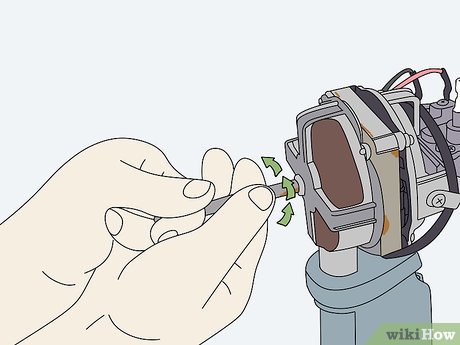
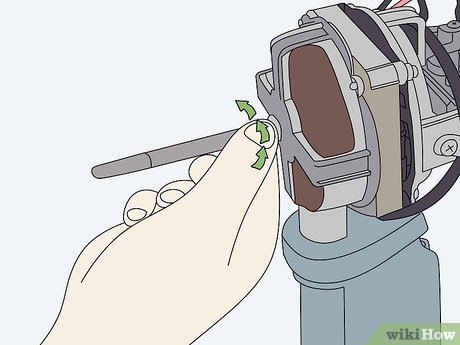
 Turn the blades or washer in the center of the fan counterclockwise to remove them. Every fan is different, but the blades are either locked in place with a small washer on the pin or by the case of the pin itself. If there is plastic blocking the center of the blades, twist it counterclockwise until it comes loose and slide the blades off. If there is no washer, twist the base of the blades while holding the pin in place to loosen them off of the pin.[3]
- Depending on the model of your fan, there may be a latch on the side of the pin locking the blades into place. This latch usually slides back and forth to lock or unlock the blades.
-
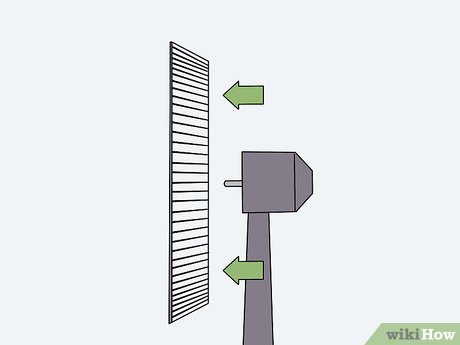
 Slide the back half of the blade guard off of the pin in the center. Remove any plastic or metal washers that are in front of the back half of the blade guard first. You may need to unscrew a few screws to access the back half. Remove any washers and slide the back half of the blade guard all the way off of the pin.[4]
- If there was a plastic washer in front of the blades themselves, then there likely won't be a washer in the back. If there wasn't a plastic washer in the front, it's highly likely that it's in the back. The washer usually acts as a stabilizer to hold the blades in place.
- If there's some plastic cover or case on front of the motor, unscrew the plate blocking the body of the motor.
-
 Flip your fan around and find the screws in the back. With your pin and front motor mostly exposed, turn your fan over to inspect the opposite side of the motor case. On most fans, there will be a plastic vent that allows heat and air to escape from the motor. There will be screws on the back holding this case in place. Use a flathead or Philips head screwdriver to remove the screws. Set them aside and pry the case off.[5]
- The case may fall right off the fan after you remove the screws. If it doesn't, insert a flathead or Philips screwdriver into a vent and pry it out.
- On some table fans, the motor will actually be underneath the base. If there's no bulky head behind the blades and there's a wide base, unscrew the bottom of the fan and pop the plastic cover off.
Part 2 of 3:
Lubricating the Bearings
-
 Turn the pin on the front of the fan with your hand to see if it rotates. Use your hand to try turning the pin in the middle of the fan. If it's sticking or resisting, the pin probably just needs lubrication. Over time, the lubricant on the pin wears down as the fan blades rotate. Re-oiling the pin will usually solve this problem.[6]
- A dried out or sticky pin is one of the most common reasons for blades to stop spinning.
- If they spin easily and there's no resistance, try turning your fan on and see if the pin spins. If it doesn't, the problem isn't the pin and there is probably a short in the motor. In this case, it'll probably be easier to get a new fan.
-
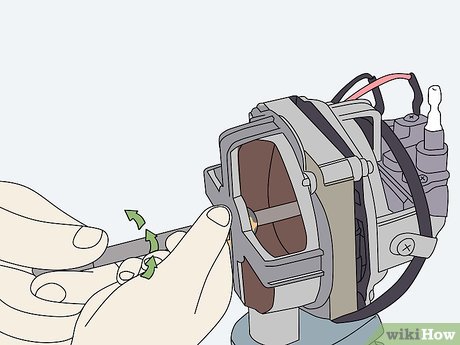
 Unscrew any washers or bolts blocking the base of the pin. With the pin exposed, there may still be 1-2 metal bolts locking the pin around the frame of the fan. Use a wrench to unscrew these pins and loosen them. You don't need to remove the completely, but you do need to be able to get underneath them to reach all of the pin.[7]
- If there aren't any washers or bolts, simply skip this step.
- Washers in this part of the fan assembly can usually be turned by hand.
-
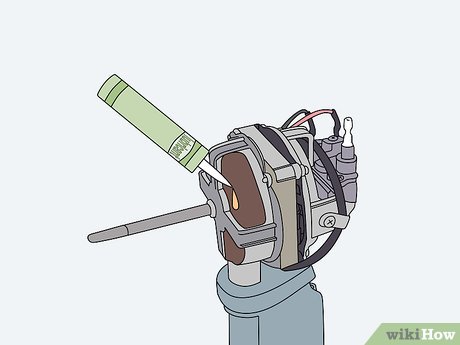
 Apply lubricating oil to the front and back of the pin. Get a bottle of lubricating oil with a thin nozzle for pouring. Get a clean rag and hold it under the pin to catch any oil that drips. Turn your bottle over at the site where the pin meets the frame of the motor and squeeze the bottle over the front of the pin. Get underneath the bolts by sliding them away from the site that you're lubricating. Repeat this process on the backside of the frame to get both sides of the pin.[8]
- Any type of lubricating oil will work. You can buy lubricating oil at any auto parts shop or building supply store.
- You can wear rubber gloves if you want to keep oil from getting on your hands. It's not toxic or anything though, and are easily wiped off before washing your hands with soap.
Warning: Use enough oil to completely coat the pin. You don't want to get any oil on the motor itself though. If you see it dripping off of the pin, tap it with the cloth to soak up the excess oil.
-
 Spin the bolts around a lubricated section of the pin while spinning it. With your pin totally oiled, slide the bolt back into place. Put the cloth down and hold the bolt with your nondominant hand. Grab the pin with your dominant hand. Slide the bolt back and forth over the lubricated section while spinning the pin by hand. Repeat the process for any bolts on the other side of the pin assembly.[9]
- This will ensure that oil gets on the inside of the bolts that hold your pin while it spins. If these bolts aren't oiled, there will be friction that prevents the pin from spinning.
- You can also slide the bolts off and oil them separately if you want.
Part 3 of 3:
Cleaning the Motor and Vent
-
 Inspect the back of your motor case for dust or grime and wipe it off. Turn the fan around and look inside the case surrounding the motor. Use a clean microfiber cloth to carefully wipe the dust away. Work your way all the way around the interior of the case to remove the dust and grime that has built up in the back of your fan.[10]
- Poor ventilation can cause dust and heat to get trapped inside the case of the motor. This can cause your fan to stop functioning—especially if your fan has an overheating feature that causes it to automatically shut off if it gets too hot.
Warning: Do not use water to clean the area around your motor. If water gets on the motor, it could cause an electrical short or destroy your fan.
-
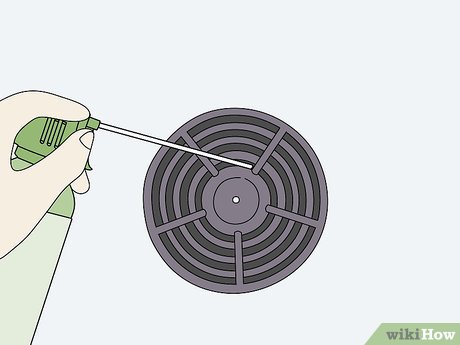
 Spray the plastic vent on the back with compressed air. Take the vent cover that you unscrewed before you lubricated your fan and hold it away from your motor. Spray both sides of the cover with compressed air to get the dust out of the hard-to-reach spaces between the vent's bars. Wipe the cover down with a dry cloth.[11]
- If this vent is completely caked in dust or debris, it's probably the reason that your fan hasn't been functioning correctly.
- If you want to get it totally clean, you can soak the vent in water and soap before letting it air dry. This is usually unnecessary though.
-
 Plug your fan in and turn it on to see if the pin spins. Before reassembling your fan, plug it back in. Turn it on to see if the pin spins easily. If it does, you can reassemble the fan. If it doesn't, you may need to clean the motor. This can be a difficult and intricate process though, and if you're working with an inexpensive fan, it's usually not worth the effort.[12]
- A lot of standing and table fans don't have a removable motor in the first place, which makes cleaning or adjusting it extremely difficult.
-
 Reassemble your fan by putting the blades, bolts, and case back together. Work in the reverse order that you disassembled your fan. Tighten the bolts on your pin with a wrench and put any washers back before sliding the blade guard back over the pin. Slide your blades on top so that the back blade guard separates the blades from the motor. Put the plastic vent back on the back of the motor case and screw it back in. Reattach your front blade guard and lock it in place.[13]
- Turn your fan back on. If the blades are spinning more slowly than the pin was when you tested it, it's a sign that your motor is dying. It's operating at a power too low to completely turn the fan.
Share by
Micah Soto
Update 05 March 2020
