Table of Contents
This updated guide explains how to Break a Chain through clear steps, practical examples, and important checks that help prevent common errors.
Method 1 of 3:
Using a Chain Tool
-
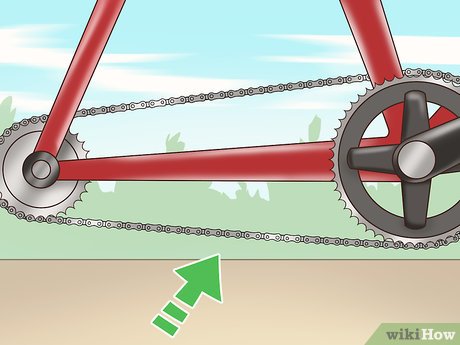 Make sure the chain is taut. You'll want to avoid having any slack in your chain as you're trying to break it. If you're working on a bike chain, shift the chain to the largest front and rear sprockets. Then, shift it to the smallest cogs to make the chain wrap around the derailleur pulleys and make it as taut as possible.[1]XResearch source
- If the chain is wrapped around the derailleur pulley, make sure the pulley does not pull so far back that the chain makes contact with itself.
-
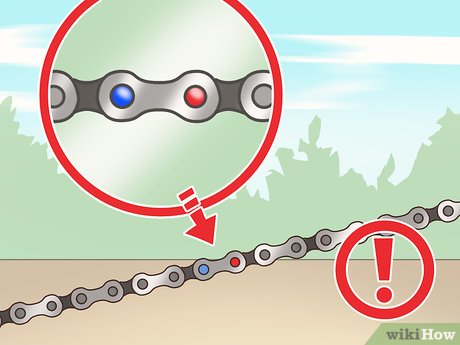 Locate the special connecting rivet and avoid breaking the chain there. Connecting rivets will look different from other rivets in the chain; they may have special flaring or color that other rivets don't. When preparing to break the chain with a chain tool, make sure you break a rivet that is several rivets away from any connecting rivets in the chain.[2]XResearch source
- If you're having trouble identifying connecting rivets in your chain, search the brand name of your chain along with the words 'connecting rivets.' If your chain has connecting rivets, the manufacturer will probably have a picture of them available on their website.
-
 Place the chain tool on the rivet where you plan to break the chain. Line the driving pin of the chain tool up with the rivet in a straight line and make sure the two are in contact. If your chain tool has a receptacle for the pin once it's removed, make sure the rivet is lined up with this receptacle as well.[3]XResearch source
- You may need to unscrew part of the chain tool to retract the driving pin before you can place the tool on the rivet.
- Make sure the driving pin is in the center of the rivet head; otherwise, you won't be able to force it out.
-
 Force the rivet out to break the chain. Once you've lined up the driving pin with the rivet head, turn the handle with force and slowly drive the rivet out of the front plate and partially through the rear plate. Before completely removing the rivet, withdraw the pin and break the chain with your thumbs, leaving the rivet slightly protruding from the rear plate.[4]XResearch source
- This method will allow you to easily locate the hole if you decide to reconnect the link.
- If you don't plan on reinstalling or repairing the chain, feel free to push the rivet all the way out with the chain tool.
Method 2 of 3:
Using Pliers
-
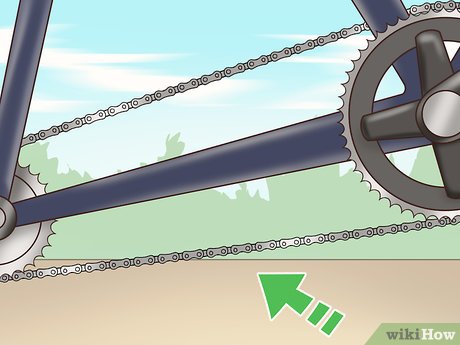 Shift the bike chains so that they're taut. To avoid having any slack in the chain, shift it to the largest front and rear sprockets, and then shift it to the smallest cogs so that it wraps around the derailleur pulleys. This will make the chain as taut as possible.[5]XResearch source
- If the chain is wrapped around the derailleur pulley, make sure the pulley does not pull so far back that the chain makes contact with itself.
-
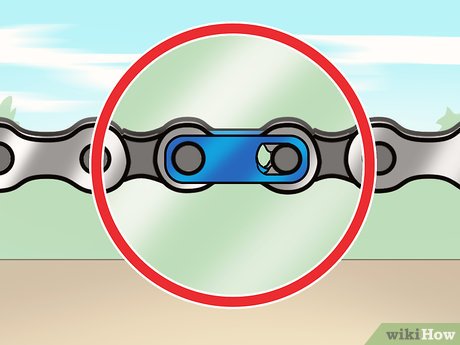 Locate the master link on the chain. On a linked chain, the master link will have a pair of unique side plates that may be a different color than the other links. This is the link you'll disengage to break the chain when using pliers.[6]XResearch source
- The master link will also probably have an embossed arrow on it pointing towards the inside of the chain loop.
-
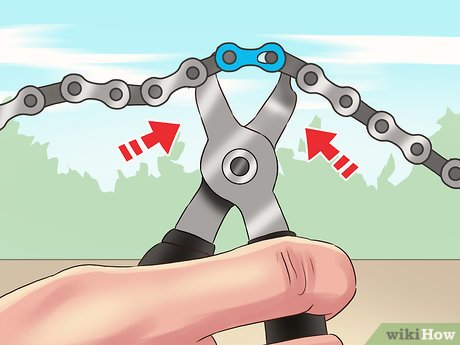 Use the pliers to disengage the master link. Position the pliers over the master link such that one head is placed on the outward side of the master link pin and will be squeezed in the direction of the arrow on the side plate. The other head should be placed on the outward side of the opposite pin. Then, squeeze the pliers to push the pins together and press both side plates inward until the link is broken.
- If you have special pliers designed specifically for use on master links, they will automatically press the side plates inward for you.[7]XResearch source
Method 3 of 3:
Breaking a Chain with Bolt Cutters
-
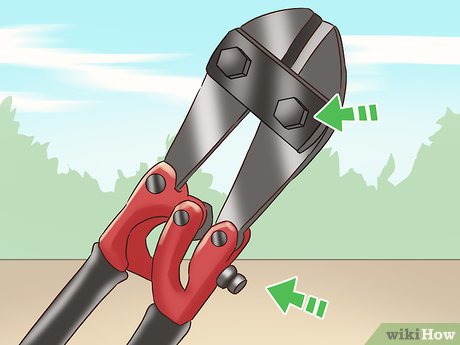 Adjust the cutters to match the strength of the chain. Most bolt cutters come with an adjustment bolt that allows you to adjust the tension on the blades. Use this bolt to set the correct tension for the hardness of the chain you're breaking as well as your own operational comfort.[8]XResearch source
- For small chains like bike chains, you most likely will not need to adjust your bolt cutters; the weakest setting will probably suffice.
-
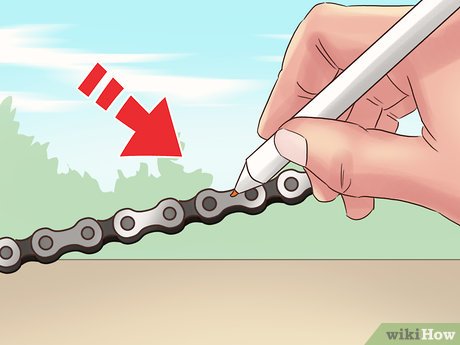 Mark where you may need to make the break on the chain. To ensure you make a clean cut in the right location, use a marking line or even a small dot to to mark where you want the cut to be made. Use a marker, paint, or sharp blade to make the mark.[9]XResearch source
- You should also clamp the chain before cutting it, if possible, to make the chain easier to break. However, this is not strictly necessary for breaking a chain with bolt cutters.
-
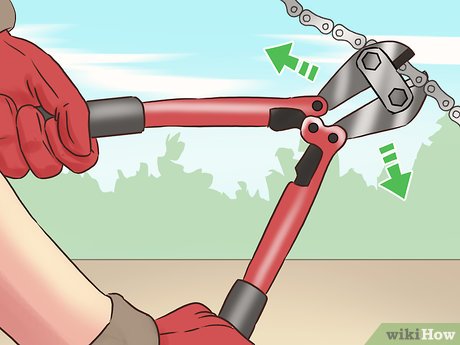 Open the blades and position the cutters over the mark. Pull the handles of the bolt cutters apart to open the blades, making sure to open them as far apart as possible before proceeding. Then, move the cutter head so that the marked part of the chain is situated between the blades.[10]XResearch source
 -
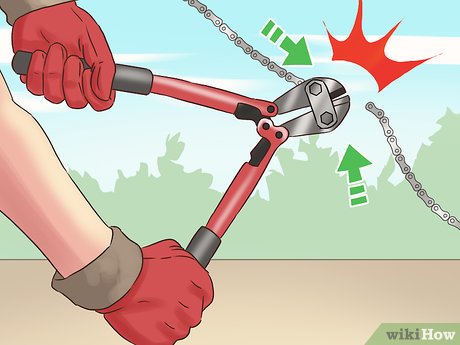 Close the blades and apply force. Move the handles back towards one another to close the blades over the chain, going slowly at first. Once the blades have made physical contact with the chain, continue closing the blades and apply force until the chain has been broken.[11]XResearch source
- Make sure you're using a firm grip when closing the blades. If your grip is too loose, the blades may slip away from the material and cause harm to you or others around you.
- Some chains may require you to break off from your initial cut, reposition the blades over the cut, and apply force a second time before they finally break.
FAQ
What is the easiest way to Break a Chain?
Start with the requirements in this guide, then follow each step in order. Check the result after every major change so problems are easier to identify.
Can beginners follow these instructions?
Yes. The process is organized into practical steps, and you can repeat any step before moving forward.
What should I check if the method does not work?
Confirm your software or device version, permissions, settings, file format, and internet connection when the task depends on online services.



Reader Comments 0
Sign in with email or Google to join the discussion.