How to Open a BIN File
Burn BIN File
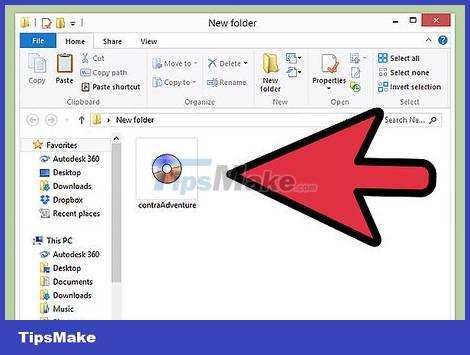
Find files. If you want to burn a BIN file to a CD or DVD, you will need the included CUE file. If you have a BIN file but cannot find a CUE file, you can create a file in that format.
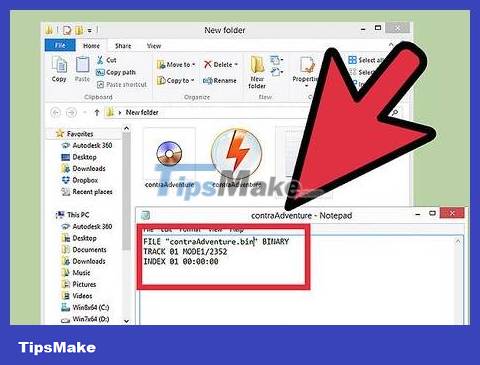
Create CUE file (if not available). Open Notepad and enter the following command line:
FILE " filename.bin " BINARY
TRACK 01 MODE1/2352
INDEX 01 00:00:00
Change filename.bin to the name of the BIN file to be written. Keep the quotes.
Save the file in the same folder as the BIN file. The CUE file should be named exactly like the BIN file, except for the .CUE extension. Click File → Save As. Click the "Save as type" drop-down menu and select "All Files." Create a file extension of .CUE.

Open the burning program. Because BIN is an old format, only previous versions of the program can fully support it, especially for multi-track BIN files. Popular programs include CDRWIN, Alcohol 120%, and Nero.

Download image files. Depending on the program, you need to download a CUE file or it may require a BIN file. Once the image file is loaded, you will see an information display showing how much space the image file will take up on disk.
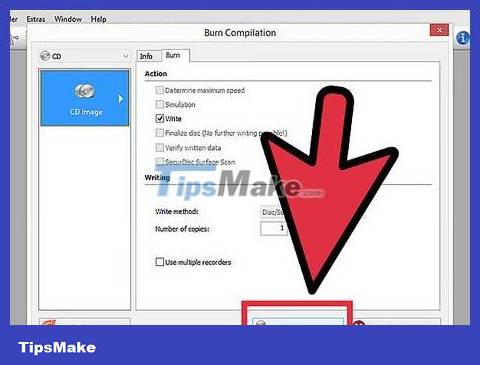
Start burning the disc. Once you've verified that the image is loaded correctly, you insert the blank disc and start burning. Burning time depends on image size, writing speed, and computer performance.
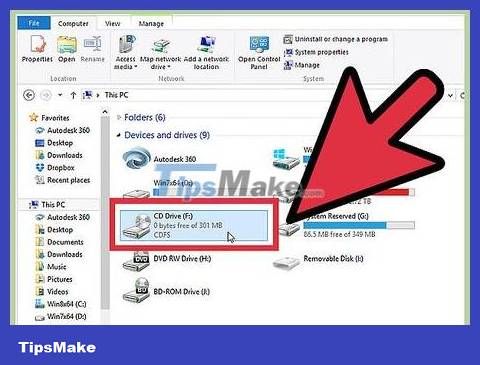
Check the disk. Once the recording process is complete, you can test the disc by inserting it into the player. You need to make sure that all the data is loaded correctly, and that the songs are in the correct order.
Mount Image
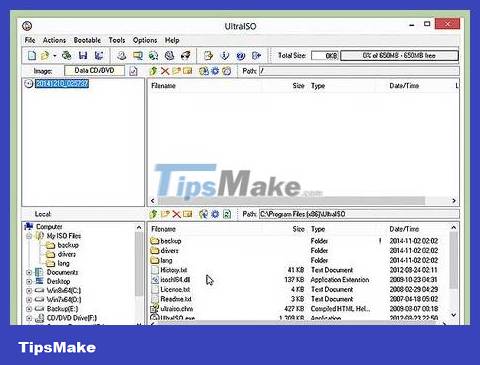
Install software to create virtual drives. The virtual drive will duplicate the physical optical drive in your computer, and allow you to "mount" image files to it. This makes the computer think that the disc is inserted, and the image is loaded just like when playing the disc.
Currently there are many software to create virtual drives. WinCDEmu is one of the most popular free software. But you should be careful when installing it because the program often installs browser toolbars and other software that you don't need to use.
Mounting an image is only available if the image is designed to run on a computer. For example, if you mount an image of an old console video game, the data cannot be played, because the original disc only works on the console interface.
Windows 8 and OS X often have built-in virtual drive software, but the first step is that the BIN file needs to be converted to ISO.
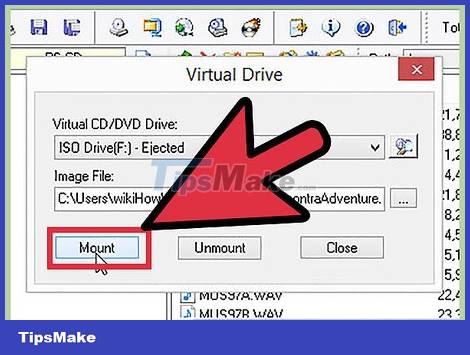
Mount images. Programs like WinCDEmu will place an icon in the system tray. Right-click this icon, hover over one of the virtual drives, and then select Mount Image.
Browse CUE files on your hard drive. You need to remember that the two files BIN and CUE need to be in the same directory. After finding the CUE file, you download the file to mount the image.
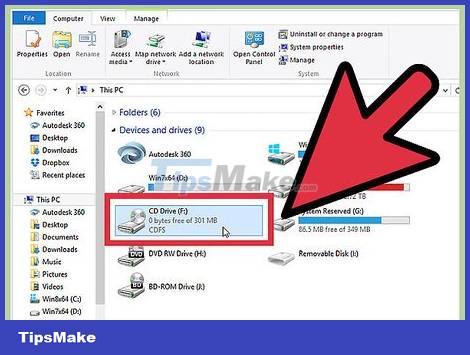
Open the disc. After mounting the image, your computer will operate as if the actual disk was inserted. This means Autoplay can be enabled on its own, or you can choose to operate it using the disc. The messages received depend on the contents of the disc as well as the system settings.
Use an image file similar to a CD or DVD that you insert into your computer.
Convert BIN files to ISO format
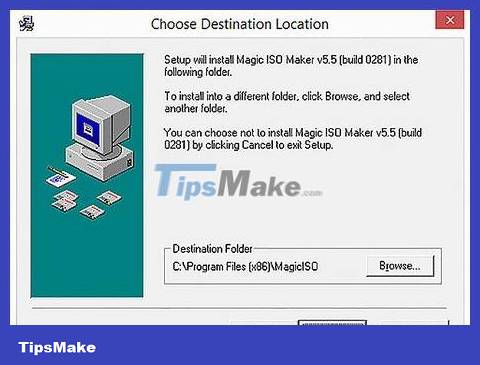
Download the conversion program. You need a conversion program to change the BIN file to ISO. Once converted to an ISO file, you can mount or burn the file with more programs.
One of the most popular free conversion programs is MagicISO.
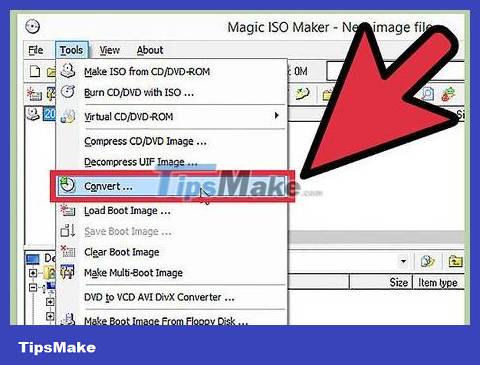
Open the conversion tool. Start MagicISO and click the Tools menu . Select "BIN to ISO".
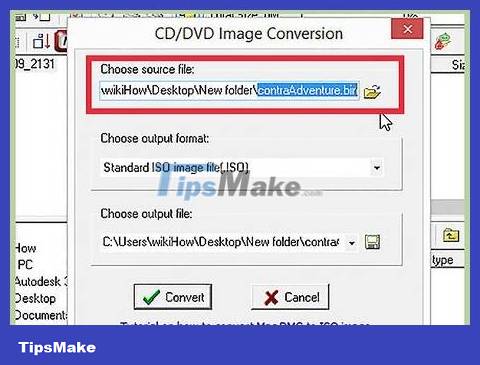
Browse BIN files.
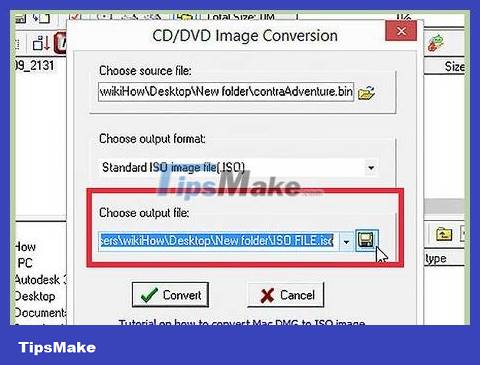
Choose a name for the new ISO file.
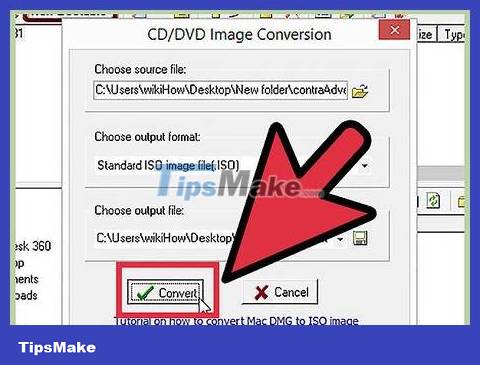
File conversion. Click Convert to convert the BIN file to ISO format. This process may take a few minutes.
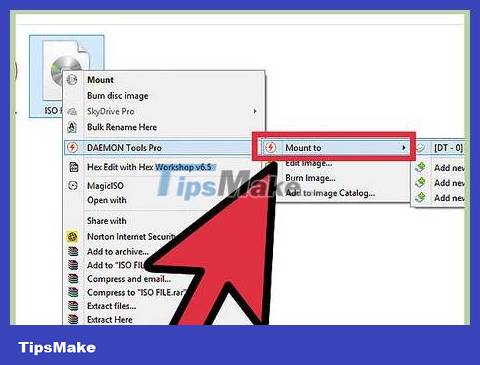
Install the ISO file. Once the file is converted, you can insert it into the virtual drive. If you are using Windows 8 or OS X, right-click on the ISO file and select "Mount".
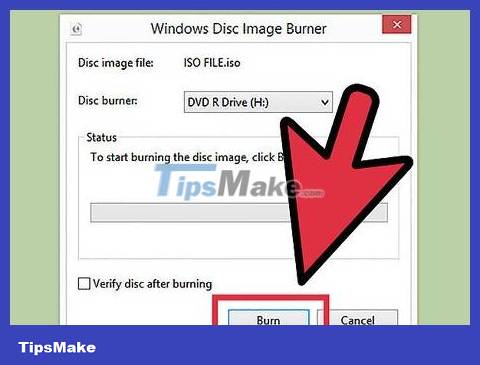
Burn ISO files. You can burn an ISO file to a disc using a disc burning program.
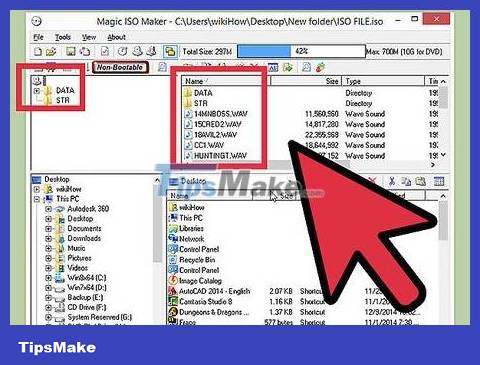
Extract ISO files. You can use the MagicISO program to open the contents of the ISO file, allowing you to copy specific files inside the archive.