How to Make an RJ‐45 Cable
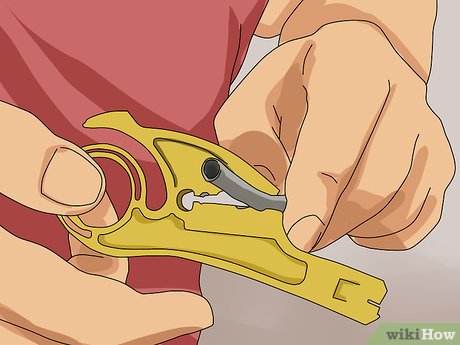
The RJ-45 connector is most commonly known for its use in ethernet networking. It's similar to a telephone jack, but it is wider. Most connectors are described through their prongs that attach to port; this is what differentiates the...
Table of Contents
Part 1 of 3:
Stripping the Protective Casing
- Adjust the dial of the wire stripper. Twist the dial until it can cut into your cable without damaging the wires inside.
- Make sure that it is the right dial to match the size of your cable.
-
 Insert the wire into the notch. Stick the wire into the notch of the wire stripper and gently squeeze the stripper, so it can cut through the rubber cushioning/insulation.
- Check to see if the length of the cable is not too short or too long as your inserting it into the notch.
-
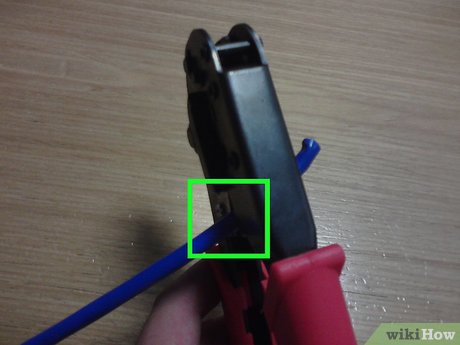 Cut through the insulation. Spin the wire stripper around the wire once it cuts the rubber insulation to make sure that the insulation is cut all the way through.
- Double check to make sure that the inner wires are not damaged, to prevent issues from occurring as you continue!
Part 2 of 3:
Exposung and Organizing the Wires
-
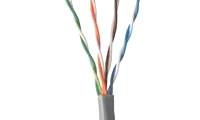
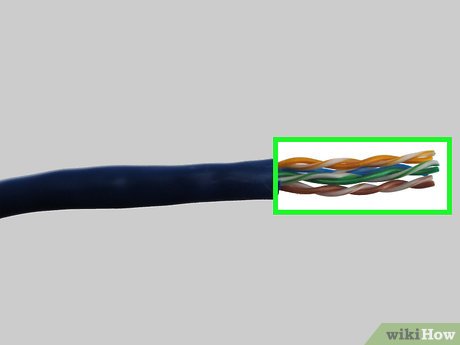 Pull off the cut insulation so that the inner wires are exposed.
 -
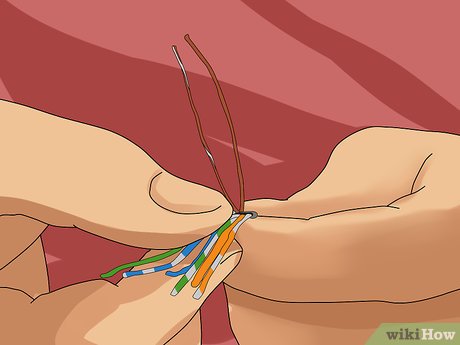 Untwist the wires. Make it so the colored wires are separated from each other.
 -
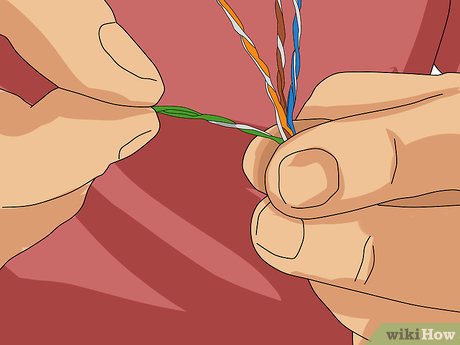
 Organize the wires.
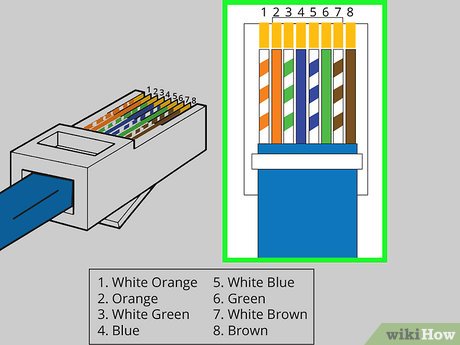
- The wires should be organized using the straight through method.
- Both T-568A and T-569B will work, so pick one of the patterns and apply it to both sides of the cable.
- Check the length. Line up the wiring with connectors to see if the length is good.
-
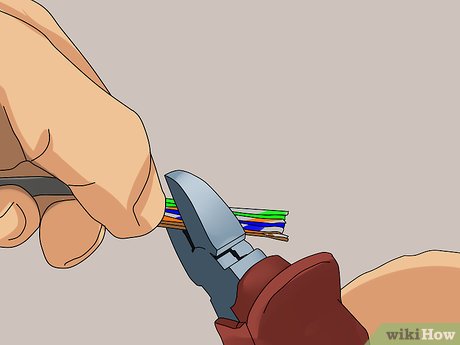 Cut the excess if the length is longer than needed.
Part 3 of 3:
Connecting Everything Together
-
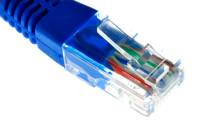
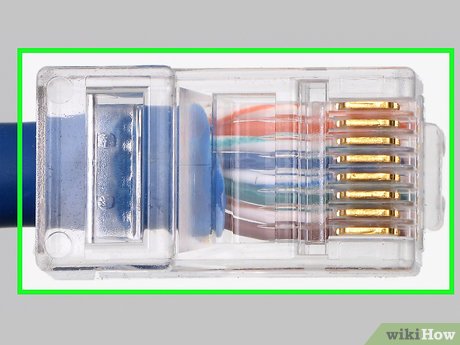 Insert the wires in the connector. Slide the wires inside the connector so that it is all the way though.
 -
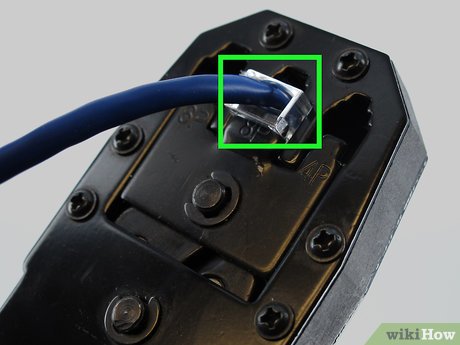 Crimp the connector. Use the crimping tool by squeezing the connector relatively hard to secure the wires inside the connector.
 - Double check that all the wires are in the correct order
- Use the crimper on cables. Be careful because after this point you can not redo anything
-
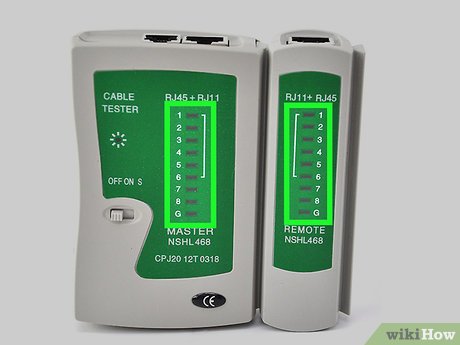
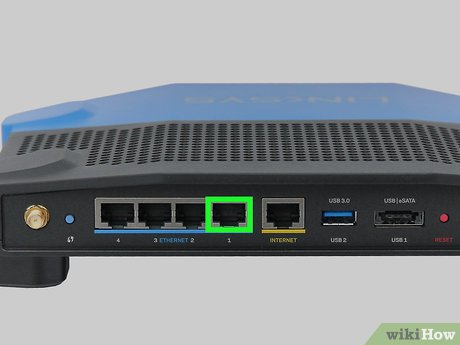 Test the cables. Test the cables by inserting it into a cable tester or the back end of a router.
 -
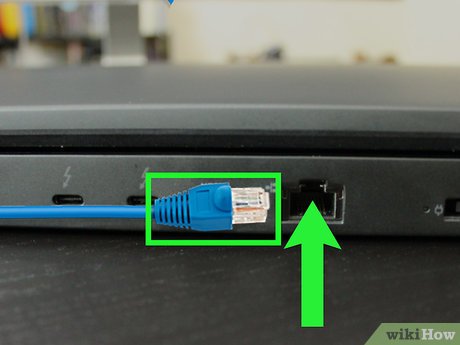 Plug in the cables for use!
Was this article helpful?
Your feedback helps us improve.
Related Articles
 How to press the end of the RJ45 cable to connect to the computer network4 minutes read
 How to crimp network cables correctly in just 3 steps.6 minutes read
 How to Crimp Rj458 minutes read
 How to Hook Up a Comcast Cable Box6 minutes read
 How are APG and AAG cables different?5 minutes read
 These are the types of printer cables needed to connect to the computer6 minutes read
Reader Comments 0
Sign in with email or Google to join the discussion.