Instructions for connecting speakers and audio systems at home
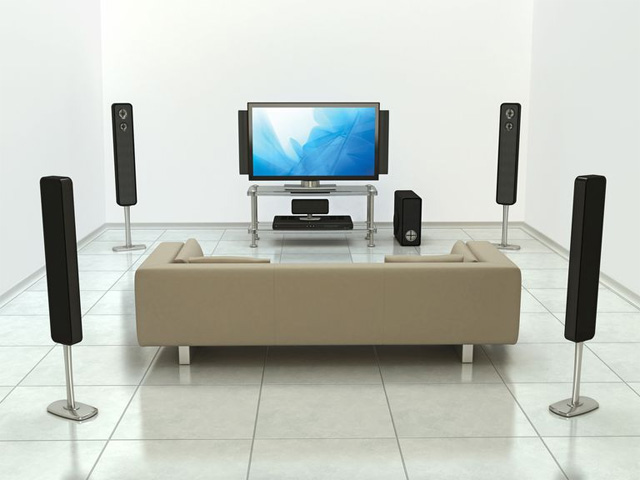
Rearranging your home is a great way to get more space and / or make room for new furniture. However, that means you may have to move some devices like your speakers and sound system. The article will show you how to connect speaker wires and audio equipment at home.
Table of Contents
Rearranging your home is a great way to get more space and / or make room for new furniture. However, that means you may have to move some devices like your speakers and sound system. You can set up new speaker wires cut to the correct length and reconnect everything. But why leave the wire while you can do wiring to increase the length.
There are several ways to connect speakers as you can twist wires together and use insulating tape. But this insulating tape will wear out over time, and with just a slight pull, this joint can easily be removed. And although the twisted-wire buttons may be more robust, they are not aesthetically pleasing to use with home audio equipment.
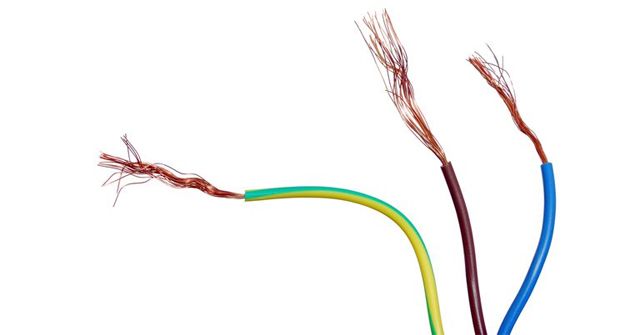
The best wiring method that guarantees both aesthetic and durability is using a wire crimp connector (also called a 'latch' connector). Crimp connector is durable, easy to use, effective (thanks to metal conduit from inside), and will not cost much. In addition, most connectors are designed to resist outside weather in the case of outdoor speakers. Just note, the wire crimp connector is often used for braided core speaker wires (most common) and not for solid core wires. This is what you need to get started:
- Speaker coil tube
- Wire crimp connector
- Tape measure
- Wire cutting pliers
- Notepad (note book or smartphone)
- Heat source (eg dryer)
Step 1: Put the speaker and device in place
Before starting the wiring, you will have to set up the speaker and device properly. Power off the audio amplifier receiver at home and disconnect the power cord. It is best to make sure everything is turned off before making any kind of wiring connection. Unplug the power cord and check all speaker cables, if you see any wires that are damaged or not good, you should remove them for other use if possible. Now, you can move the speaker to a new location.
Step 2: Measure the distance and cut the wire
After placing the speaker in place, the next step is to determine the length of the wires needed to connect each speaker to the stereo system. Use a ruler and measure distance. It is better to measure the excess distance for easy management and wiring. Record these numbers along with the position of the speaker (eg left / right front, middle, left / right, etc.) in notepad, paper or smartphone. When finished, measure all previous speaker wires and compare them with notes. It is possible that some wires have a length suitable for the speaker, so you do not need to perform wiring. Just check to see if the cord is suitable for each speaker (if there are different gauges).
If there is a cord without connecting, label it (use stickers or a pen and a piece of tape) with the specified speaker and set them aside. Select the remaining wires and label or assign it to the speaker. Calculate the difference between the wire length you have compared to the requirements of the speaker, this is the distance you need to cut from the speaker coil tube. Note, leave out a few inches or more and perform cutting using wire pliers. Label pairs of wires, set them aside. Repeat this process with the remaining speakers.
Step 3: Stripping the cord and attaching the wire crimp connector
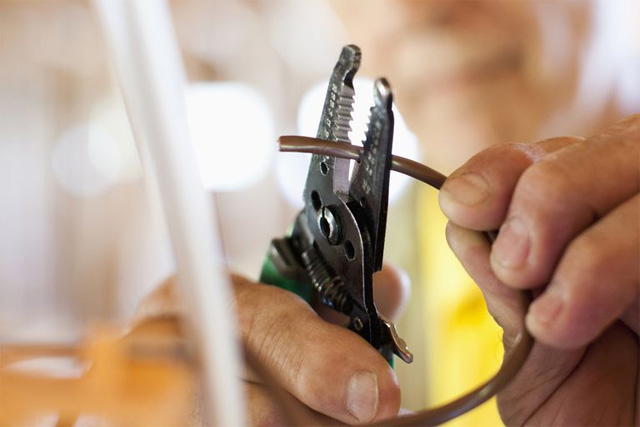
Take a set of strings that you plan to connect and place the terminals side by side - negative strings with negative strings (-), positive strings with positive strings (+). Using wire cutters, remove the outer shell / shell insulated about a quarter of an inch to reveal bare copper wires. You can separate individual wires (negative and positive) about an inch to have wiring execution space.
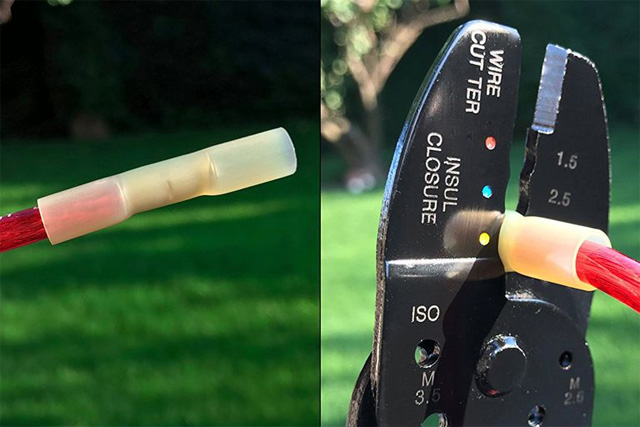
Take both ends of the bare wire and connect them to the opposite side of the crimp connector (re-check with the gauge). Using the bending part of the wire cutting plier (it is necessary to mark the position of the gauge correctly), squeeze the connector (slightly eccentric) so that the metal tube of the connector is close to one of the bare wires; Do this again for other bare wires.
Gently pull the speaker cord to make sure they are secure. If you want to check the electrical connection again, use the battery for a quick check. Repeat this process with the positive end of the bare wire with the remaining crimp connector.
Step 4: Use heat to shrink the connector
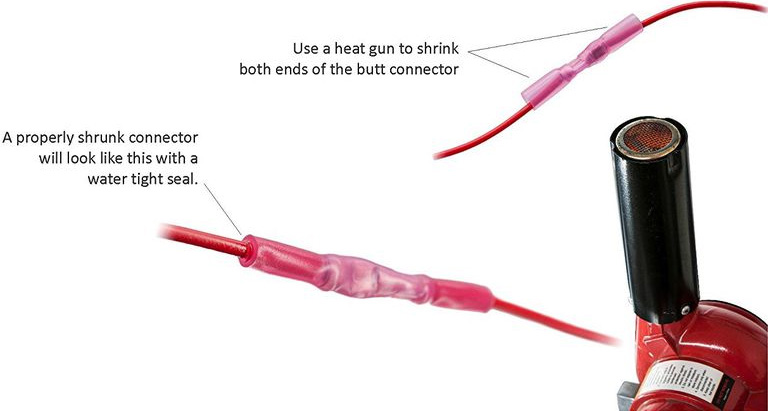
After using the connector to connect the negative and positive wires, use a heat generator to gently heat the connector to shrink the connecting tube. You can use a heat gun, a hair dryer or a lighter (keep a few inches away from the connector and be extremely careful when you do this because you can burn the connector if it is too hot).
Keep the cord by hand a few inches away from the tube when using a heating device, then slowly turn the wire or connector so that the faces can be exposed to heat. The bending cover shrinks into the speaker wire, creating a waterproof barrier. Some wire crimp connectors are designed with a little solder inside, it will melt when exposed to heat and combine wires together for a stronger connection. Continue plucking the speaker cable and attaching / narrowing the crimp connectors until all lengths have been connected and extended appropriately.
Step 5: Connect the speaker to the device
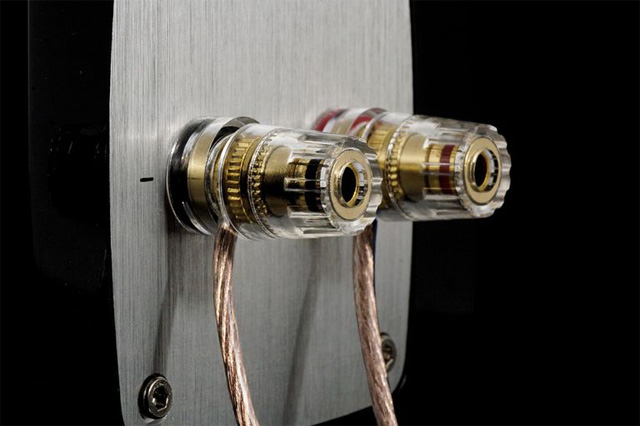
Now that you have successfully connected all the wires, the last step is to connect the speakers to the receiver / stereo amplifier or home audio system. But before you start, you must set up speaker connectors such as batteries, banana plugs). Once you're done, test the stereo system to make sure all speakers are working properly.
See more:
- 3 steps of fast, standard network wiring
- How to click the 4-wire network cable, press the network cable with the phone cord
- How to connect the network with a bug
Was this article helpful?
Your feedback helps us improve.
Related Articles
 Instructions for connecting computer Bluetooth to speakers on Windows and MacOS6 minutes read
 How to set up Google Home, Mini and Max smart speakers16 minutes read
 Computer speakers are low, extremely simple fix6 minutes read
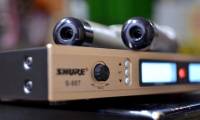 Instructions for connecting wireless microphones to amplifiers6 minutes read
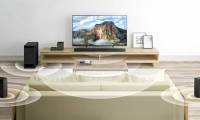 The easiest way to connect speakers to TVs5 minutes read
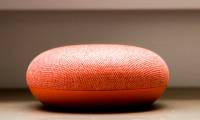 Google Home: You won't regret changing these 5 settings7 minutes read
Reader Comments 0
Sign in with email or Google to join the discussion.