How to Connect Electrical Wiring
Strip the power cord before connecting
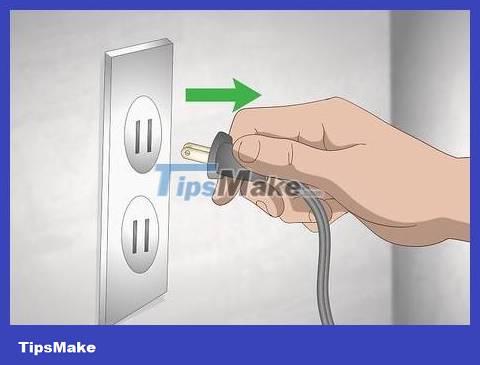
Disconnect power from the power cord. Unplug the device you are wiring (if possible). If the power cord is in the wall or cannot be unplugged, turn off the circuit breaker in the area that needs repair so you don't get electrocuted while making the connection.
If you cannot turn off the power, you need to immediately stop connecting the wires to avoid dangerous accidents.
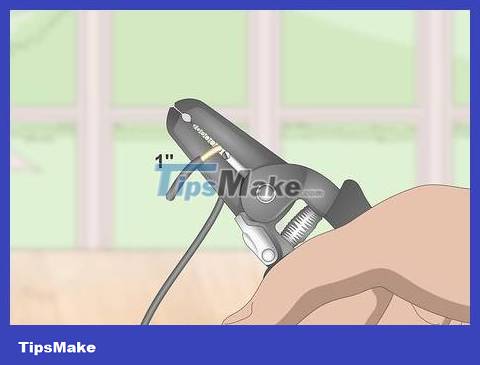
Strip about 2.5 cm of insulation from each end of the wire. Choose the hole on the wire stripper 1-2 sizes smaller than the wire to be stripped. Clamp the wire into the hole and pull the pliers toward the end of the wire to completely remove the insulation. Repeat this process with the other end of the wire.
Wire strippers are available at area electrical stores.
For bare wires, you can skip this step.
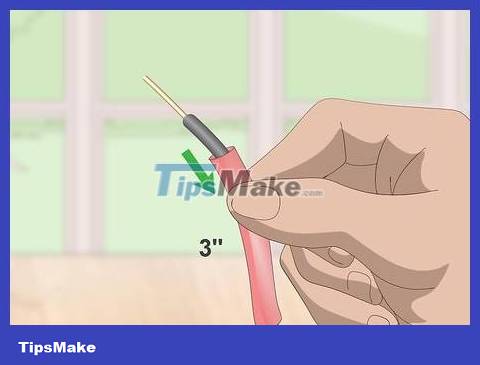
Cut a piece of heat shrink tubing about 7.6 cm long and insert it into one of the two wires that need to be connected. This tube is made from plastic and can shrink when exposed to heat. You need to insert heat shrink tubing into the wire before connecting so that you can easily cover the connection after the job is done.
You do not need to use heat shrink tubing if you use an electrical connector.
Heat shrink tubing is available at electrical stores in the area.
Tip: Heat shrink tubes come in many colors. Choose the same color as the current plastic cover on the wire if you want the wire to be more aesthetically pleasing.
Use twisted electrical connectors
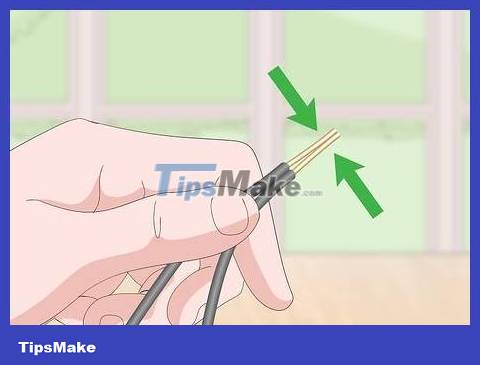
Hold the two ends of the wire so that they touch each other. Place the two bare wire ends next to each other. Do not twist or wrap the power cords together as they will not be securely attached to the electrical connector.
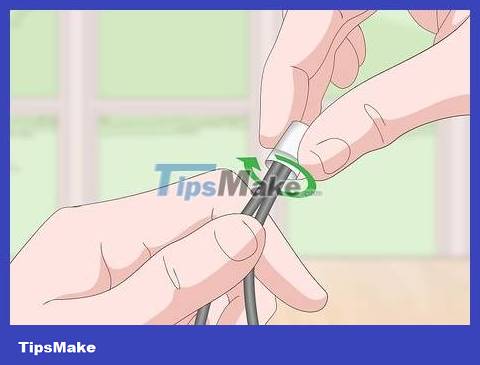
Place the electrical connector cap on the 2 bare wire ends and turn clockwise. Place the electrical connector cap on the 2 bare wire ends and start turning it clockwise. Twist for about 5 seconds so the wire twists and curls inside the connector. Try gently pulling on both ends of the wire to see if the connection is secure. If not, tighten the electrical connector more tightly.
There is a spring inside the connector cap, so the more you turn it, the tighter the connector will wrap around the wire.
Electrical connector caps are available at local electrical or hardware stores.
Strip off extra insulation if you want to continue screwing in the connector.
Tip: You can easily remove the power connector by turning it counterclockwise. Unscrew the power connector if you need to change the wire or connection method.
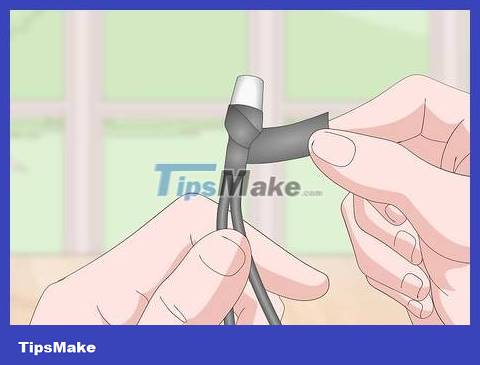
Wrap electrical tape around connector covers and bare wires. Wrap black tape around the bottom of the electrical connector hood so that the connection is completely covered. You need to wrap it tightly to minimize the possibility of the wire being exposed. Once finished, use scissors or a utility knife to cut the tape.
If you are connecting multiple wires, use tape in different colors to mark the wires being connected.
Attach the electrical connector
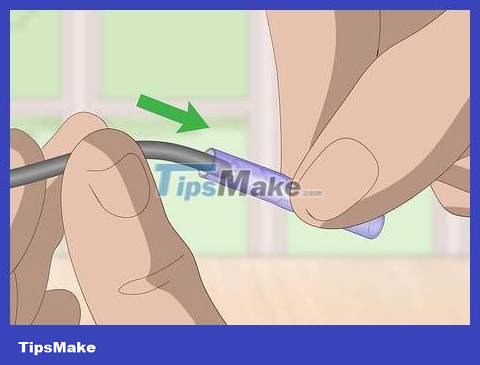
Insert the bare wire end into the electrical connector. An electrical connector is a small tube with two ends, each end used to connect a wire. Take one end of the wire and thread it into the middle of the electrical connector. Push the bare wire end into the connector until it touches the connection.
Electrical connectors are available at local electrical or mechanical equipment stores.
This method is suitable for safely connecting large electrical wires.
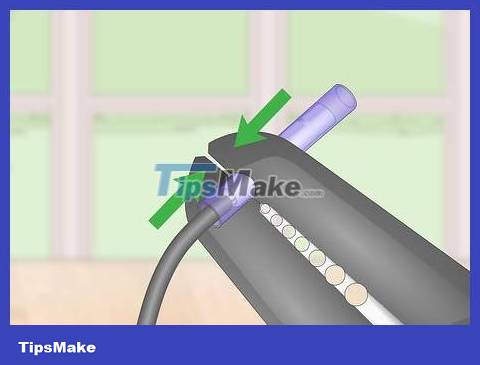
Use crimping pliers to press at a position about 1/4 from the end of the connector. Choose the pliers hole that matches the size of the electrical connector. Place the pliers jaw about 0.6-1.3 cm above the end of the connector. Squeeze the body of the pliers as far as possible so that the wire end is pressed firmly into place.
Avoid choosing a hole that is too small, otherwise you may cut the wire.
On the market there are many types of wire strippers combined with crimpers so you don't have to buy many tools.
Tip: You should choose the cos punch hole a little larger than the connector head so that the wire core is pressed more tightly into the insulating sheath.
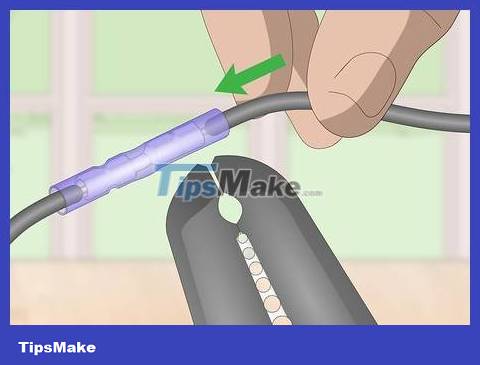
Insert the other end of the wire into the other end of the connector and press cos. Repeat the previous steps with the other end of the electrical connector. As you thread the other end of the wire, check to make sure the two wire ends touch each other inside the connector. Use crimping pliers to fix the second wire end in position.
Some electrical connectors are designed to be transparent so you can see whether the two wire ends are touching or not.
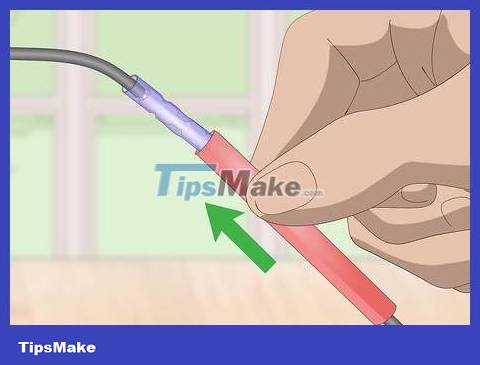
Insert heat shrink tube to cover the electrical connection. Pull heat shrink tubing from one of the two wires and cover the electrical connector. If the heat-shrink tube is too loose or falls out of the electrical connector, use pliers to fix the tube.
If you accidentally forget to insert the heat shrink tube before connecting the wires, use electrical tape to wrap all the connectors and bare wires.
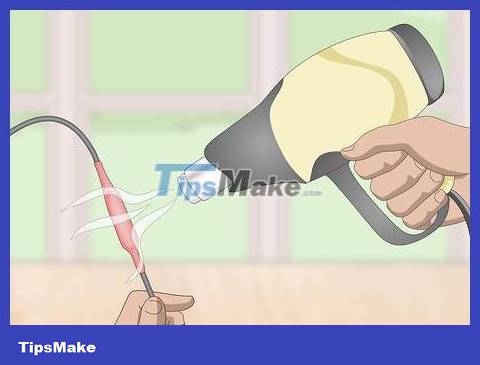
Heat the gene tube with a heat torch. Turn on the heater and direct the hot air toward the tube. Rotate the wire in your hand so that the tube shrinks evenly around the connection like an insulating layer.
If you don't have a heat gun, you can use matches or a lighter to heat the tube. Be careful not to let fire get on the wire or tube, otherwise the plastic may melt.
Connect professionally
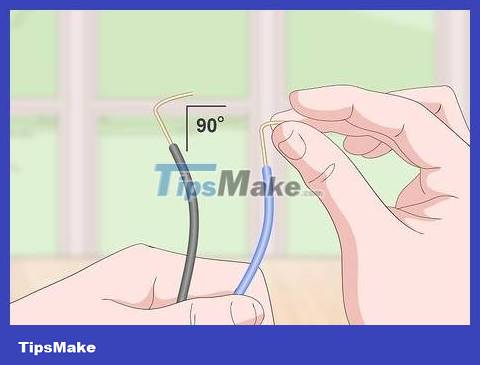
Bend the two ends of the bare electrical wire into a 90 degree angle. Use your fingers or needle-nose pliers to bend each end of the wire into an L shape. Check to make sure that each side of the right angle is about 1.3 cm long, enough for you to wrap the two wires together.
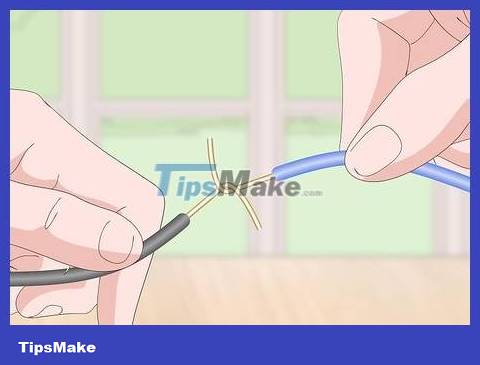
Hook the two ends of the wire so that the right angles touch each other. Place one wire on top of the other wire so that one end of the L is turned upside down and hooked to the other end facing up. The right angles of the wires must touch each other.
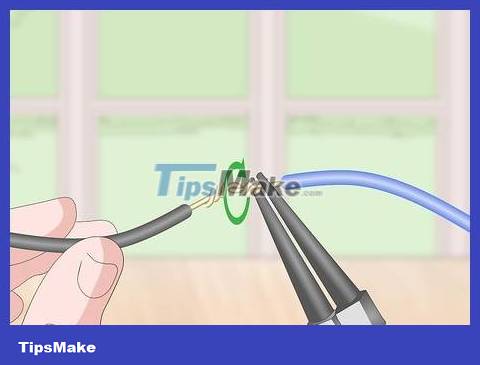
Wrap the end of the wire facing up around the wire that is lying perpendicular to it. Wrap the up-facing end of the wire around the straight section of the remaining wire. You need to wrap it tightly to create a solid connection between the two wires. Try to attach at least 3 turns of wire if possible. Repeat the process with the other end of the wire.
Use needle-nose pliers if you have difficulty winding the wire by hand.
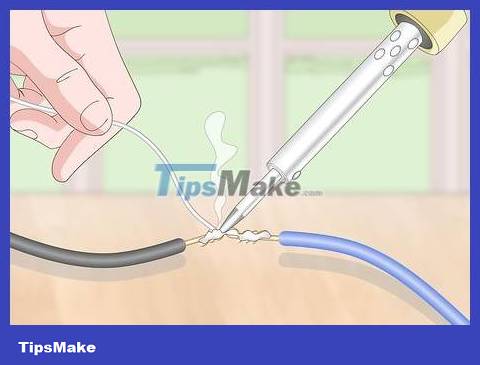
Weld the joints together to secure. Use your dominant hand to heat the soldering iron and bring it close to the joints. In the other hand, hold the silver alloy soldering iron next to the tip of the soldering iron. Heat the silver alloy and apply it to the connection between two wires so that the solder material covers the entire connection.
Note: you will get burned if you touch the tip of the soldering iron with your bare hands.
Line the bottom of the work area with paper towels or scrap wood to protect the surface if solder material accidentally drips.
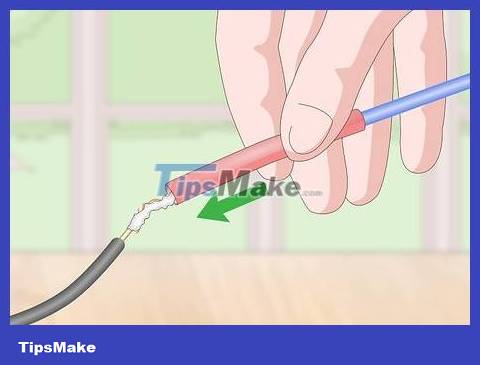
Pull heat shrink tubing from one of the two wires and cover the solder joint. Slide the conduit to cover the entire connection so that no bare wire is exposed. If the pipe is loose, use cos crimping pliers to fix the pipe to the weld.
Wrap electrical tape around the connection if heat shrink tubing is not available.
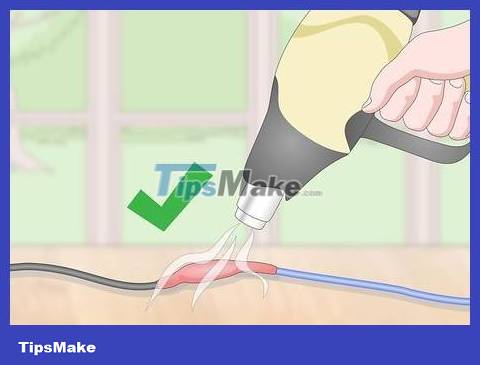
Use a heat gun to heat until the tube shrinks. Turn on the torch and aim it at the heat shrink tube. While heating, you need to rotate the wire so that the tube shrinks evenly and hugs the connection. Continue heating until the tube shrinks to fit the insulating shell.
Use a lighter or matches if you don't have a heat gun.