Table of Contents
Learning how to install CPU into mainboard properly, without bent pins doesn't have to be complicated. This updated guide presents a clear workflow, practical checks, and troubleshooting advice you can use while completing the process.
Key Takeaways
- Review instructions for installing CPU into mainboard.
- Learn how to install the CPU cooling fan on the motherboard.
- Follow the recommended steps in order to avoid common mistakes with install CPU into mainboard properly, without bent pins.
Instructions for Installing CPU into Mainboard
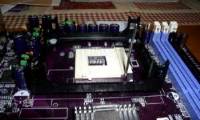
Step 1: Place the motherboard on a flat surface if it is not installed in the case. Make sure the area has enough light to work if the motherboard is in the case. Then, slide the large latch on the motherboard up.
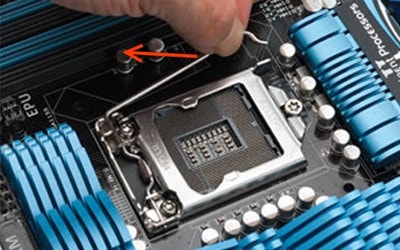
Step 2: Lift up the CPU cover:
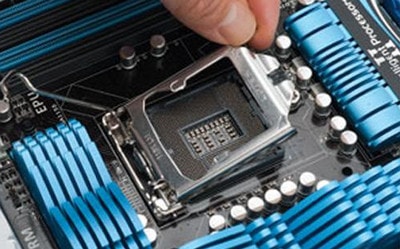
Step 3: You will see the slots on the Main and you need to carefully observe the special positions on it.

Step 4: You need to CPU up pay attention to 1 semi-circular anchor point on CPU to install correctly the semi-circular anchor point on Mainboard.

Step 5 You pick up the CPU and you will see a small yellow triangle in the right corner. This prevents you from inserting the CPU backwards.

Step 6 You will see a triangle on the Mainboard, you need to place it exactly in this position and then gently put the CPU into the Mainboard.
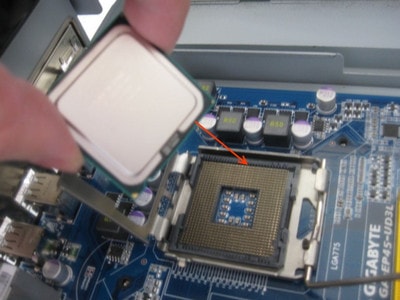
Step 7 When placing the CPU, you need to pay attention to the notched corner being placed in the correct position.
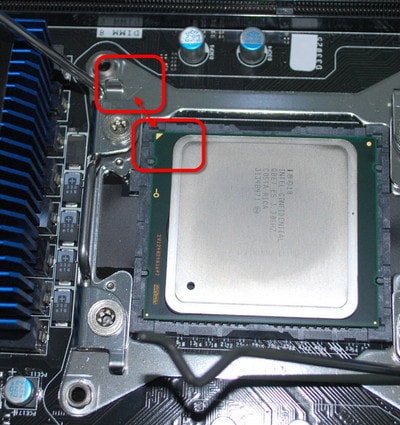
Step 8 Slide the 2 CPU retaining bars in as before.
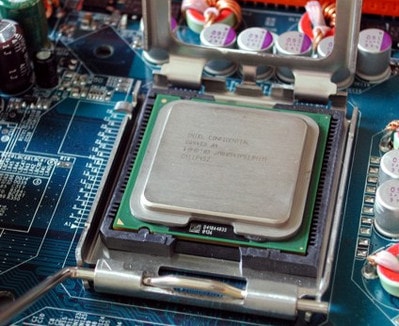
Step 9 You need to pay attention to the locking pins are in the right place.
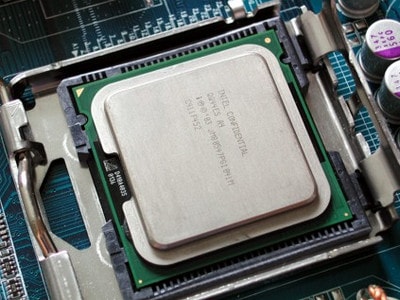
Install the CPU Cooling Fan on the Motherboard
Step 10 After installing the CPU, you will see 4 pins around the CPU, this is where the fan is screwed in.

Step 11 You need a heatsink fan to mount which also has 4 legs.
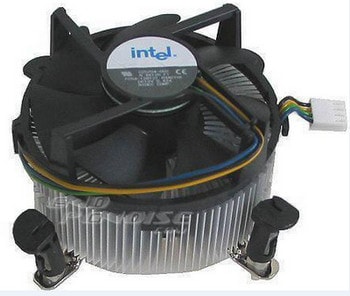
Step 12: Place the cooling fan on the Mainboard on the CPU.
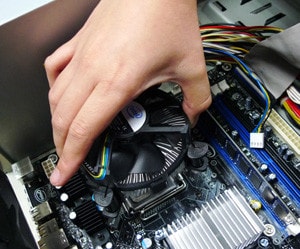
Step 13 Press the fan down and screw the 4 legs tightly to the Mainboard.
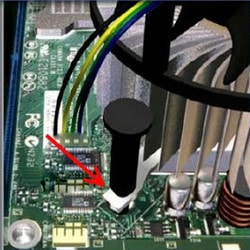
Step 14 Next, plug the power cord into the cooling fan.
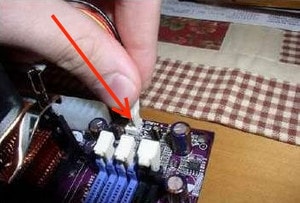
Step 15 Finish and reassemble the computer.

With the detailed instructions above, you can easily install the CPU on the Mainboard yourself without the need for a technician. Make sure the CPU and Mainboard are compatible, and handle gently to avoid bending the CPU pins. You can refer to how to install a CPU heatsink to optimize performance and extend the life of the components if you want to continue upgrading.
Final Thoughts
The most reliable way to handle install CPU into mainboard properly, without bent pins is to follow the process in order, verify each important setting, and test the result before moving on. Use the guidance above as a practical reference, then adjust the details for your device, software version, or specific goal.
FAQ
What should I check before I install CPU into mainboard properly, without bent pins?
Use the latest available software, confirm that your device meets the requirements, and make sure you have the necessary permissions, account access, or backup before changing anything.
Why might I be unable to install CPU into mainboard properly, without bent pins?
Common causes include outdated software, missing permissions, incompatible settings, incomplete setup steps, or a temporary network problem. Recheck the process from the beginning and restart the app or device if needed.
Is it safe to install CPU into mainboard properly, without bent pins?
It is generally safe when you use official tools, review every permission, and back up important data before making system-level or account-level changes.
Related Articles
 Top 5 Simple and Accurate Ways to Check Computer Mainboard7 minutes read
 Mainboard, Motherboard Is What? Overview of Mainboard on Computer6 minutes read
 What Is the Round Hole on a Safety Pin Used For?7 minutes read
 Samsung Mocked Apple for the iPhone Bend4 minutes read
 Things to Know When Choosing to Buy Mainboard13 minutes read
 How to Assemble the CPU into the Mainboard of the Computer5 minutes read
Reader Comments 0
Sign in with email or Google to join the discussion.