
In Word 2016, in addition to the image insertion feature available on computers, it also allows inserting images directly from Internet searches.
1. Insert picture available on computer
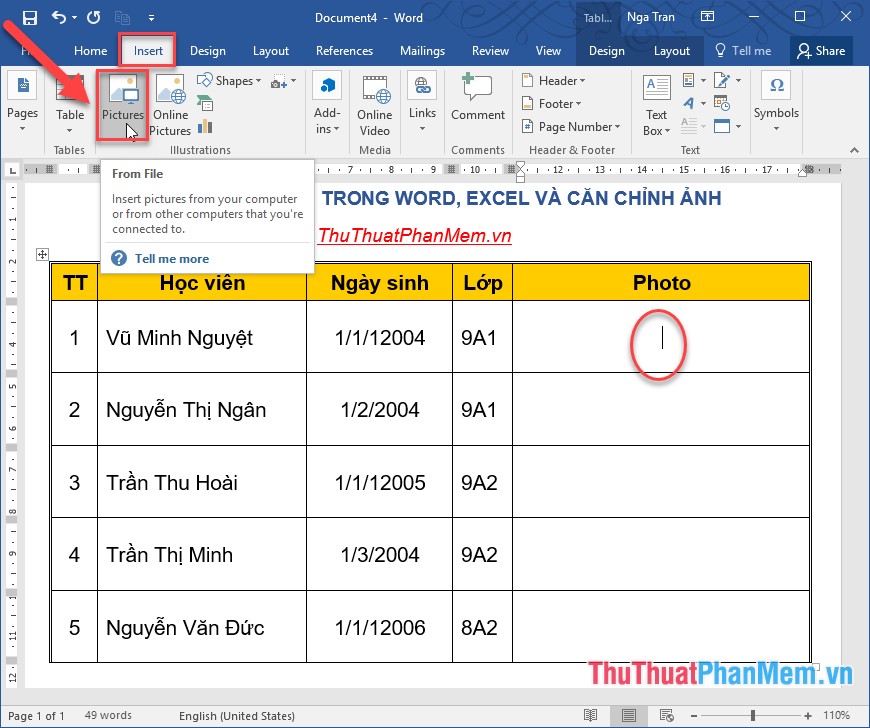
Step 1: Place the cursor at the position where you want to insert the image -> Go to the Insert tab -> select Picture:
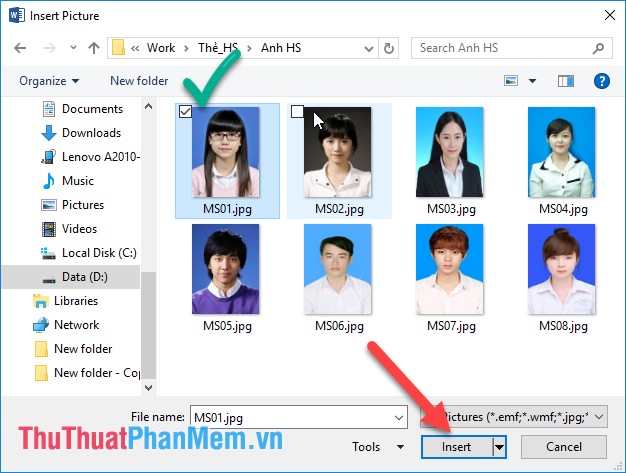
Step 2: Select the path to the image file to be inserted -> Insert:
Results of inserting the image into the Word file:
Similarly insert images for the remaining objects to be results:
Step 3: Resize to fit the content by moving to any corner on the image when the mouse pointer changes to a 2-way arrow -> hold and drag the mouse to drag and drop as you like (note: keep pressing more Shift key to resize the image):
Or you can resize the image by clicking the Format tab to edit the height and width of the image in the Size section :
Step 4: Adjust the brightness for photos: Click the image -> on the Format tab -> Corrections:
Step 5: Adjust the contrast color for the image -> by selecting the Format tab -> Color:
Step 6: Adjust the frame for the image on the Format tab -> Quick Style -> choose the appropriate frame style:
Step 7: Adjust the position of the image compared to the text content:
Also you can adjust the position of the image compared to the text:
- Behind Text: The image appears behind the text.
- Front of Text: The image appears above the text.
The result of inserting and aligning the image into the Word file:
2. Insert pictures online into Word 2016
Step 1: Place the cursor at the position to insert the image -> on the Insert tab -> Picture Online:
Step 2: Enter a search keyword for the image -> press Enter:
Step 3: After pressing Enter -> search results are displayed -> select the image to be inserted -> Insert:
Results of inserting the image online into the text file:
The photo editing operation does the same thing when inserting an existing image from your computer. Above is a detailed guide on how to insert pictures into Word, with Excel file you perform the same operation. Good luck!