How to Enable Active Directory in Windows 10

This article shows you how to install Active Directory on a computer running the Windows 10 operating system. You must be using Windows 10 Professional or Enterprise to install Active Directory.[1] X Research source

Install Remote Server Administration Tools
How to Enable Active Directory in Windows 10 Picture 1How to Enable Active Directory in Windows 10 Picture 1

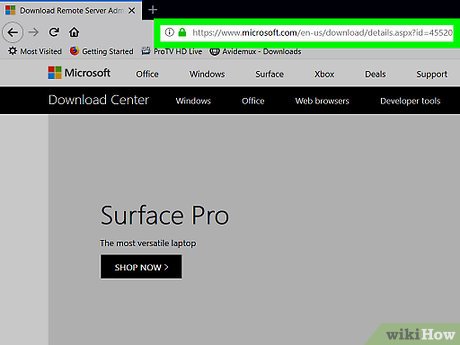
Go to https://www.microsoft.com/en-us/download/details.aspx?id=45520 in a web browser. If left by default, Active Directory does not come with Windows 10, so you will have to download it from Microsoft.

If you are not using Windows 10 Professional or Enterprise, you will not be able to install.
How to Enable Active Directory in Windows 10 Picture 2How to Enable Active Directory in Windows 10 Picture 2

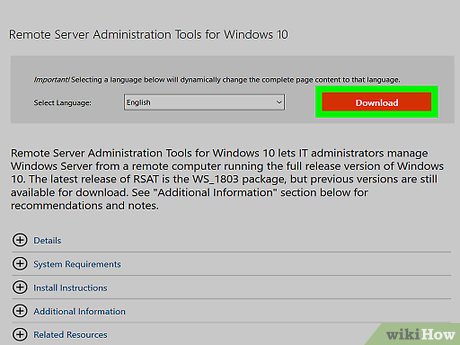
Click Download . This button is red. You may have to scroll down a bit to find this button.

How to Enable Active Directory in Windows 10 Picture 3How to Enable Active Directory in Windows 10 Picture 3

Check the box next to 'File Name'. This is the step to select all files in the list.

How to Enable Active Directory in Windows 10 Picture 4How to Enable Active Directory in Windows 10 Picture 4

Click Next .

How to Enable Active Directory in Windows 10 Picture 5How to Enable Active Directory in Windows 10 Picture 5

Download all 4 files to your computer. Because there are many files you need to download, click Save for all (download multiple files) if asked.

How to Enable Active Directory in Windows 10 Picture 6How to Enable Active Directory in Windows 10 Picture 6

Open the Downloads folder. You will find this folder in This PC or on the desktop.
How to Enable Active Directory in Windows 10 Picture 7How to Enable Active Directory in Windows 10 Picture 7

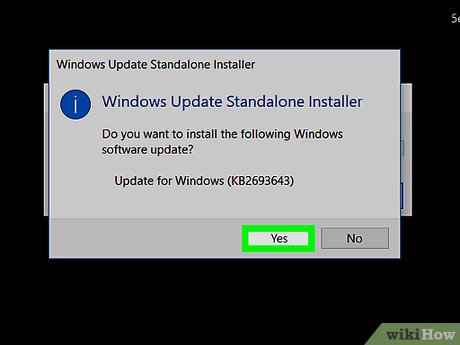
Install all 4 files. Double-click the first file, then follow the on-screen instructions to complete the installation. Do the same with the other files you just downloaded.

Enable Active Directory
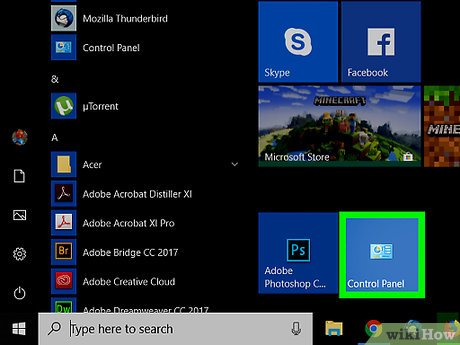
How to Enable Active Directory in Windows 10 Picture 8How to Enable Active Directory in Windows 10 Picture 8

Open Control Panel. To do this, type control panelin the search bar, then click Control Panel in the results that appear.
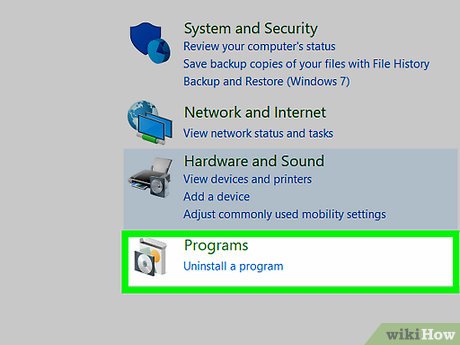
How to Enable Active Directory in Windows 10 Picture 9How to Enable Active Directory in Windows 10 Picture 9

Click Programs .

How to Enable Active Directory in Windows 10 Picture 10How to Enable Active Directory in Windows 10 Picture 10

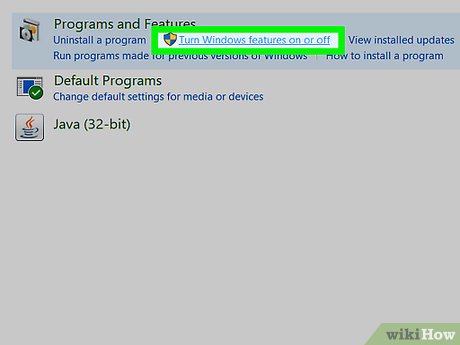
Click Turn Windows features on or off . A dialog box will be displayed.
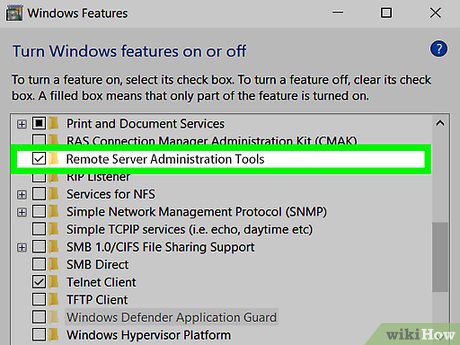
How to Enable Active Directory in Windows 10 Picture 11How to Enable Active Directory in Windows 10 Picture 11

Scroll down and click the + sign next to 'Remote Server Administration Tools'. A list of tools will open.
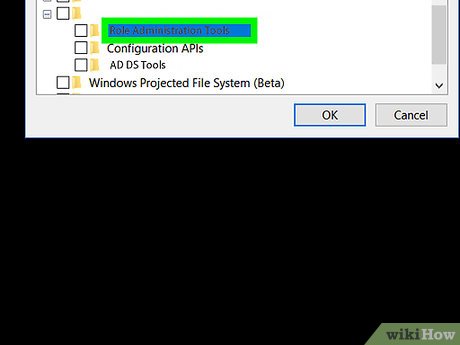
How to Enable Active Directory in Windows 10 Picture 12How to Enable Active Directory in Windows 10 Picture 12

Click the + sign next to 'Role Administration Tools'.
How to Enable Active Directory in Windows 10 Picture 13How to Enable Active Directory in Windows 10 Picture 13

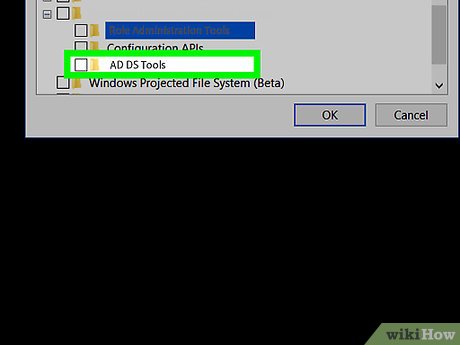
Check the box next to 'AD DS Tools'. Windows will install some files and ask you to restart your computer.

How to Enable Active Directory in Windows 10 Picture 14How to Enable Active Directory in Windows 10 Picture 14

Click Restart now . The computer will be turned off and turned back on. When the computer is turned back on, you can use Active Directory tools through Windows Administrative Tools in the Start menu.

5 ★ | 1 Vote