You want to insert an image into Word but do not want that image to stand out as a blur for the writing, so you want to find a way to blur the image in Word. So, please refer to the following article to learn how to blur images in Word.

Here TipsMake.com share to you how to blur images in Word, invite you to follow.
Method 1: Blur images in Word
Step 1 : Insert the image into Word.
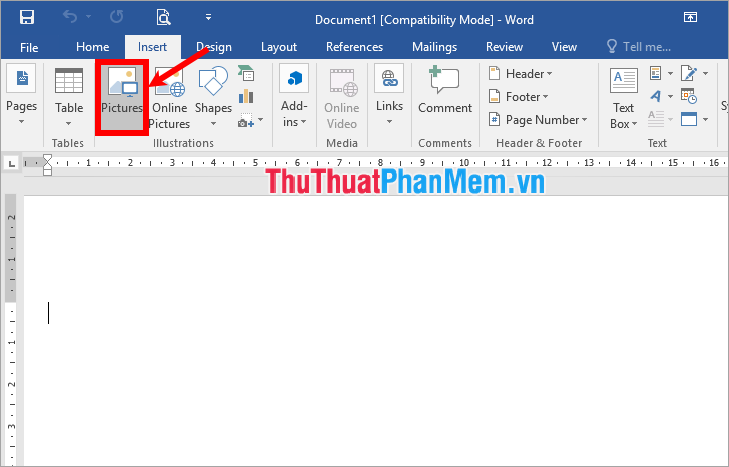
First you choose Insert -> Picture .

The Insert Picture window appears, select the images you want to insert into Word and select Insert .
Step 2 : After inserting the image to change the opacity of the image you select the image and select Format -> Color -> select the blur you want.
Step 3 : To change the brightness of the image you select Format -> Corrections -> choose the brightness you want.
Method 2: Insert watermarks in Word
Step 1 : Choose Design -> Watermark -> Custom Watermark.
Step 2 : The Printed Watermark window appears, select Picture watermark and select Select Picture.
Step 3 : In the Insert Pictures section , you can add images on your computer ( From a file ) or you can search for images on the web via Bing tool ( Bing Image Search ) or images stored on OneDrive. For example, if you want to add images on your computer, select From a file .
The Select Picture window appears, select the images you want to add to Word and select Insert .
Step 4 : Next to select the width of the image you choose in the Scale , tick the Washout check box to blur the image and click OK to add the watermark.
So you have added blur in Word.
Above TipsMake.com showed you how to blur images in Word. Hopefully through this article, you will be able to quickly blur images in Word. Good luck!
