Instructions for blurring photos on Canva are very simple
To blur photos, you don't necessarily need to use Photoshop, but you can use some online image blur tools such as Canva..
Basically, blurring images on Canva is also very simple, we choose the position to blur, then choose the level of blurring the selected area of the image, and then the tool proceeds to process the image. The following article will guide you to blur photos on Canva.
How to blur photos on Canva simply
Step 1:
First, you upload the image to Canva to edit or use the image uploaded to Canva before to use. Next, click on the image and then click on Edit photo to correct it.
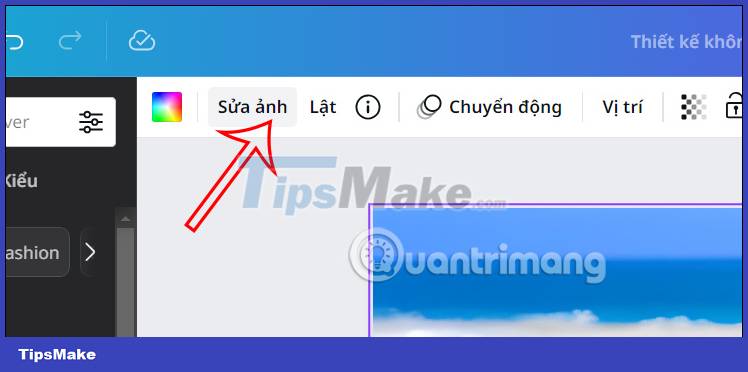
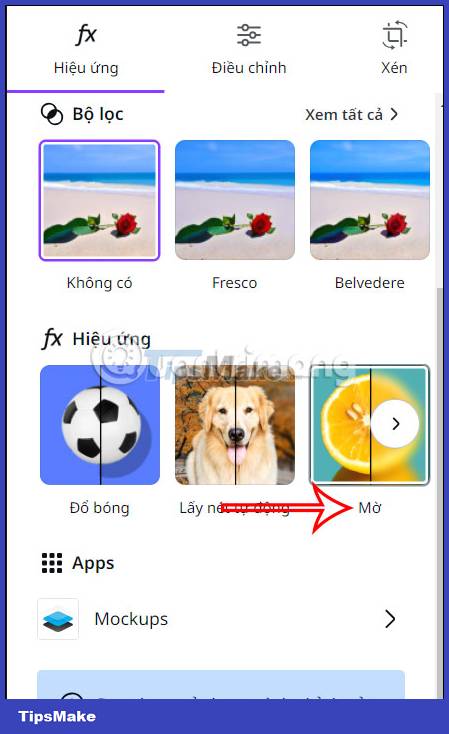
Step 2:
Now on the left edge of the interface displaying tools for us to edit the photo, click on the Effects section and then look down below, click on the Blur effect below.
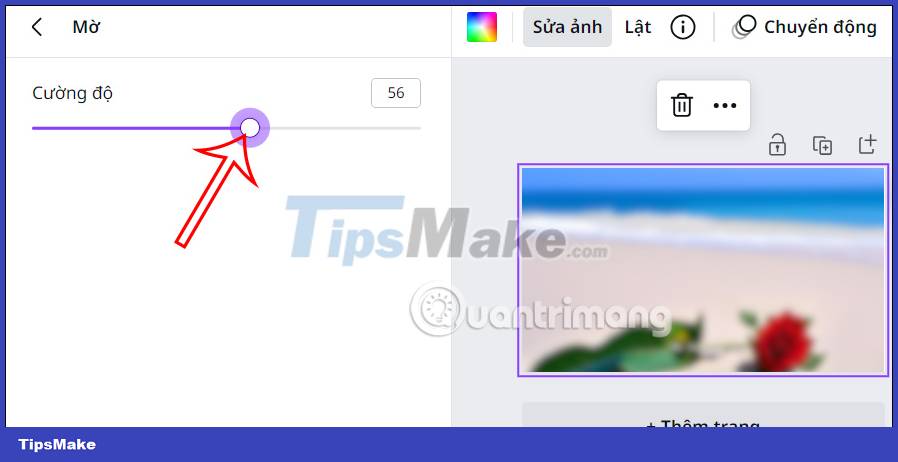
Step 3:
Now the image is blurred and you can adjust the blur level of the image through the Intensity bar . Drag to the right to increase the blur level of the whole image, to the left to decrease the amount of blur.
When the image is blurred to your liking, we just need to download the image as usual.
How to blur the image area on Canva
In addition to blurring the entire image on Canva, we can blur a certain area of the image that we want very simply.
Step 1:
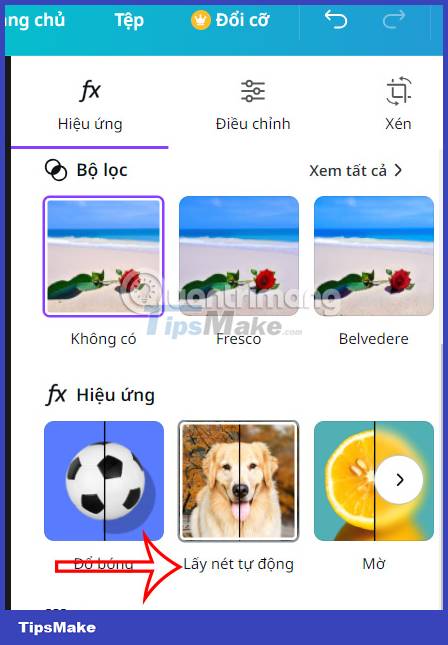
First, you also click on the image and then click Edit photo to edit. Next to the Effects section, we click on the Autofocus effect .
Step 2:
Switch to the adjustment interface. You will first change the focus position via the Focus position bar . We'll focus on the subject based on the subject that Canva verifies. You move the bar left or right depending on the subject to select the focus area.
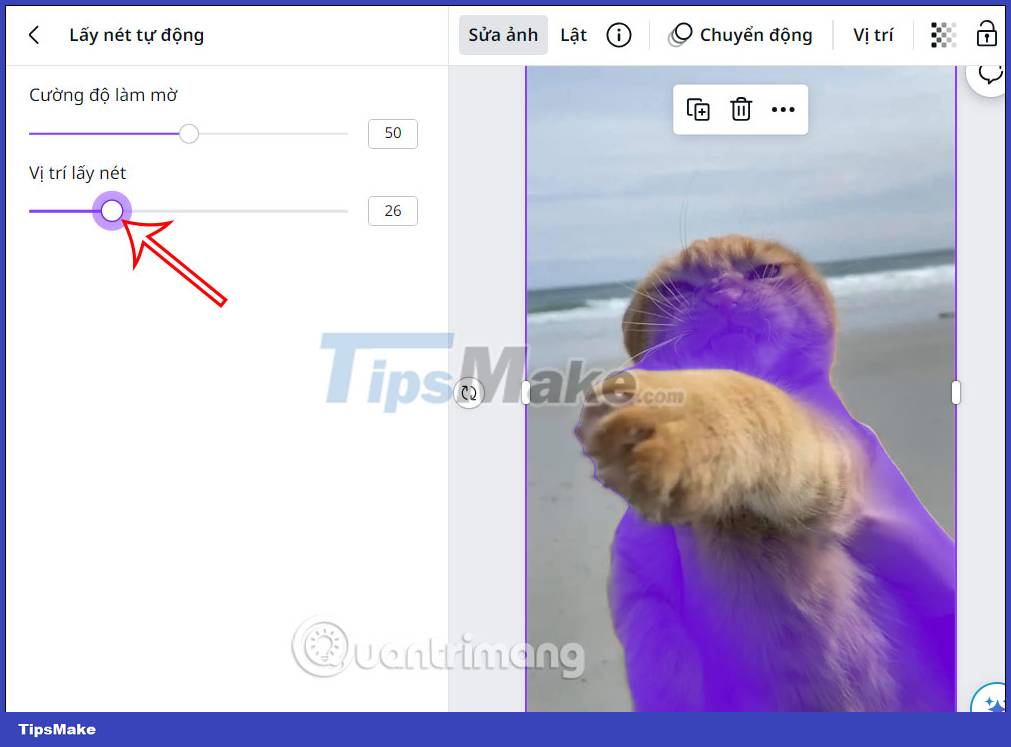
During the process of adjusting the focus position, shrinking the area will only focus on the subject to focus, if you drag further away, the subject will be blurred. All operations are previewed, so you can change the focus position accordingly.
Step 3:
Next we adjust the level of blur we want to use for this image.

You can edit the 2 bars to the level of blur you want and then save the image on Canva.