Table of Contents
This article examines Homemade Keyboard Is Not Difficult. It presents the main facts, practical implications, and key points in a clearer, easier-to-follow format.
Using your imagination to create a unique keyboard is easy if you know exactly what you're doing.
The mechanical keyboard is definitely the favorite tech accessory for gamers, because nothing can compare to the feel and noise it makes. To be even more unique, you can take a little extra effort and time to customize your mechanical keyboard. With a few simple accessories and little money, you can completely change the appearance of the keyboard and turn it into an accessory with a distinct personality. For example: Replace all white keys with colorful keys.
- Top 5 best mechanical keyboard brands today.
- 5 creative ideas for old circuit boards
What Is Needed to Customize the Mechanical Keyboard?
Mechanical keyboards all have the same type of construction and all must follow universal coupling, which means you can attach any third-party keycap and it still works.
To change the key you need:
- A new keycap set
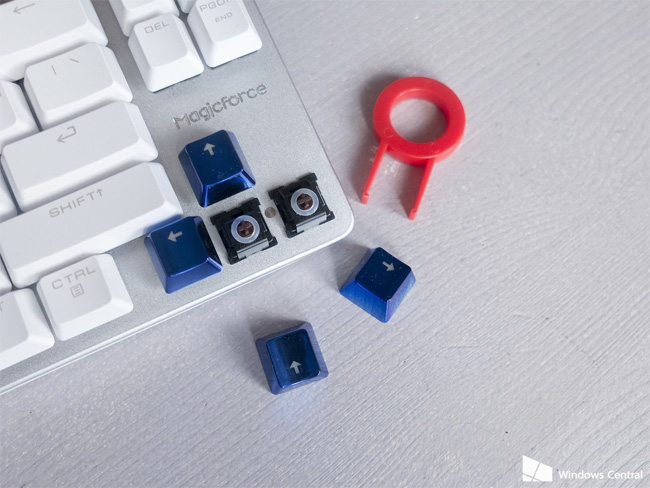
- Keycap removal tool
- If the keyboard has an LED backlight, you need to make sure that the newly purchased keycap is clearly marked, otherwise the light of the light will not pass.

Swap Keycap
- Set the keycap removal tool around the key you want to remove.
- Make sure both sides select below the keycap.
- Pull up
- To set a new lock, simply place it in place and press down.
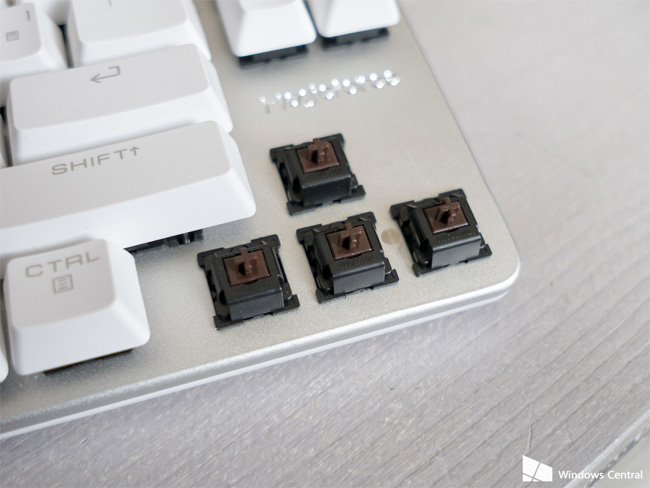
To prevent incorrect keys, it is best to do one by one. You can change the entire key on the keyboard or just a group such as the number key, function key or arrow keys, A, D, W, S to serve the game. With this method, the uniqueness of the keyboard after customization depends on the creation and the keycap you buy. All is for you.
If You're Really Brave, Try the Following
Dyeing all keycap, this is a more time-consuming process than buying an existing keycap, but you can create a unique keyboard at your disposal.
You will need a wooden spoon, disposable pot, a disposable filter, white keycap set, dye (in the article the author uses Poly iDye dye) and distilled water. Remember, these tools are only for keyboard dyeing or for single use only, you should not reuse them for cooking or any other purpose.
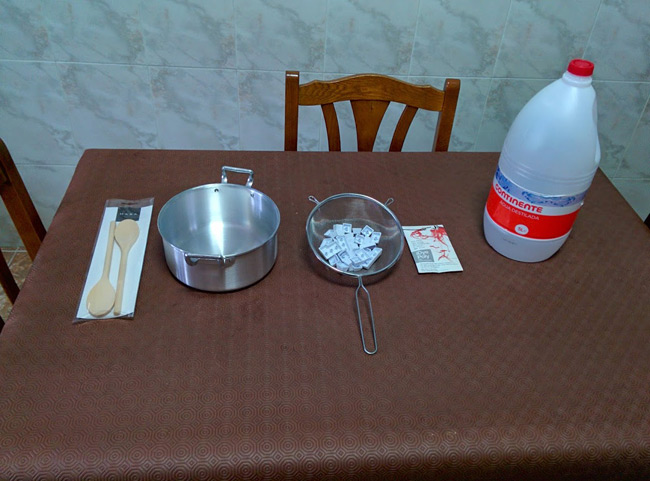
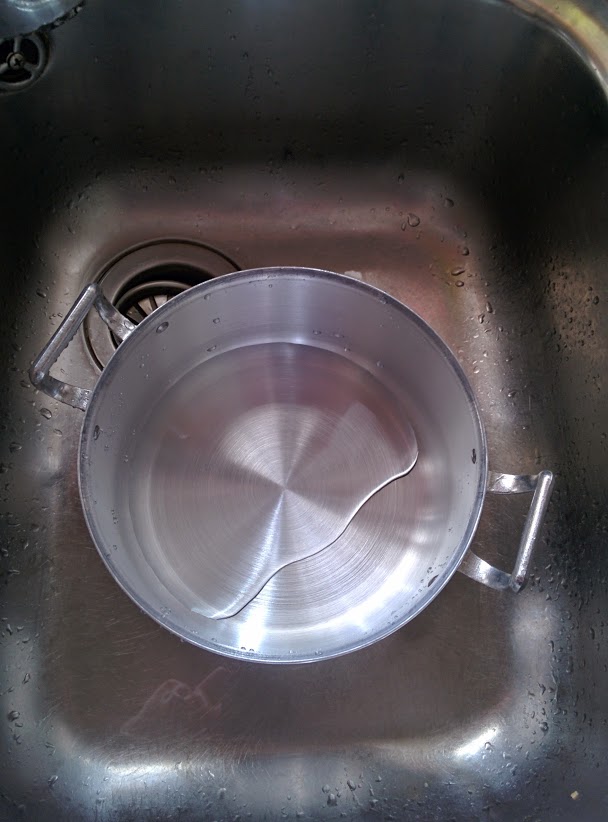
- Wash the pot
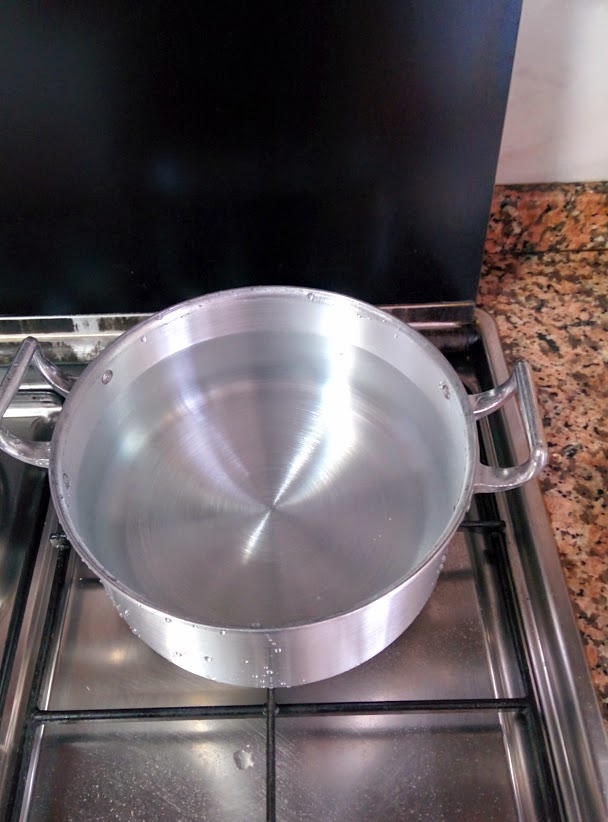
- Add distilled water, boil
- While waiting for boiling water, rinse the keycap with soap.
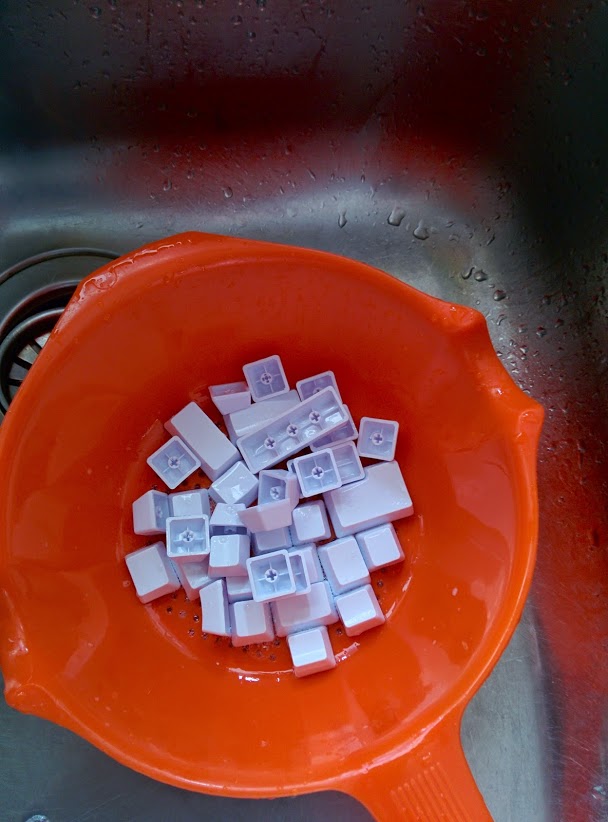
- Boil water, add the dye, stir, add the dye if the color is not as strong as you want.
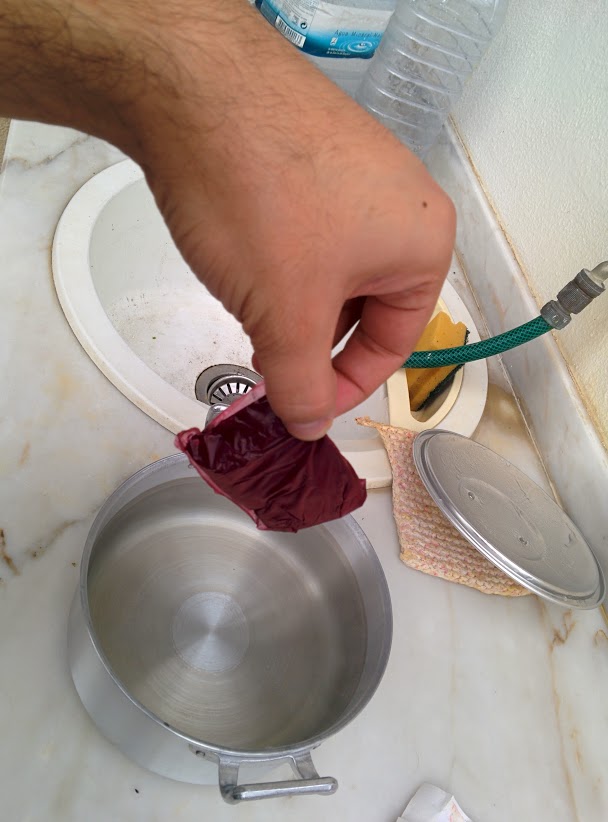
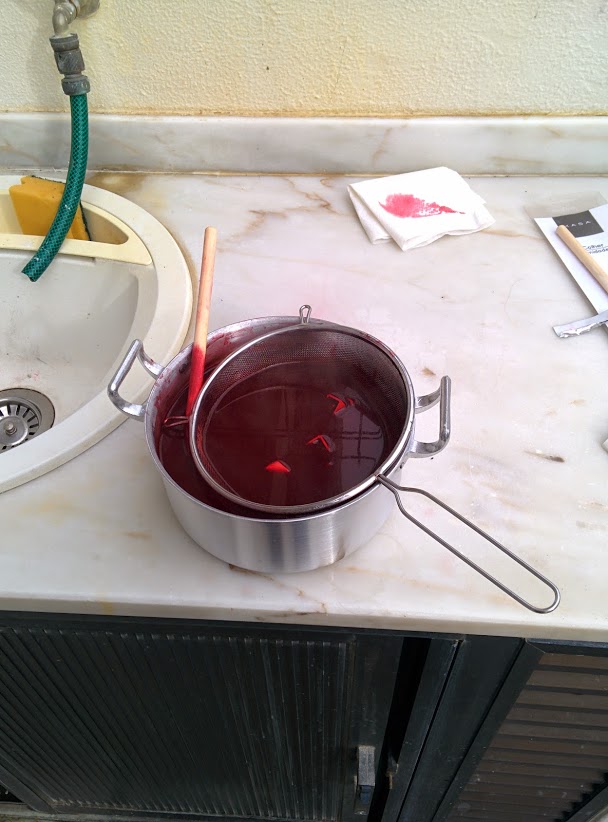
- Put the filter in the pot, pour the key in and make it flood in the dye. Do not scratch it because it may create a scratch on the key surface.
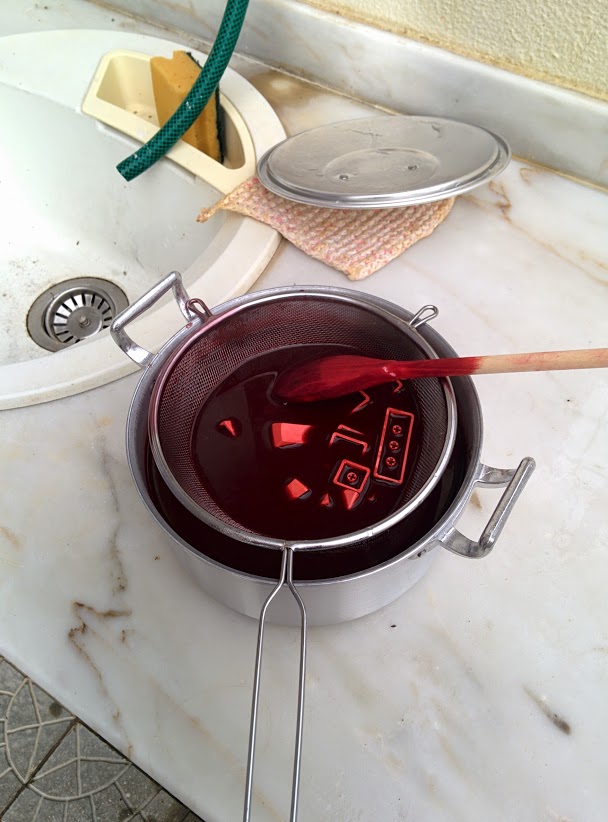
- Wait about 10 to 15 minutes
- Remove filters and exit keys
- Boil the pot again, let it boil for 10-15 minutes, use it to ensure safety.
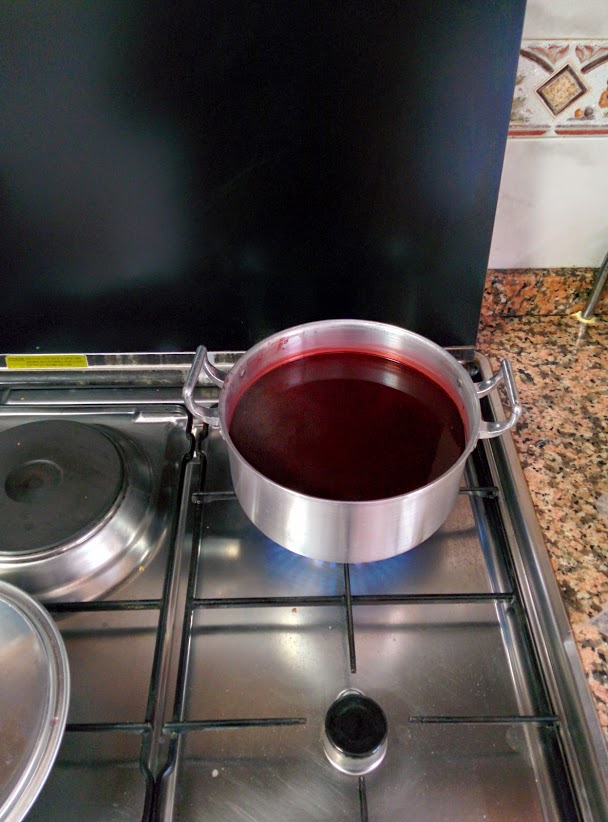
- Wash the keys with water
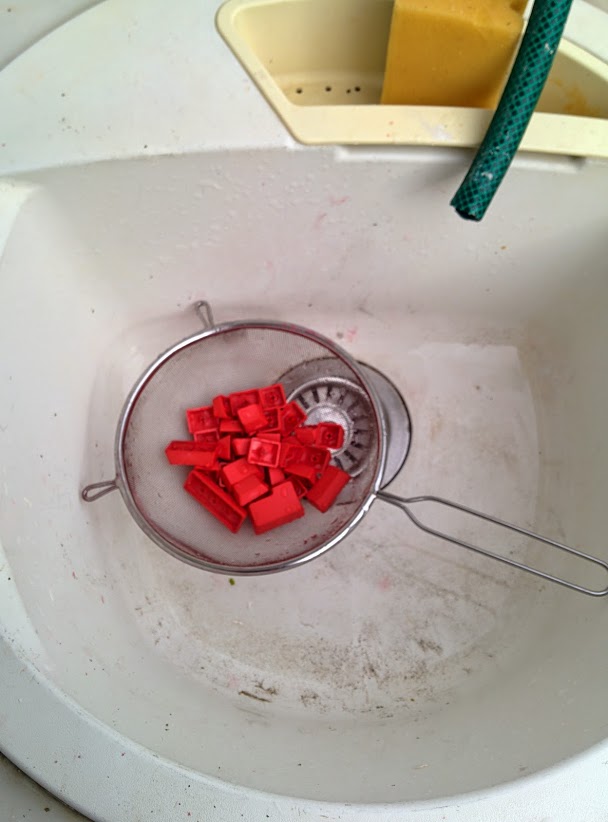
- Add filter and key to soak for another 10 to 15 minutes.
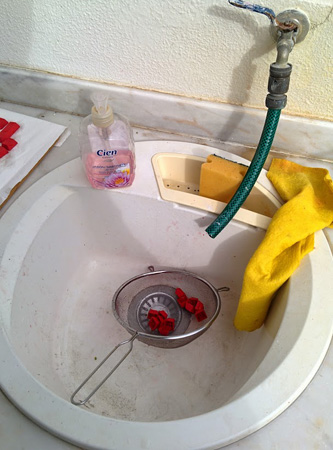
- Wash the keys again with soap
- Put some tissue paper down, leave the key on them to dry.
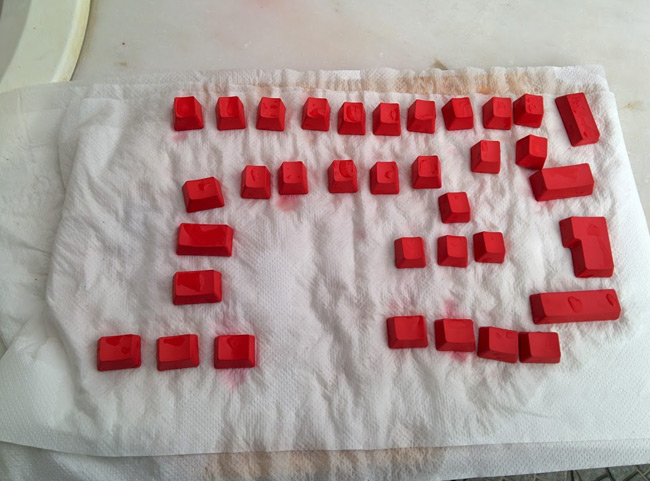
- Install the keyboard and enjoy the results.
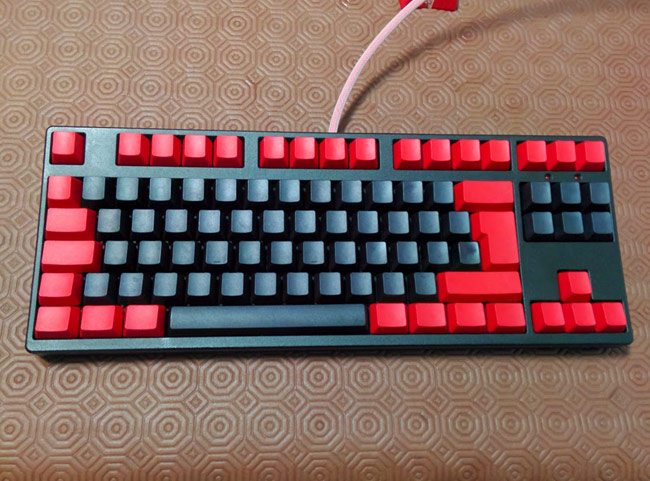
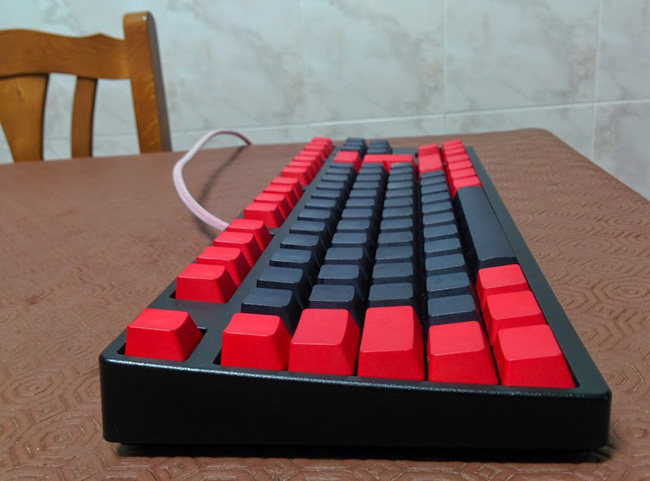
Another way to dye the keyboard, you can see in the following video:
Add Rubber Washers
If you want to change the keyboard sound, make it quieter, while changing the key, you can add a few washers. They are small rubber circles, located between buttons and keycap.
These are just a few ways to change the mechanical keyboard, if you have other good tips, please share with us below this article!
You may want to know:
FAQ
What is the main point of Homemade Keyboard Is Not Difficult?
Using your imagination to create a unique keyboard is easy if you know exactly what you're doing. The mechanical keyboard is definitely the favorite tech accessory for gamers, because nothing can compare to the feel and noise it makes.
Why is Homemade Keyboard Is Not Difficult important?
Homemade Keyboard Is Not Difficult matters because it can affect how readers understand, choose, use, or respond to the subject discussed in the article.
What should readers verify about Homemade Keyboard Is Not Difficult?
Check the date, product or software version, compatibility, and any current guidance before acting, especially when technology, security, health, or pricing is involved.
Related Articles
 Homemade 15-year-old Airpods for Use for Only 4 Usd2 minutes read
 What Is Ergonomics Keyboard? What Kinds of Ergonomic Keyboards5 minutes read
 Instructions for Making Your Own Heating Fan for Yourself,6 minutes read
 Keyboard Cleaning: How to Clean the Most Clean Computer Keyboard6 minutes read
 Homemade Youtuber 'Portable' Computer Has Two Unique Screens, Weighing 10kg3 minutes read
 How to Clean MacBook Pro Keyboard: Practical Guide10 minutes read
Reader Comments 0
Sign in with email or Google to join the discussion.