Table of Contents
World War Z: Aftermath rewards coordination more than individual kill counts. A new player should begin on a forgiving difficulty, learn each episode’s objectives and defense locations, and stay close enough to rescue teammates grabbed by special enemies. The team that shares equipment, controls lanes, and avoids friendly fire will usually survive longer than four players chasing separate targets.
The game has changed substantially since its original release. Class perks, weapon progression, difficulty labels, and special enemies may differ from older screenshots. Use the current in-game descriptions for exact numbers; the principles below remain useful across campaign episodes and Horde play.
Start below the highest difficulty you can unlock

Begin with the lowest or second-lowest campaign difficulty. Your first goal is to learn routes, objective triggers, defense positions, ammo-crate locations, and the audio cues for special enemies. Higher difficulties make mistakes more expensive through stronger enemies, scarcer resources, and greater friendly-fire risk.
Move up when you can complete an episode without repeatedly consuming the team’s medical supplies and when you know where the major swarm events occur. A high-level class does not replace map knowledge.
Use voice or pings to share a simple plan
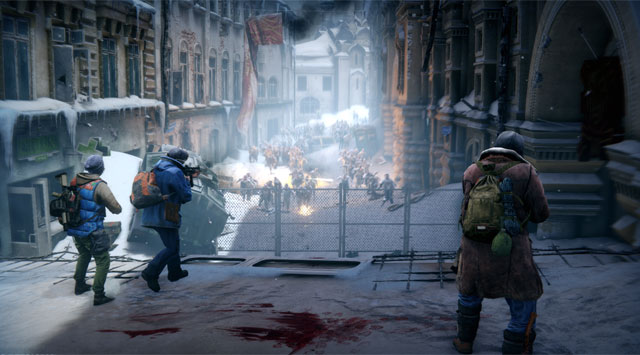
A premade team makes communication easier, but public matchmaking can work well if players consistently mark weapons, equipment bags, defenses, medkits, and special enemies. Before a swarm starts, agree on:
- which lanes each player will watch;
- who receives limited equipment and heavy weapons;
- where the fallback position is;
- who will operate mounted defenses; and
- when the team will stop shooting and relocate.
Short, actionable callouts—“Bull left,” “Screamer behind,” “fall back,” or “ammo here”—are more useful than constant commentary.
Build a defense with overlapping fields of fire
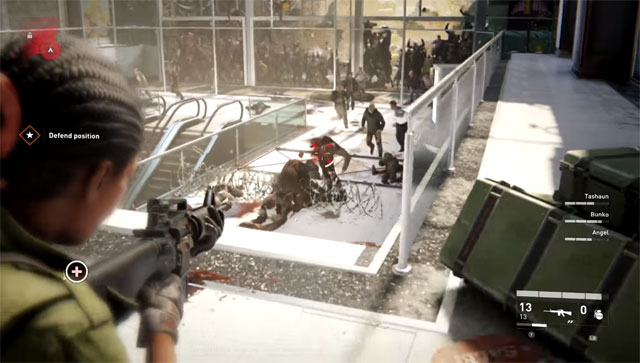
During a preparation timer, search the marked area quickly and place defenses where the team can actually protect them. Automatic turrets cover a lane but can be overwhelmed or exhausted. Barbed wire delays a swarm but is wasted where zombies rarely travel. High-voltage grids are strongest when players can shoot the stunned group without standing on top of it.
Do not put every resource on the first line. Keep a second position for the moment the front defense fails. Maintain clear firing lanes so teammates are not forced to shoot through one another.
Stay together—especially during search objectives
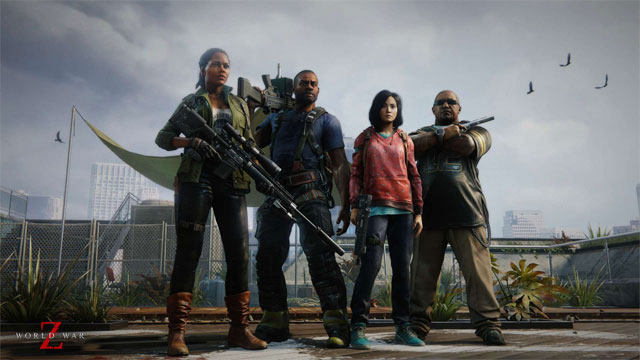
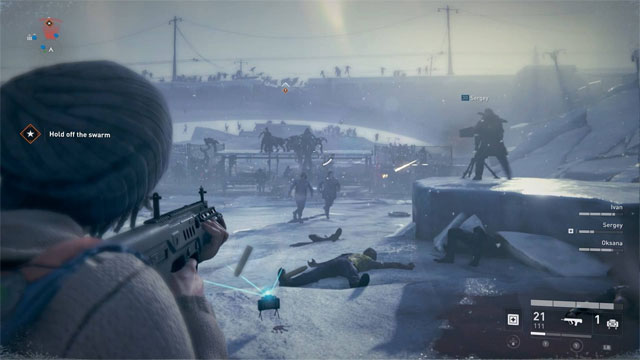
Several special enemies can pin or disable a player until a teammate intervenes. That makes a lone detour dangerous even when the regular zombies appear manageable. During a wide-area search, split into pairs at most and keep both pairs within quick rescue distance.
Before crossing a one-way drop or triggering an objective, confirm that everyone has regrouped. A teammate left behind may pull a special enemy or begin the next swarm with no safe route to the group.
Preserve stealth until the team chooses to go loud
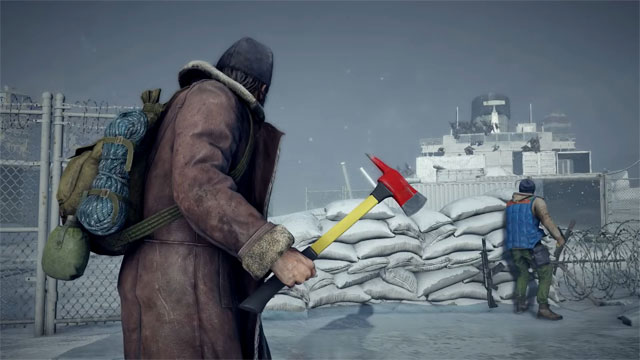
Many quiet sections can be cleared with suppressed weapons and controlled melee attacks. Unsuppressed gunfire, explosives, and some environmental actions can wake nearby groups and start an avoidable fight.
- Fire single, accurate shots at isolated targets.
- Do not shoot cars, alarms, or explosive objects without warning the team.
- Watch for sleepers behind doors and around corners.
- If the team loses stealth, group up immediately instead of continuing to loot separately.
A suppressor is not a guarantee that every action remains silent; rely on the current weapon tooltip and the behavior of the surrounding zombies.
Choose weapons by role, not only by tier
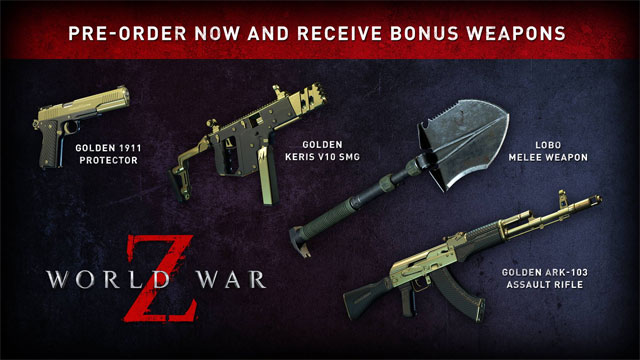
A higher-tier weapon is generally stronger, but the best pickup also depends on the class, perk build, team needs, and the next encounter. Accurate rifles handle distant specials and quiet sections. Shotguns and compact weapons protect tight corridors. Explosive heavy weapons can erase a dense swarm but are risky near teammates.
Keep one weapon you can control under pressure. Progression systems and perk trees have been revised over time, so spend resources on weapons and perks you actually use rather than following an old “maximum level” chart.
Spend supplies on a focused build

Campaign supplies are limited early. Read the entire class row before buying a perk, because some choices are mutually exclusive. Build around one clear job—healing, explosive damage, crowd control, ammunition support, or front-line protection—then buy weapon upgrades that complement it.
Avoid purchasing every unlocked option simply because it is available. Reserve enough currency for a meaningful class breakpoint or a weapon you regularly carry. Challenge and higher-difficulty rewards are more efficient once the team can finish them consistently.
Choose classes that cover different team needs

World War Z now offers more class choices than the original release. Exact perks change, but a balanced squad still benefits from four functions:
- Sustain: healing, temporary health, or safer revives.
- Resupply: ammunition or equipment support.
- Swarm damage: explosives, fire, or bonuses against dense groups.
- Control and rescue: melee, shields, stun tools, or perks that create space.
Medic and Fixer are familiar support choices, but they are not mandatory in every normal-difficulty match. Match the classes to the episode and player skill. TipsMake’s World War Z class overview provides the original class foundations; check the current game for later classes and revised perks.
Destroy zombie pyramids from the base and top edge

When zombies pile against a wall, the team must reduce the mass before it reaches the ledge. Area damage is effective against the dense base, while sustained automatic fire can cut down zombies near the top. Assign one player to watch for specials and side entrances; four players staring at the pyramid can be flanked.
Use heavy explosives early enough to prevent a breach, but call the shot first. Firing into teammates on the wall or detonating an explosive at point-blank range can create a second emergency.
Share medkits and equipment with the right class


Before grabbing a medkit or equipment bag, look at the squad’s health and class perks. A support player may stretch one resource further or use it to benefit multiple teammates. That does not mean every item belongs to the same person: the player closest to death may need immediate help.
Fixers can specialize in ammunition or masking support, while Medics can build around healing and temporary health. Confirm the player’s actual perk build rather than assuming all members of a class provide the same tool.
Counter Bulls with positioning and focused fire

A Bull can charge, pin, and continue damaging a player. Mark it immediately. Put a solid obstacle between you and the charge path, dodge across its line rather than running straight away, and shoot vulnerable areas when the angle opens. If a teammate is pinned, clear nearby regular zombies and focus the Bull together.
Do not bunch tightly behind the same cover; one disrupted formation can expose the entire group.
Listen for Lurkers and check blind corners
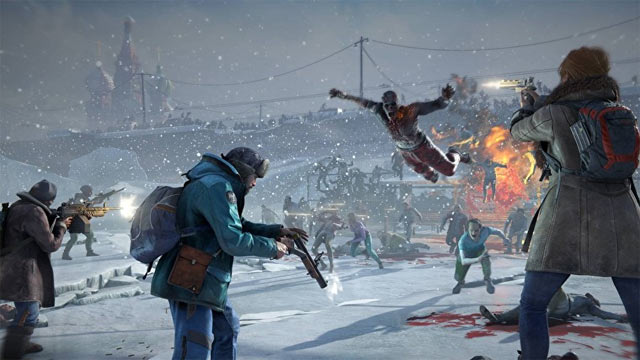
The pouncing enemy called the Lurker in current English versions was described as a Creeper in some early guides. It hides around corners, behind obstacles, and beside doorways before pinning a player. Slow down when a character warns about a special, sweep the corner from a distance, and let a teammate cover the first player through a doorway.
The same discipline applies to other specials: identify the audio cue, mark the target, and solve the immediate threat before returning to the horde.
Use PvP and Horde as different practice environments
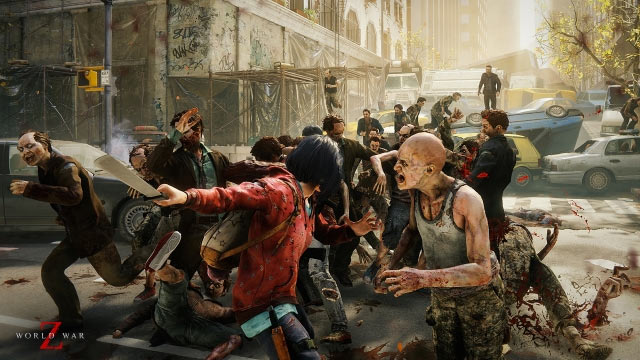
PvP modes add human opponents to the pressure created by zombies, while Horde modes test resource allocation and defense over repeated waves. Do not rely on an old fixed-credit reward when choosing a mode; rewards and playlists can change. Play campaign first to learn movement, weapons, specials, and teamwork, then use Horde to practice defensive setups and PvP when you want a competitive ruleset.
Quick checklist before the next objective
- Reload every weapon and check heavy-ammo status.
- Regroup before crossing a one-way boundary.
- Mark unclaimed medkits, equipment, and defenses.
- Confirm the escape route and fallback position.
- Keep one player watching specials and side lanes.
- Stop firing when a teammate crosses the lane.
Players who enjoy analyzing zombie enemy behavior can compare the approach with TipsMake’s zombie enemy guide and boss-fighting tips for PUBG Mobile’s zombie mode. The games differ, but target priority, spacing, and resource discipline remain useful co-op habits.
The best beginner improvement is simple: survive as a unit. Learn the map on a reasonable difficulty, keep quiet sections quiet, spend supplies with a purpose, and make every defense easy for teammates to understand.
Related Articles
 3 Simple Tips for Playing Free Fire That Newbies Need to Know: What You Need to Know5 minutes read
 Tips to Play Zoo 2 Animal Park for Newbies5 minutes readInfinite Galaxy Game Tips for Newbies8 minutes read
 Tips for Playing Rules of Survival for Newbies Should Not Be Ignored6 minutes read
 Tower of Fantasy Tips for Beginners5 minutes read
 10 Tips for Using Tumblr for Beginners11 minutes read
Reader Comments 0
Sign in with email or Google to join the discussion.