
The following article introduces you in detail how to insert and edit Word Art in Excel.
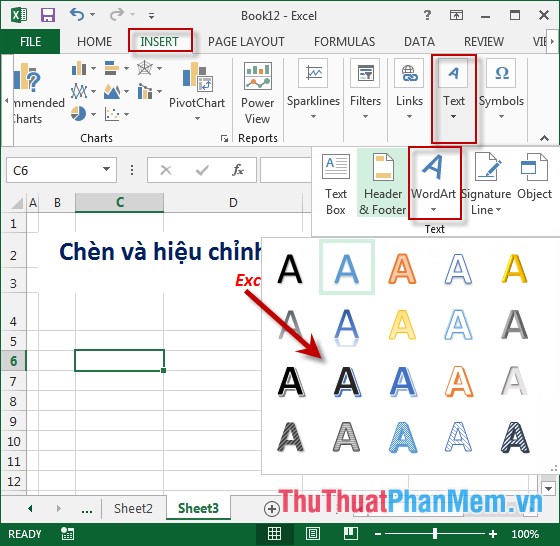
Step 1: On the card Insert -> Text -> Word Art -> choose fonts you want to create Word Art:
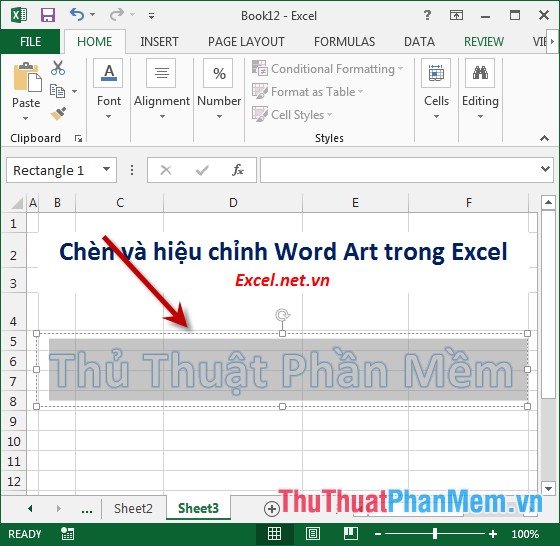
Step 2: Enter the content to create word art:
Step 3: Select the entire content to create artistic letters -> a quick toolbar appears -> edit the font, font size, font color .
Step 4: Click on Word Art -> Format -> Quick Styles -> select the type of art font to create:
Step 5: In Shape Style -> make frame adjustments for Word Art:
- Shape Fill: color for text.
- Shape Outline: border color for text.
- Shape Effect: Create effects for text.
- For example, fill the background color for Word Art -> click on the Shape Fill icon -> select the color to be filled:
- Or create effects for Word Art borders, click the Shape Effect icon -> choose the effect type:
- After adjusting the background, the result is:
Step 6: Adjust the content of Word Art to make the options in the Word Style section:
- Text Fill: color for text.
- Text Outline: border color for text.
- Text Effect: Create effects for text.
- For example, change the border color for text to select the Text Outline icon -> choose the color to create:
- Similarly create effects for text click the icon Text Effect -> results created Word Art:
Above is a detailed guide to you how to create Word Art in Excel 2013.
Good luck!