Insert and edit drawings in Word
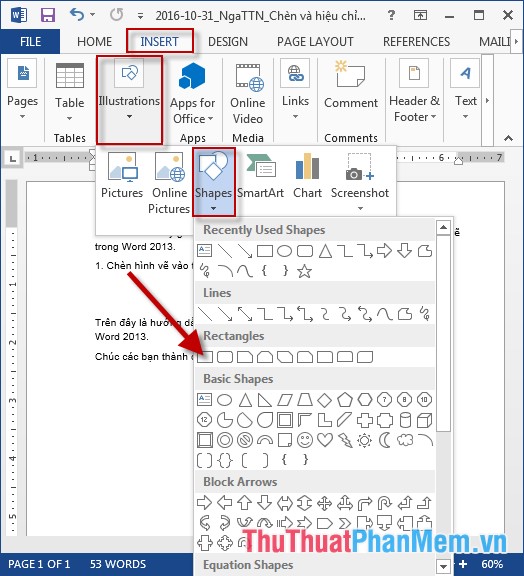
Introduce how to insert and edit graphics in Word. 1. Insert figures in the text. To insert drawings in the text, do the following: Step 1: Go to the Insert - Illustrator - Shapes tab - select the type of image you want to draw, for example here choose a rectangle..
The following article introduces you in detail how to insert and edit drawings in Word.
1. Insert figures in the text.
To insert drawings in the text, do the following:
Step 1: Go to the Insert tab -> illustration -> Shapes -> select the type of image you want to draw, for example here choose a rectangle:
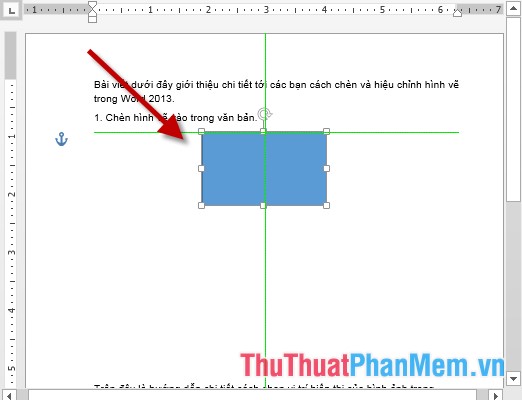
Step 2: Drag and move the mouse to draw the shape you want and locate the image:
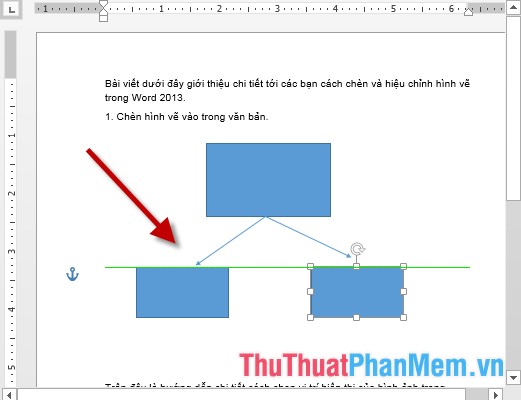
Step 3: Similarly draw the rest of the drawing:
Step 4: Right-click the graphics and select Add Text to add content for the image:

Step 5: Enter the content for the resulting image:

- Similarly enter the content for the remaining drawings.
2. Edit drawings:
Step 1: Click on the graphics to edit, click on the quick pattern in Shaps Styles:

Step 2: The results of the drawings change according to the selected shape:

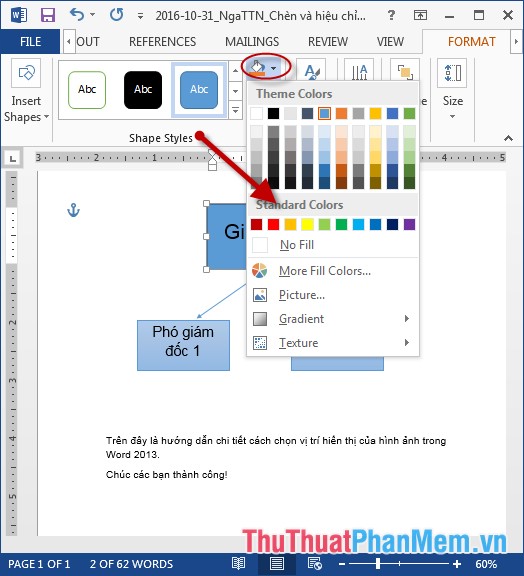
Step 3: Click the Shape Fill icon to fill the drawing:
Step 4: Click the Shape Outline icon to color and adjust the width of the outline of the drawing:

Step 5: Select effects for drawings by clicking the Shape Effect icon -> choose the effect type:

- Also you can change the content in the picture:

- Results after adjusting the drawings:

Above is a detailed guide on how to insert and edit drawings in Word.
Good luck!