How to Use Visual Intensity in Adobe Firefly for More Detailed Images
But there is one option in Adobe Firefly called Visual Intensity that has the biggest impact on the amount of detail and complexity in an image. By default, Visual Intensity is set to 50%, which is why Firefly's results aren't always as detailed or impressive as you might expect.
This guide will show you where to find Visual Intensity in Firefly and how to adjust it. Then we'll try out a few prompts to see how the Visual Intensity setting affects your results, including how to add more detail and drama to your images or create simpler, less detailed images when you need them.
How to access Adobe Firefly
To use Adobe Firefly's text to image converter, open a web browser and go to the Firefly website (firefly.adobe.com). Then, scroll down the page and select the text to image module.
You'll need a free, premium Firefly plan, or an active Creative Cloud subscription to use Adobe Firefly.
Where to find Adobe Firefly Visual Intensity option?
All of Adobe Firefly's options for adjusting the look and style of your image are located in the left column.
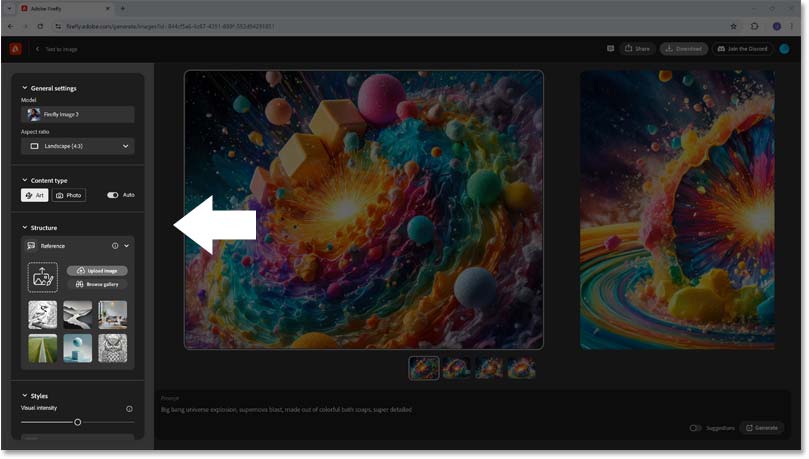
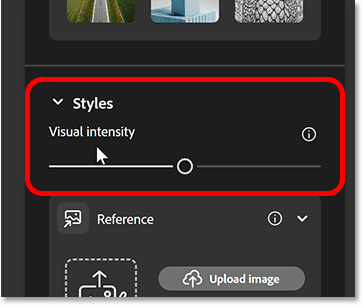
The Visual Intensity slider is located in the Styles section . By default, the slider is set to the middle (50%).
Enter prompt
To see how Visual Intensity affects Firefly's visuals, leave it at 50% to start and enter prompt.

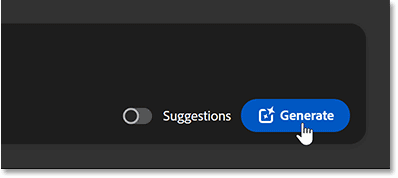
Then click Generate .
Initial Firefly results
Adobe Firefly generates 4 images for you to choose from. With Visual Intensity at 50%, the initial results don't look too bad.
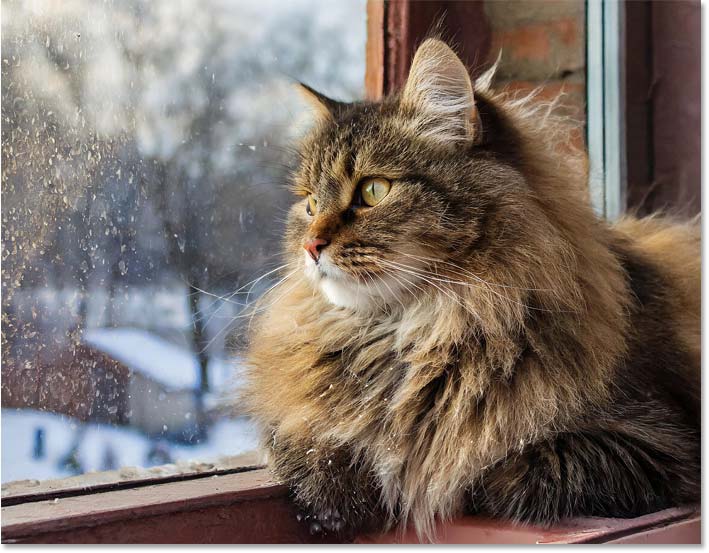
Here is one of the results. We have the cat sitting on the windowsill, looking out the window.
But this image is not very interesting. The cat looks realistic but the window is quite generic. Also, it is difficult to see what the cat is looking at through the window because everything outside is blurred.
Reduce Visual Intensity to simplify the image
You can drag the Visual Intensity slider to the right to increase the amount of detail and complexity in Adobe Firefly's images.
But before you do, reduce the Visual Intensity to its lowest setting by dragging the slider all the way to the left.
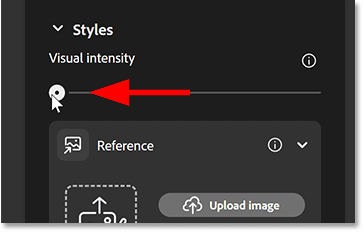
Keep the prompt and click Generate again.
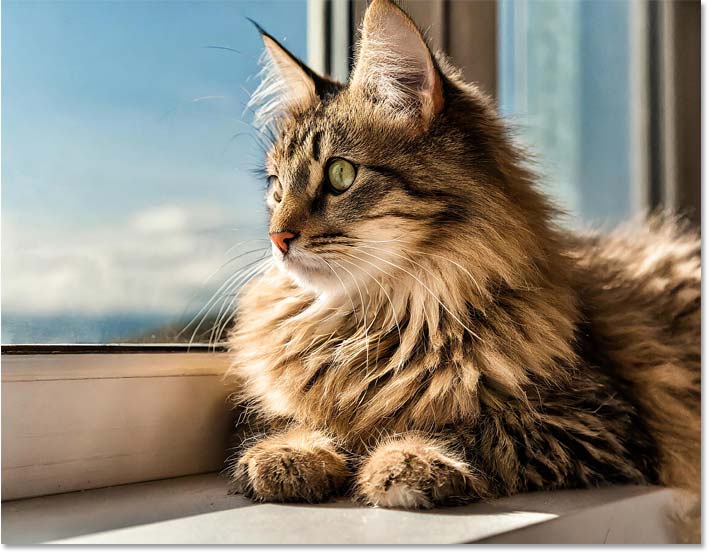
This time, with the Visual Intensity reduced, we get a result with even less detail than the original. The cat still looks good, but there's really nothing else going on in this image. The window is as simple as can be, and there's even less looking out into the open.
It's important to note that Firefly's Visual Intensity setting has nothing to do with the resolution of the image. Less detail does not mean lower resolution. In fact, the resolution doesn't change. Instead, Firefly has created a simpler version of the image with fewer visual elements.
Increase Visual Intensity for more detail
Now try increasing the Visual Intensity to its highest setting by dragging the slider all the way to the right.
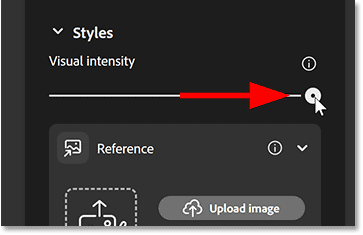
Again, keep the prompt and click Generate .
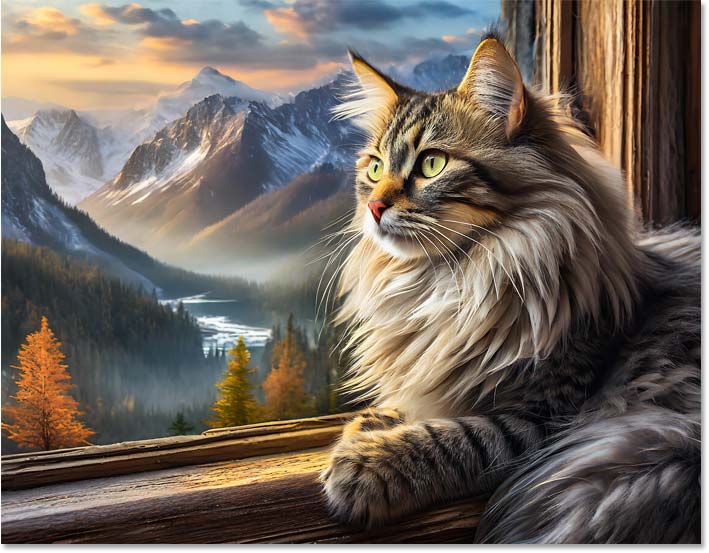
This time, with Visual Intensity increased, Firefly produces more interesting and impressive results. In this example, the window is more detailed, there is a mountain landscape scene outside that wasn't there before, and the lighting is even better.
So again, it's not a matter of increasing the resolution. All three results we looked at are at the same resolution. The difference is that a higher Visual Intensity setting adds a whole new level of complexity to Firefly's image.
Adobe Firefly Content Type Options
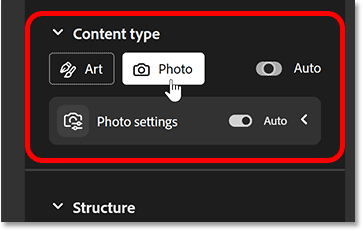
Another way to get more detailed results is to set Firefly's Content Type option to Photo. By default, this option is set to Auto, allowing Firefly to choose between Photo or Art.
For example, I would select Photo , then click Generate again.
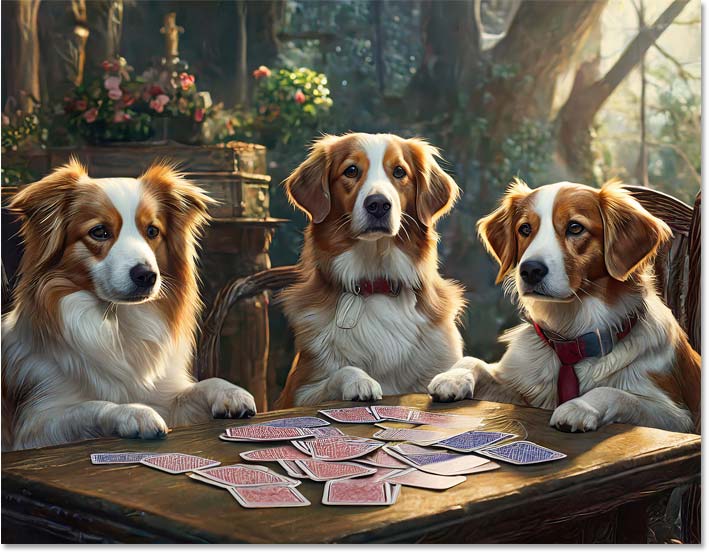
This time, instead of the result looking like a painting, Firefly creates a much more realistic image.
That's how to control the amount of detail and complexity in your images using the Visual Intensity slider in Adobe Firefly!
Good luck!