How to take beautiful flower photos with your phone
Taking beautiful flower photos with your phone is easy with just a few simple tips..
Flowers are the easiest subjects to photograph. At the same time, it is also very difficult to take a unique and outstanding flower photo. But not anymore. Taking beautiful flower photos with your phone is easy with just a few simple tips.
- 7 Essential Techniques for Taking Landscape Photos on Your Phone
6. Use a shallow depth of field
You've probably heard the benefits of this many times before. Depth of field is the technical term for how sharp a scene is. Shallow depth of field is when the background is blurred, leaving only the subject in focus. This is an effective way to draw attention to your subject.
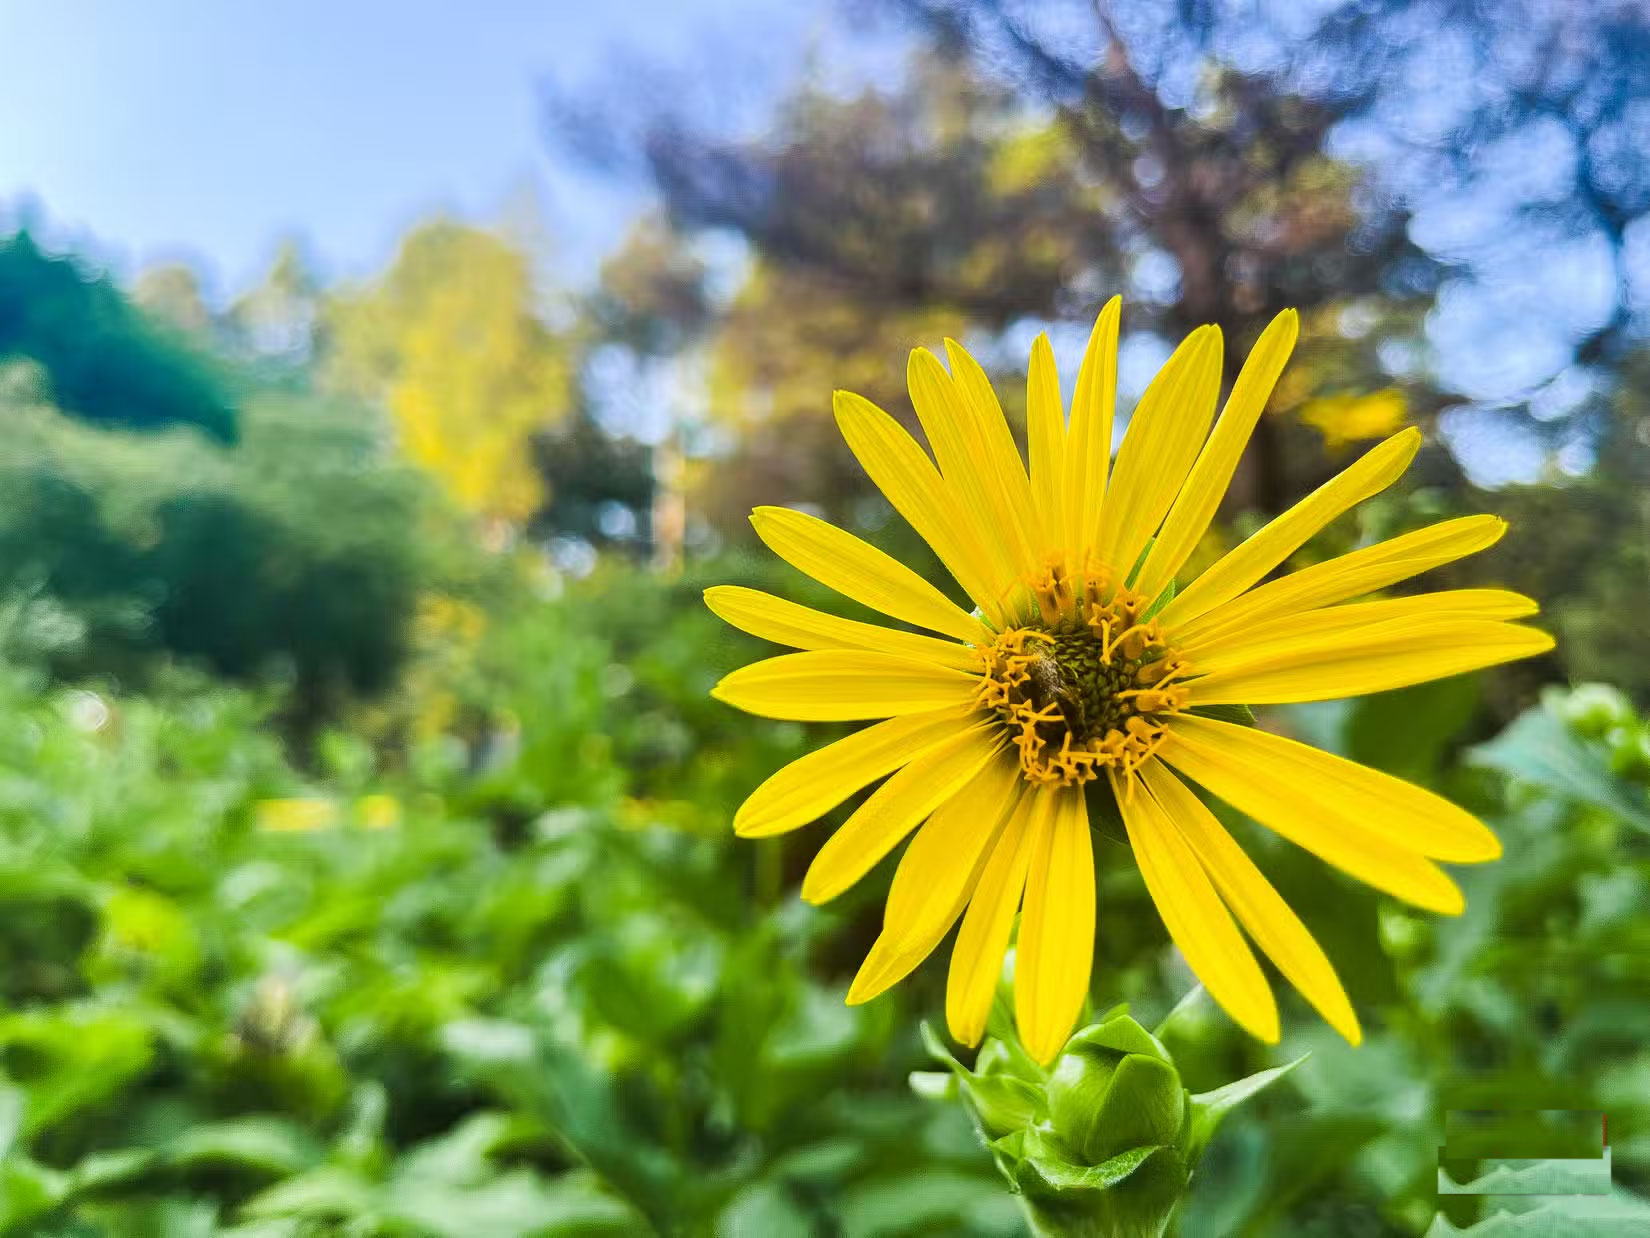
Almost all modern smartphones have the ability to adjust the aperture, allowing users to control the depth of field. If your phone doesn't have this option, you can use apps that allow you to shoot in manual mode.
5. Explore new perspectives
A vertical flower photo, while beautiful, lacks interest. So look up, look down, or try any angle other than the boring one you've always used. Remember, taking risks and trying new things is what makes fine art photography stand out.
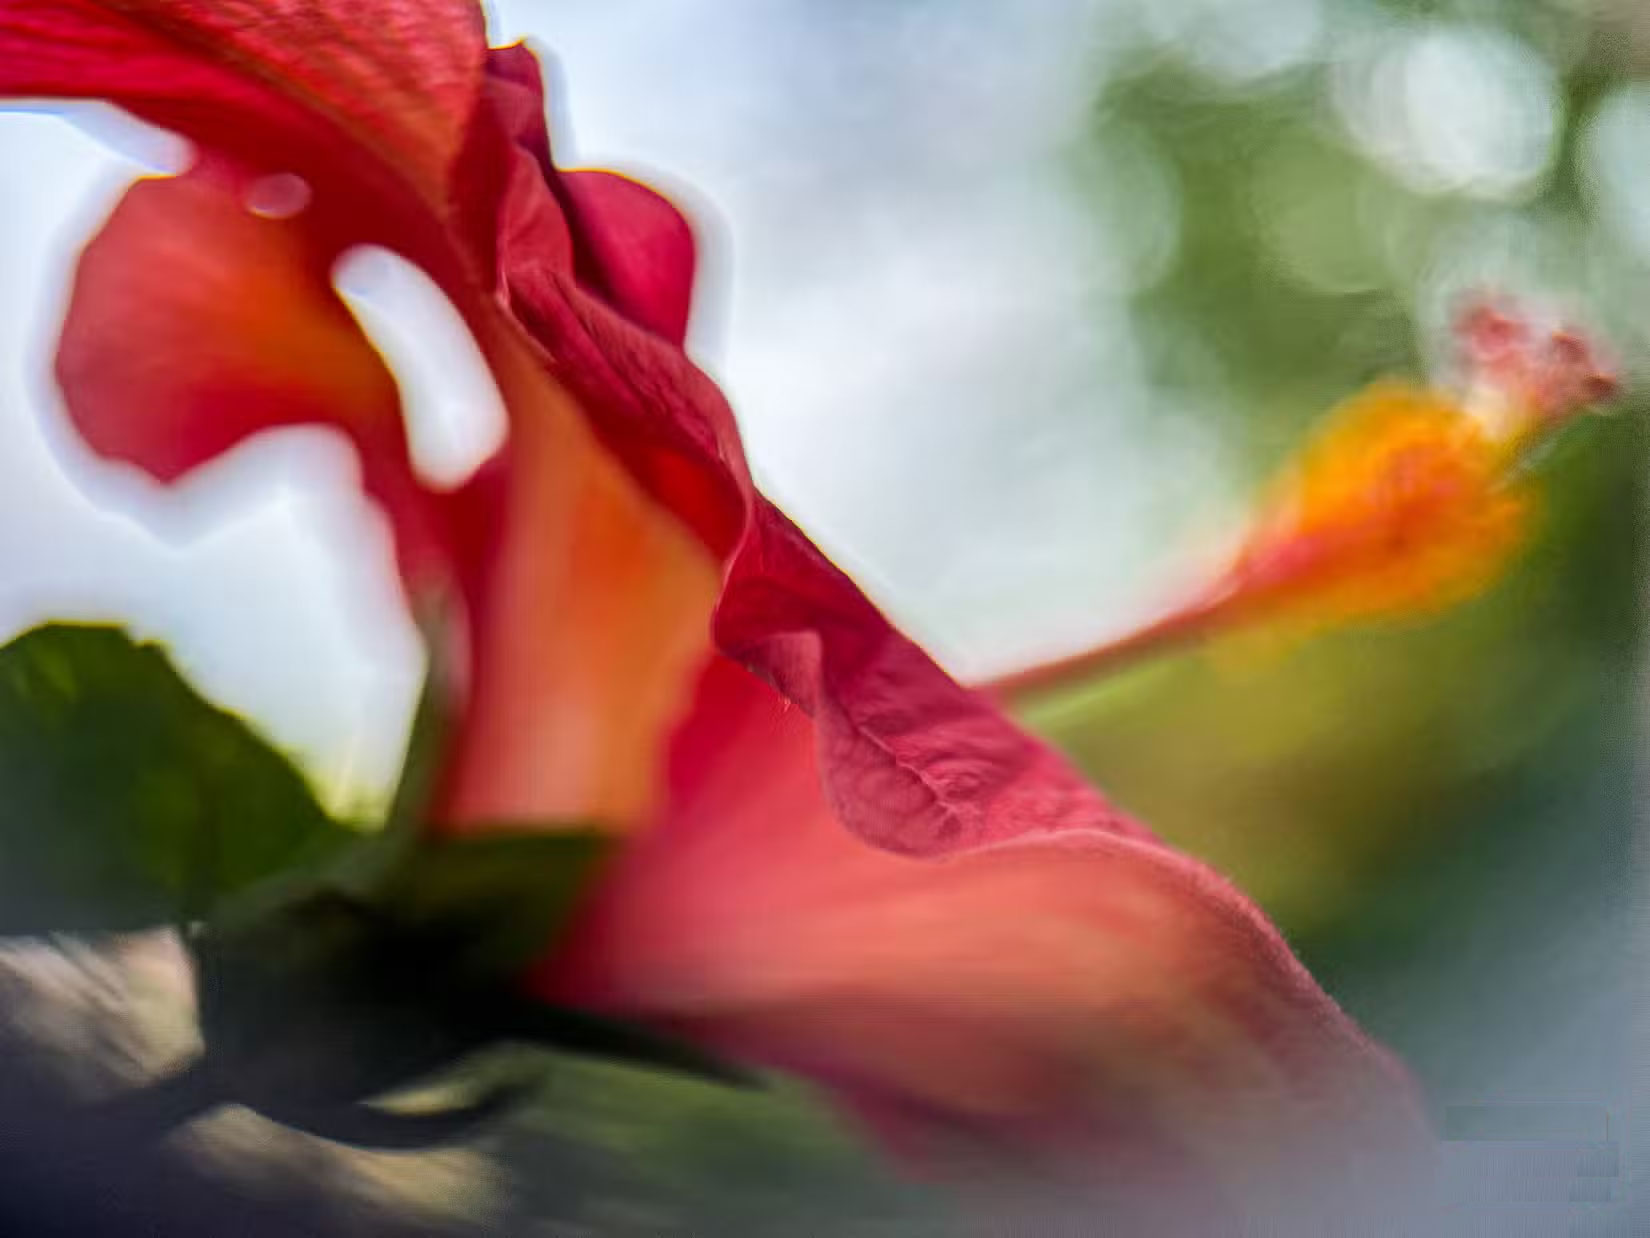
As you try different angles, you'll also notice subtle changes in light and beautiful bokeh effects in the background.
4. Experiment with layout
We've discussed the importance of using composition rules many times before, and for good reason. Even if you have the latest, most feature-packed phone, your photos can still look amateurish if you don't use the right composition rules. Let's start with symmetry, which is easy to achieve in flower photography. Follow the rule of thirds to make your photos more dynamic.
Also, look for ways to incorporate design elements, such as lines, colors, shapes, and textures. These elements will quickly elevate your photos to works of art. Pay attention to the natural curves of petals and stems to highlight lines or shapes. There is always texture in flowers - zoom in to highlight it.
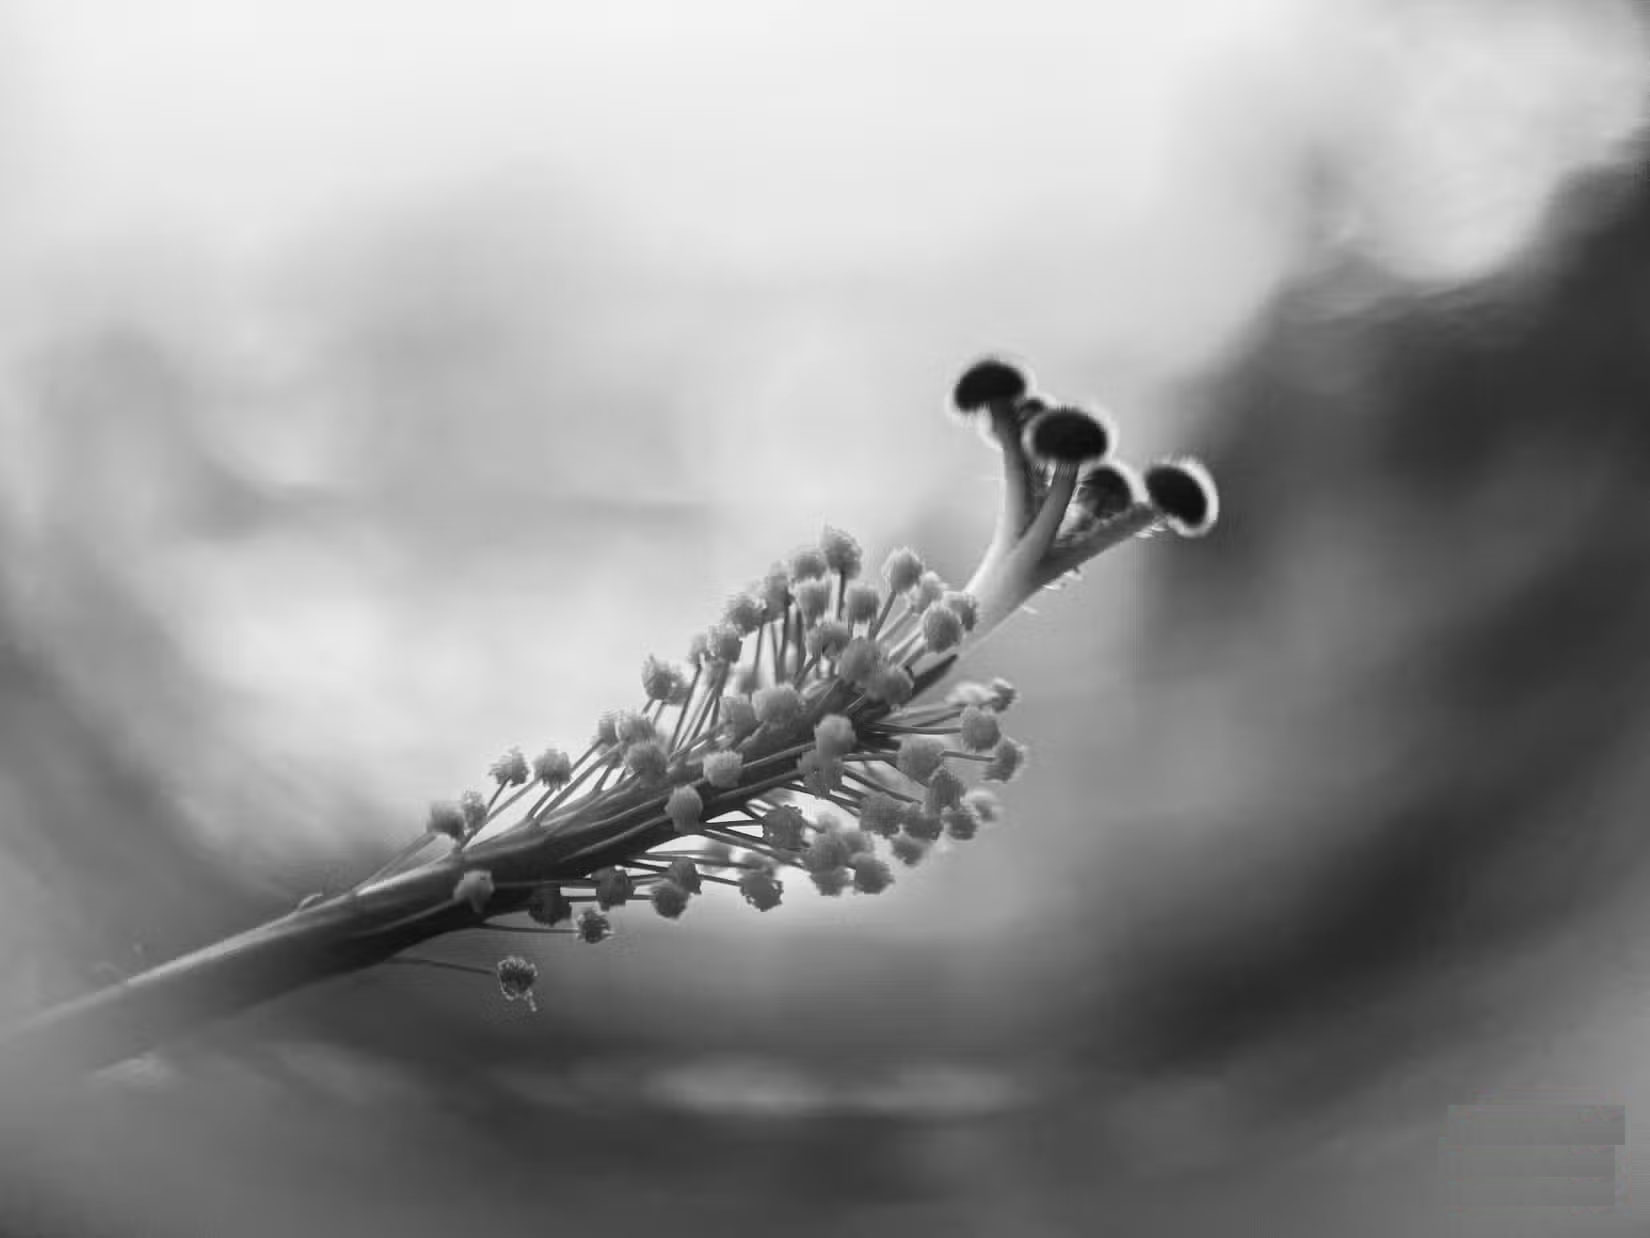
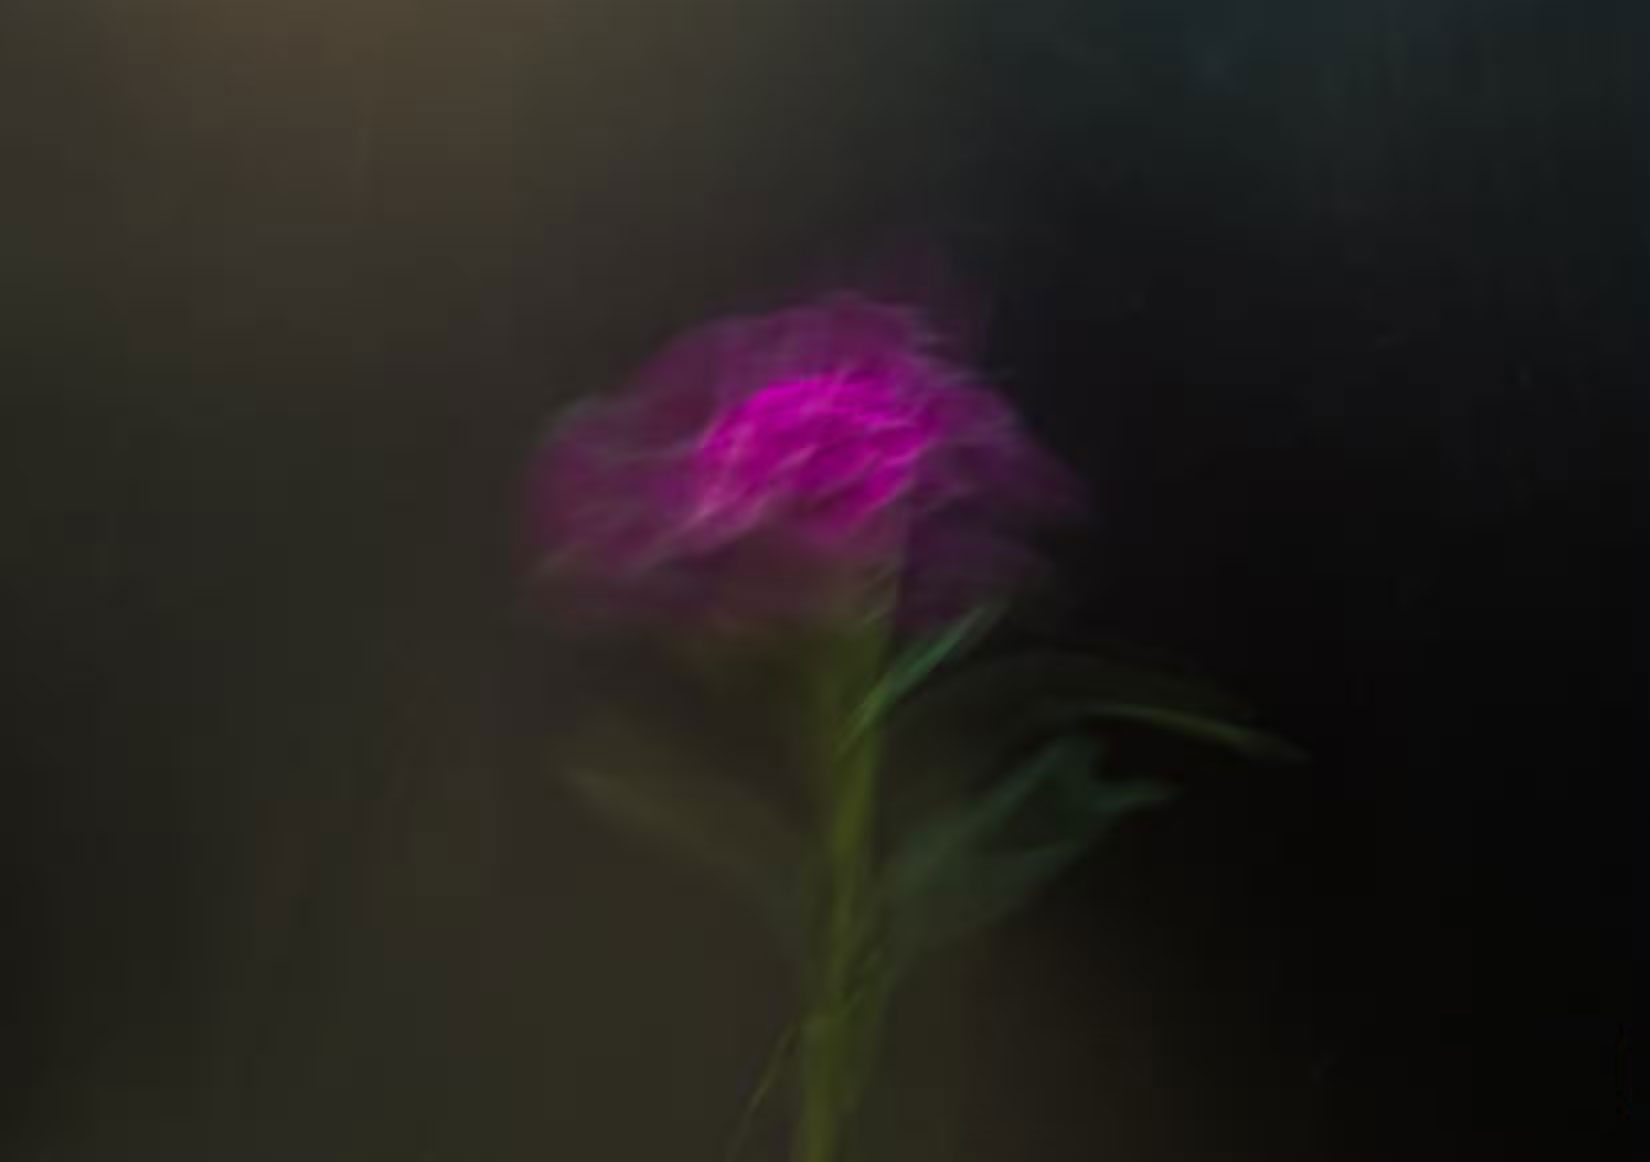
3. Experiment with slow shutter speeds
Slow shutter speeds or long exposures can be artistic and interesting in landscape photography. Likewise, you can use slow shutter speeds to take surreal flower photos. I recommend using third-party apps, but you can also use your phone's camera for this purpose.
The easiest and quickest way to achieve that dreamy look in your photos is to take a live photo and convert it into a long exposure using your iPhone's built-in editing features. This process will give you a great photo, but can be a bit limiting since live photos are only 3 seconds long.
2. Try taking double exposure photos
Double exposure is another technique that can add depth and drama to your photos. You can create this effect by superimposing one photo on top of another. You can do this on your phone or in post-production.
You can do this very easily on your iPhone. First, make sure Live Photos is turned on on your phone's camera, then select the 0.5x lens. Then quickly switch to 1x while taking the shot. The resulting photo will be a beautiful combination of wide-angle and zoomed-in photos, creating a graceful and artistic look.
1. Photo editing
Whether you're doing complex editing, like shooting a double exposure, or not, editing your flower photos is always a good idea. Editing can bring out the details in your photos, making them look neat and professional. For example, if you forget to use a low aperture or shallow depth of field when shooting flowers, you can still make your subject stand out by blurring the background in your editing apps.
We recommend Lightroom , as it provides almost all the controls you need to edit your photos. Start with brightness, highlights, and shadows. Then adjust the vibrance and saturation. Adjust the temperature and hue to make the photo cooler or warmer. The texture and clarity sliders can add detail or blur the photo. Selective adjustments, which can be made using the overlay option, are great for adjusting just specific areas of your flower photos.
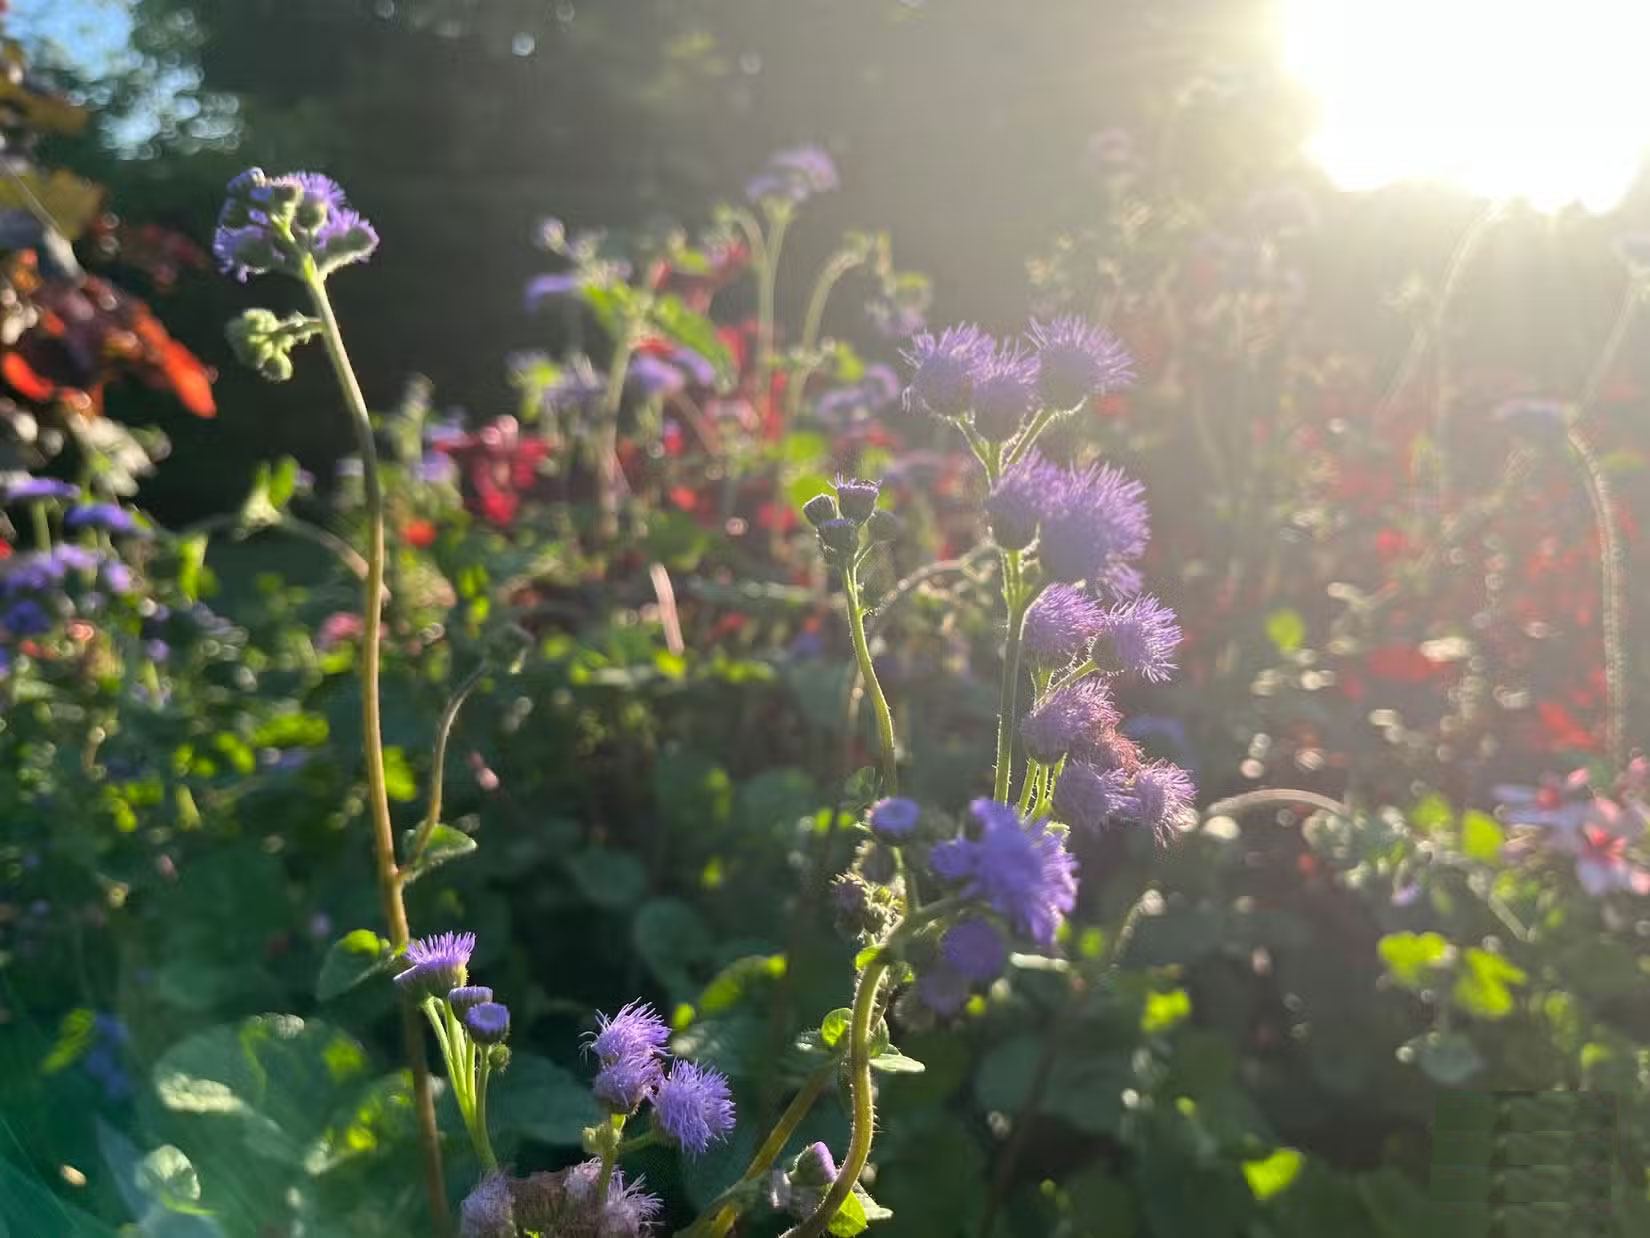
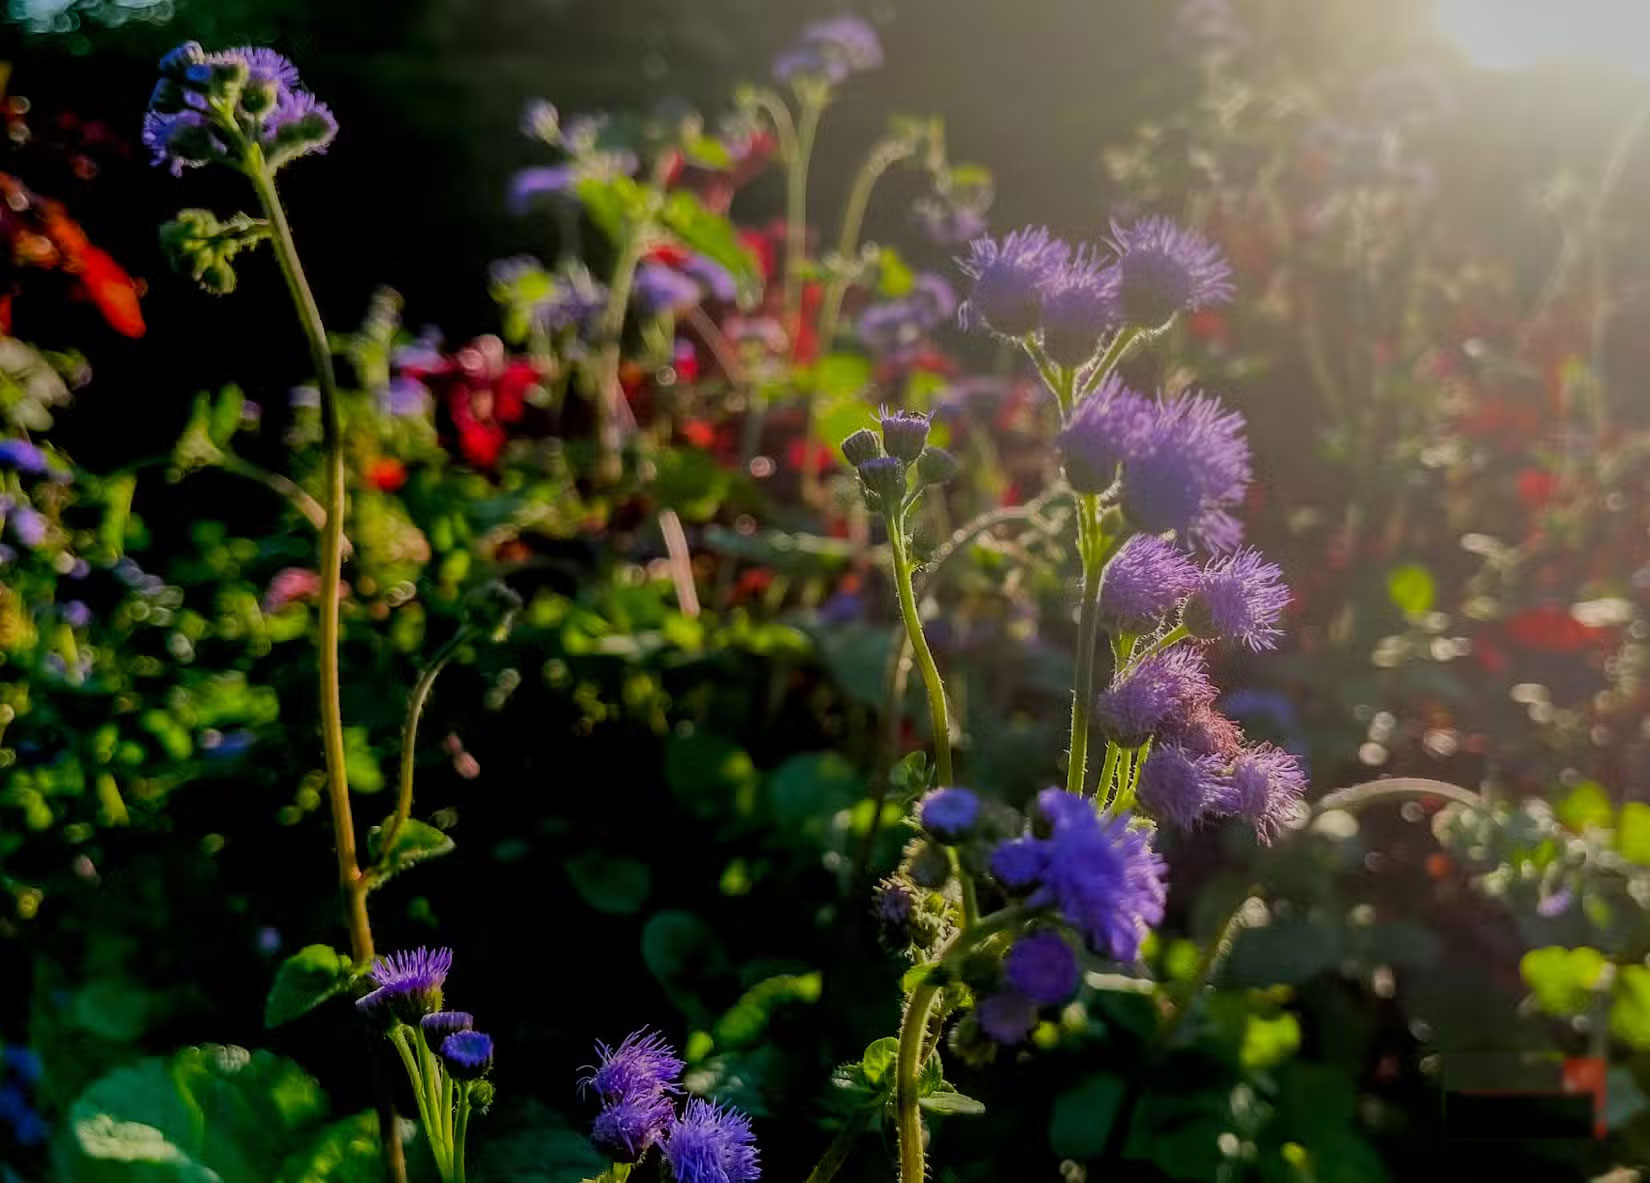
For example, the photo above looked too busy right out of the gate. The sun was strong in the upper right corner. I adjusted the blacks and shadows, and played with texture and clarity to get the final image looking dramatic.