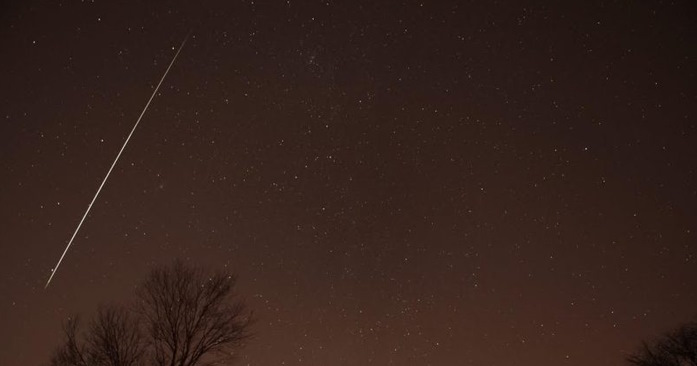
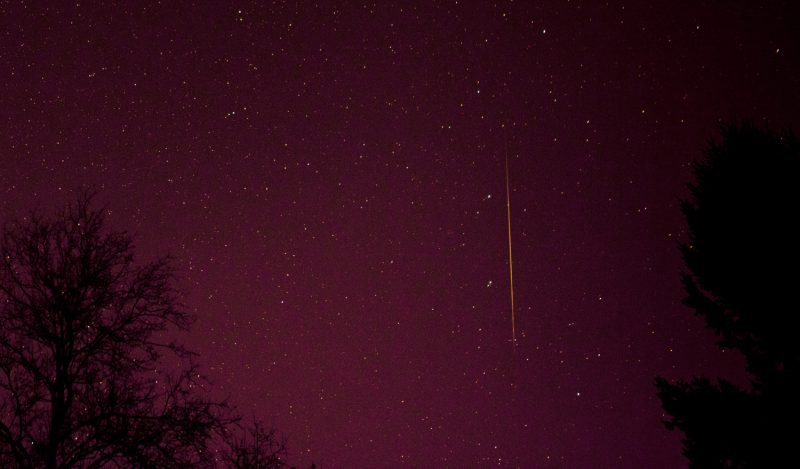
The simplest way to take pictures of meteors for everyone
Do you want to take beautiful photos of meteor showers? This article will guide you on how to align and take the best photos of meteors when they appear in the sky.
Table of Contents
Do you want to take beautiful photos of meteor showers? This article will guide you on how to align and take the best photos of meteors when they appear in the sky.
Planning
This is the first and necessary step. You need to track the meteor shower dates and related information to find the peak date and the expected hourly rate of meteors near the expected peak. You should also find out where the meteor shower shines in the sky, and possibly details of previous meteor showers.
There are three factors to consider before setting out to photograph a meteor shower: location, weather, and moon phase. All of these factors will directly affect your success.
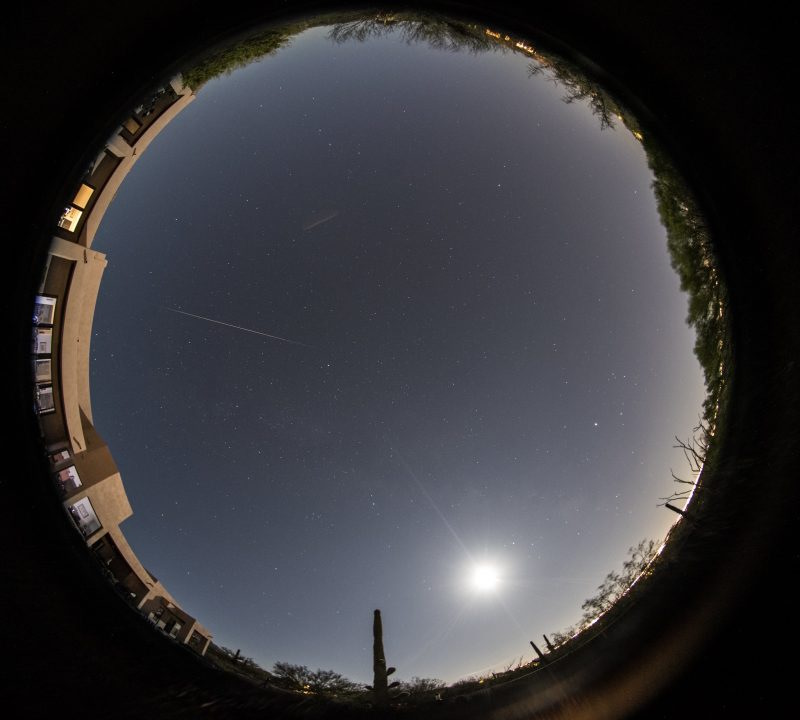
Ideally, you should shoot from a location away from the city and ambient light. Local parks are a great option, but check ahead to make sure they are open in the evenings and that they have lights on at night. Also, scout out camping sites in advance to find the one with the best view of the night sky.
Note that the weather is important. You need a clear night.
If there is a full moon, try to shoot before moonrise or after moonset, as the light from the moon will block out more than half of the meteors you can see. If you can't get far away from the moon, try to shoot facing the moon. And if the moon is close to its aureole, you may still be able to catch a bright meteor with the moon.
Prepare equipment
Now that you have chosen your location, know the best day and time to observe, checked the weather and the phase of the Moon during the meteor shower, it's time to grab your camera bag and choose the accessories and equipment you'll use. Here are the minimum requirements for shooting meteors.
- DSLR body
- All camera batteries or extension handles (if applicable)
- Prime or wide-angle zoom lens (f2.8 or faster) with UV or skylight filter attached
- Heavy duty camera tripod
- Soft wire or distance meter
- A good flashlight has a red filter to protect night vision.
- Lens cleaning supplies
- A comfortable outdoor chair
Why use a wide-angle lens instead of a telephoto lens? Because the more sky you cover, the more likely you are to catch a meteor. Also, you can cover twice as much sky with a 24 or 28mm lens as you can with a 50mm lens, and the difference becomes more noticeable as the lens gets longer. While you might get lucky with a telephoto lens, your chances of getting the perfect shot increase dramatically when you cover a larger area of sky.
An intervalometer is like a supercharged cable release. With a cable release, you can only take one frame at a time. But with an intervalometer, you can program the exposure time and the delay between shots. Plus, it lets you program the number of frames you want to take.
Meteor photography process
- Set up and balance the tripod.
- Mount the camera and estimate the best position and angle for shooting.
- Astronomy apps on smartphones can help find the locations of constellations.
- Set the shutter speed to "B" or "Bulb" mode.
- Shoot RAW for better processing, use JPEG if your memory is limited.
- Set the lens's focus control switch to "MANUAL". This will prevent the lens from searching for infinity in the dark.
- Set the aperture to maximum opening.
- Attach a soft trigger or timer.
- Set focus to infinity by manually aligning the infinity point on the lens with the focus point on the camera body you are using.
- Start by setting the ISO to 800 or 1600.
- If your camera has a mirror lockup function, use it.
- Check your exposure settings.
- Press the start button or the release button.
- Check your first frame for focus by zooming in on the LCD screen and adjust if necessary.
Check the first photo and make necessary adjustments
After you take your first frame, check your focus. Infinity may not look perfect when the lens is fully open. Adjust your focus accordingly.
Next, check your exposure. If there is ambient light in the frame, you may want to shorten your exposure time for better results. With no ambient light, a good base exposure time is 30 seconds. At around 30 to 45 seconds, your star background will look like the night sky. If you leave it longer, you will start to see movement in the stars. The longer the exposure, the more of the Earth's rotation you will capture and the more star trails you will start to see. Don't change your aperture, as this will prevent all but the brightest shooting star from leaving its mark on the sensor.
Once you start shooting, keep a close eye on your camera's power supply. Cold temperatures will quickly drain the battery, so be sure to have a spare charger on hand.
Was this article helpful?
Your feedback helps us improve.
Related Articles
 How will a meteorite be found to crash into NASA Earth?2 minutes read
 What happens if meteorites fall into the ocean?3 minutes read
 How to prepare images of Ephoto3603 minutes read
 The giant meteorite weighing 40 million tons caused a disaster equivalent to 65,000 atomic bombs about to crash into Earth?3 minutes read
 New York engineers design high-rise buildings 'falling from the sky'3 minutes read
 Cleanup.pictures - Download the latest Cleanup.pictures here6 minutes read
Reader Comments 0
Sign in with email or Google to join the discussion.