How to Merge Mail in Microsoft Word
Create a contact information sheet
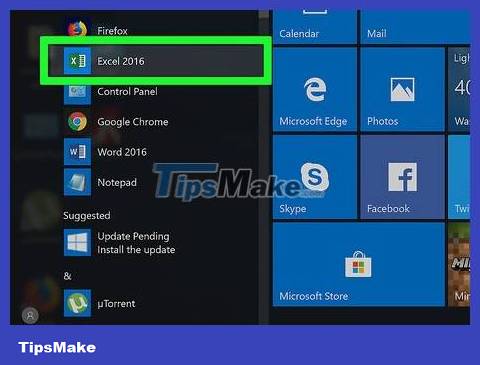
Open Microsoft Excel. The Microsoft Excel program has a white "X" icon on a green background. The "new" Excel page will appear immediately.
If you already have an Excel dashboard, move on to importing contact information from Excel.
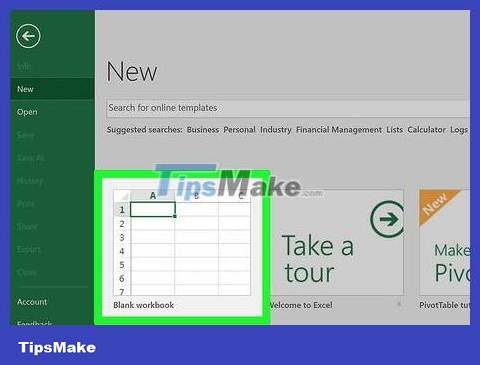
Click Blank workbook . This is the option in the upper left corner of the "New" page. The new Excel spreadsheet immediately displays after this operation.
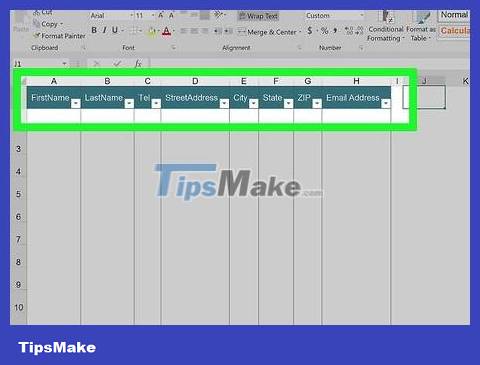
Add contact title. You will enter the following titles in each cell in turn, starting from cell A1 to the right:
FirstName - The contact's name is entered in this column (cell A1 ).
LastName - The contact's last name is entered in this column (cell B1 ).
Tel (Phone number) - The contact's phone number is entered in this column (cell C1 ).
StreetAddress - The contact's address is entered in this column (cell D1 ).
City - The city the contact lives in is entered in this column (cell E1 ).
State - The province in which the contact lives is entered in this column (cell F1 ).
ZIP (ZIP Code) - The contact's ZIP code is entered in this column (cell G1 ).
Email - The contact's email address is entered in this column (cell G1 ).
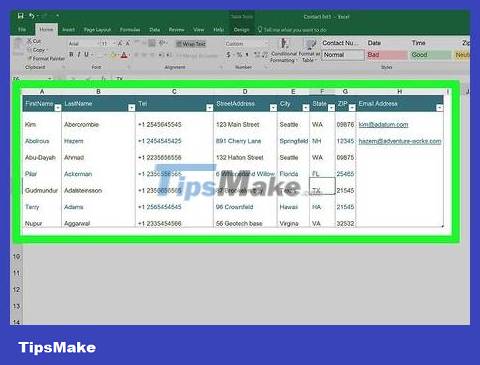
Enter contact information. From cell 2 of column A, you will enter the contact information for each person you want to use for the mail merge.
Make sure the information is entered correctly before continuing.

Save text. The steps are as follows:
Windows - Click File , click Save As , double-click This PC , click the save folder on the left side of the window, enter a text name in the "File name" field " (Filename) and click Save .
Mac - Click File , click Save As. , enter a text name in the "Save As" field, select a save folder by clicking the "Where" box, then click a folder and click Go to Save .
Remember the selected save folder, because you need to find the Excel spreadsheet in the next step.

Close Excel. Click the X in the top right corner of the Excel window (on Windows) or the red circle in the top left corner (on Mac). Now you can move on to the mail merge step in Microsoft Word.
Enter contact information into Word
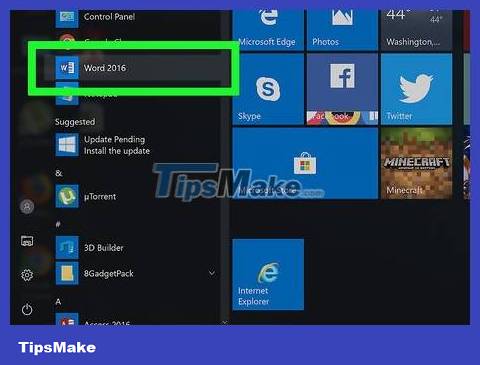
Open Microsoft Word. It's an app with a white "W" icon on a blue background. Similar to Excel, the "New" page will appear immediately.
If you already have a Microsoft Word document to import Excel information, just double-click to open that file and skip the next step.

Click Blank document . This is the white box in the upper left corner of the page. The new Microsoft Word document immediately appears on the screen.

Click the Mailings tab . This tab is in the upper left corner of the Microsoft Word window. A toolbar will appear just below the tag line.
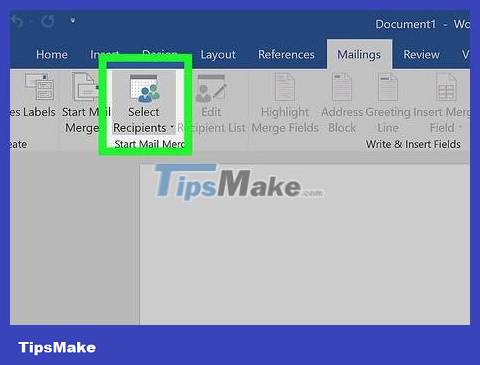
Click Select Recipients . This is an option in the "Start Mail Merge" section of the Mailings toolbar . This opens another menu here.

Click Use an Existing List… (Use an existing list…). You'll see this option in the menu that appears. A new window immediately appeared.
If you want to use Outlook contacts, you can select Choose from Outlook Contacts in the menu that appears.
You can also import a temporary list of contact information into Word by selecting Type a New List . This is useful when you only need to enter contact information for a few people.

Select the Excel spreadsheet with your contact information. On the left side of the window, you will click on the folder where the Excel spreadsheet is saved, then click to select that spreadsheet.

Click Open . This is the option in the bottom right corner of the window.
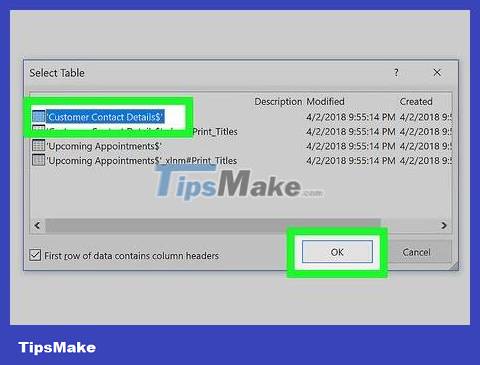
Confirm the decision. Click the name of the Excel worksheet in the window that appears, then click OK below the window. Your Excel sheet will be selected as the contact information download source.
Make sure the "First row of data contains column headers" box at the bottom of the window is checked.
Use mail merge

Scroll to where you want to insert contact information. Find where the contact information needs to be inserted (for example, above the text) and click there to place the mouse pointer.

Click Insert Merge Field . This is an option in the "Write & Insert Fields" section of the Mailings tab . A menu will appear here.
You may have to click the Mailings tab again before doing this.
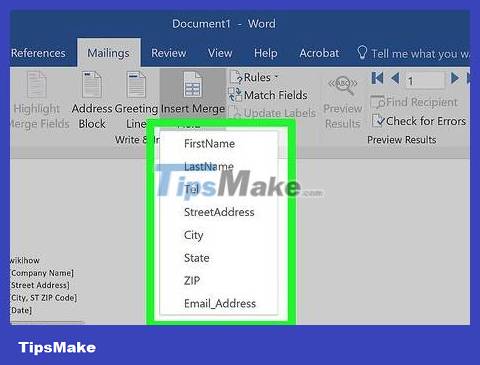
Select information type. In the displayed menu, you need to click on the name of one of the headings in the Excel spreadsheet.
For example, you would click FirstName in the menu that appears if you want to insert a tag for the contact's first name.

Add more information at the appropriate location. That is information such as address, last name, and phone number of the contact person.

Click Finish & Merge . This is the option on the far right of the Mailings tab's toolbar . A menu will appear here.
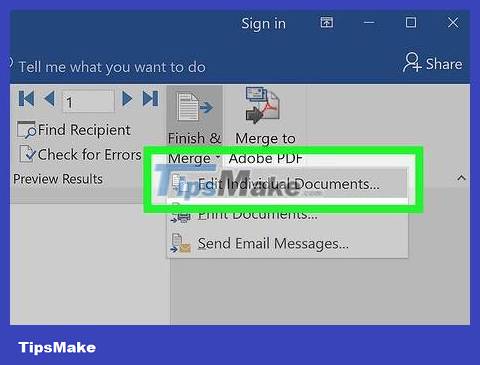
Select the pool option. You need to click one of the following options:
Edit Individual Documents - This option opens each recipient's document and allows you to customize the information.
Print Documents. - This option allows you to print copies of documents for each individual in the contact information panel.
Send Email Messages. (Send email) - This is an option that allows you to send text via email. The email address in the contact information panel is selected as the text sending address.

Follow the instructions on the screen. Depending on each selection, you will have another panel to review (for example, if you selected Email , you need to enter a title and click OK ). This will complete the mail merge process.