How to Create a Mail Merge in Publisher
The Microsoft Publisher mail merge feature can be used to send bulk email messages, such as e-newsletters, to multiple recipients in a contact list. In order to use the mail merge feature, you must create an address list in Publisher. This...
Table of Contents
Method 1 of 3:
Create an Address List in Publisher
-
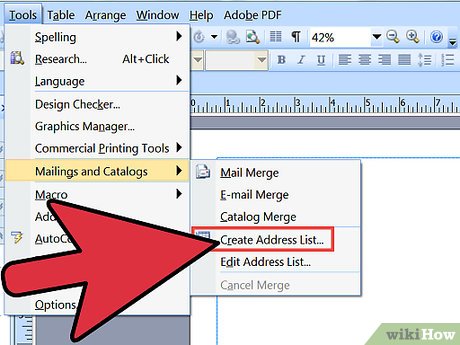
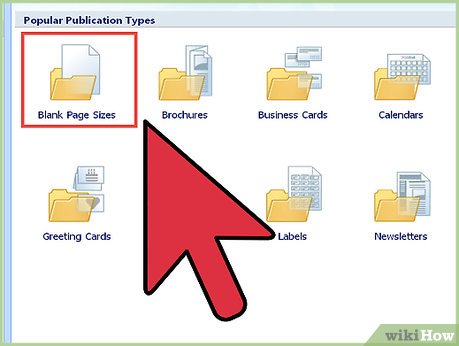 Create the list of recipients. An MS Publisher address list must be created in order to use the mail merge feature. Open a new Publisher file and select any blank page size. Click the Tools tab on the menu bar, and highlight the Mailings and Catalogs option. Select Create Address List from the sub-menu. The New Address List dialogue box will open.
 -
 Add the column fields. To perform a mail merge, there will need to be at least 2 column categories included in the address list for the first name and the email address. Click the Customized Columns button on the bottom left of the New Address List dialogue box. The Customize Address List dialogue box will open.
- Select the column headers for the recipient information. Highlight the category (First Name, Last Name, E-mail Address, etc.) and click Add. Once the desired categories have been added, click OK to exit the dialogue box.
-
 Enter the information for the first recipient. Click to activate the empty field under the first column header. Type the corresponding recipient information into the empty field and press the Tab key. Type the remaining recipient information into the appropriate fields, being sure to include at least a name and email address for each recipient.
 -
 Enter the information for the remaining recipients. Click the New Entry button in the bottom left of the New Address List dialogue box to add the next mail merge recipient. Entries can be added or subtracted by clicking the New Entry or Delete Entry buttons in the New Address List dialogue box. Once each of the intended recipient's information has been entered, click OK to exit the New Address List dialogue box. When prompted, choose a name for the new address list and click Save. The Publisher address list is complete.
Method 2 of 3:
Create an Email Message in Publisher
-
 Choose a template for the mail merge email message. Open Publisher and select Email from the Publication Types menu in the panel on the left side of the application window. The Email templates menu will open. Choose a template from the options available in the Email template menu. Click the Create button located on the bottom right corner of the window.
 -
 Add the text for the body and the signature. To import text from another document, simply open the document on your desktop and copy and paste it into the text place holder in Publisher. Insert the text for the signature in the next text place holder and type an address (optional) in the last place holder. The email message is complete.
Method 3 of 3:
Create a Mail Merge in MS Publisher
-
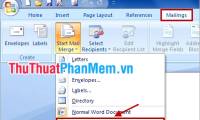
 Connect the message to the address list. Open the mail merge task pane by clicking Tools on the menu bar and selecting Mailings and Catalogs, then mail merge. In the mail merge task pane, select the option to use an existing list. Locate the address file on your computer and double click the file to begin the merge process. The Mail Merge Recipients dialogue box will open, displaying the information entered for each recipient.
- Place a check in the box next to each intended recipient and click OK. Click "Next: Create merged publications," located at the bottom of the Mail Merge task pane. The email message and the address list have been connected.
-
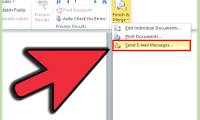
 Send the Email Message. Click the File tab on the menu bar and select Send Email, then Send as Message from the sub-menu. The email preview window will open. Click the Send button, located below the Publisher Tasks button, to send the message to each recipient selected. The mail merge is complete.
Was this article helpful?
Your feedback helps us improve.
Related Articles
 How to merge mail (Mail Merge) in Word3 minutes read
 How to merge text, merge Mail Merge messages in Word 20165 minutes read
 Instructions on using mail merge in Word to merge documents.1 minutes read
 How to fix number formatting errors when using Mail Merge in Word12 minutes read
 How to use mail merge in Word to merge text4 minutes read
 How to Perform a Mail Merge in Word 20102 minutes read
Reader Comments 0
Sign in with email or Google to join the discussion.