How to Compare Two Excel Files
This article focuses on how to directly compare information between two different Excel files. Once you get to manipulating and comparing the information, you might want to use Look Up, Index, and Match to help your analysis. Open the....
Method 1 of 4:
Using Excel's View Side by Side Feature
-
 Open the workbooks you need to compare. You can find these by opening Excel, clicking File then Open, and selecting two workbooks to compare from the menu that appears.
- Navigate to the folder where you have the Excel workbooks saved, select each workbook separately, and keep both workbooks open.
-
 Click the View tab. Once you've opened one of the workbooks, you can click on the View tab in the top-center of the window.
 -
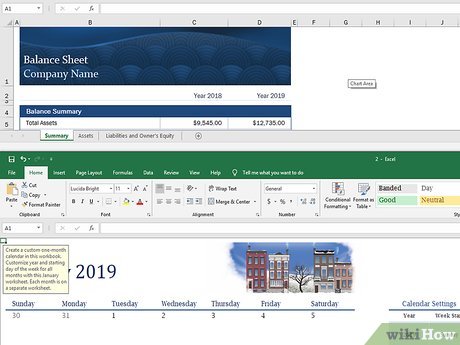
 Click View Side by Side. This is located in the Window group of the ribbon for the View menu and has two sheets as its icon. This will pull up both worksheets into smaller windows stacked vertically.
- This option may not be readily visible under the View tab if you only have one workbook open in Excel.
- If there are two workbooks open, then Excel will automatically choose these as the documents to view side by side.
-
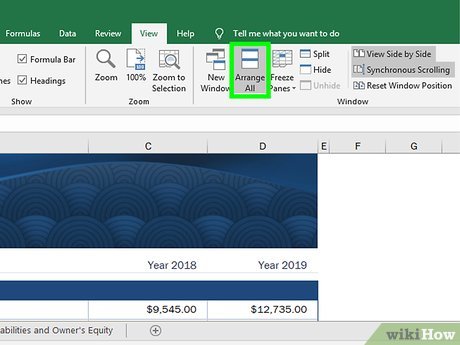 Click Arrange All. This setting lets you change the orientation of the workbooks when they're displayed side-by-side.
- In the menu that pops up, you can select to have the workbooks Horizontal, Vertical, Cascade, or Tiled.
-
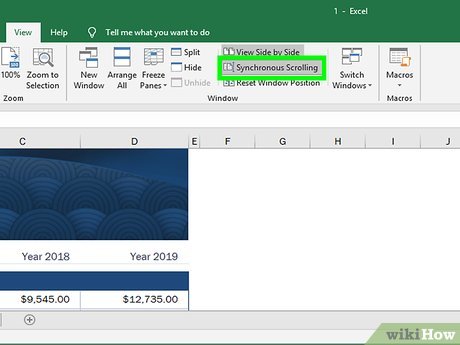 Enable Synchronous Scrolling. Once you have both worksheets open, click on Synchronous Scrolling (located under the View Side by Side option) to make it easier to scroll through both Excel files line-by-line to check for any differences in data manually.
 -
 Scroll through one workbook to scroll through both. Once Synchronous Scrolling is enabled, you'll be able to easily scroll through both workbooks at the same time and compare their data more easily.
Method 2 of 4:
Using the Lookup Function
-
 Open the workbooks you need to compare. You can find these by opening Excel, clicking File then Open, and selecting two workbooks to compare from the menu that appears.
- Navigate to the folder where you have the Excel workbooks saved, select each workbook separately and keep both workbooks open.
-
 Decide on which cell you would like the user to select from. This is where a drop-down list will appear later.
 -
 Click on the cell. The border should darken.
 -
 Click the DATA tab on the toolbar. Once you've clicked on it, select VALIDATION in the drop-down menu. A pop up should appear.
- If you're using an older version of Excel, the DATA toolbar will pop up once you select the DATA tab and display Data Validation as the option instead of Validation.
-
 Click List in the ALLOW list.
 -
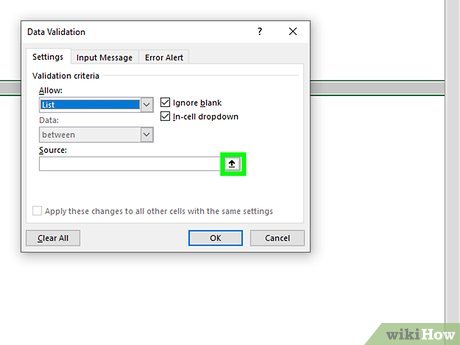 Click the button with the red arrow. This will let you pick your source (in other words, your first column), which will then be processed into data in the drop-down menu.
 -
 Select the first column of your list and press Enter. Click OK when the data validation window appears. You should see a box with an arrow on it, which will drop-down when you click the arrow.
 -
 Select the cell where you want the other info to show up.
 -
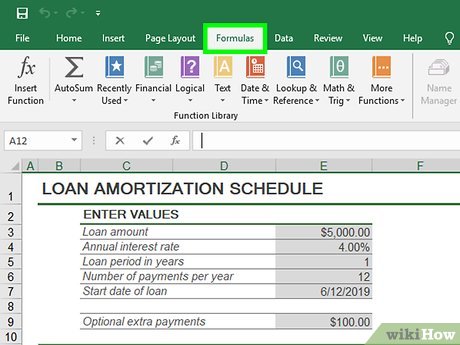 Click the Insert and Reference tabs. In older versions of Excel, you can skip clicking the Insert tab and just click on the Functions tab to pull up the Lookup & Reference category.
 -
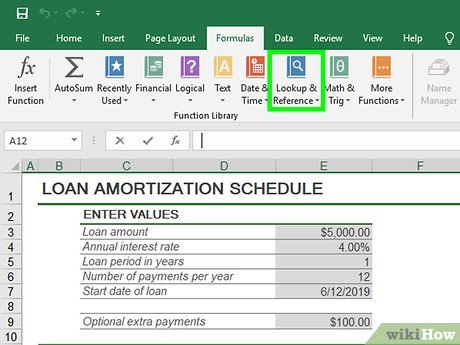 Select Lookup & Reference from the category list.
 -
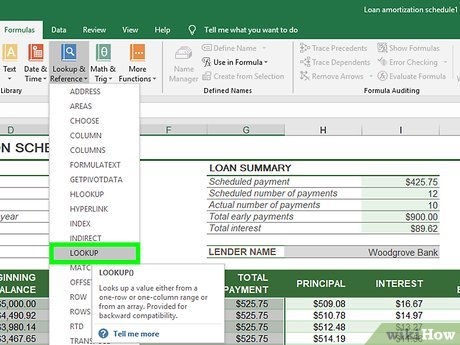 Find Lookup in the list. When you double-click it, another box should appear and you can click OK.
 -
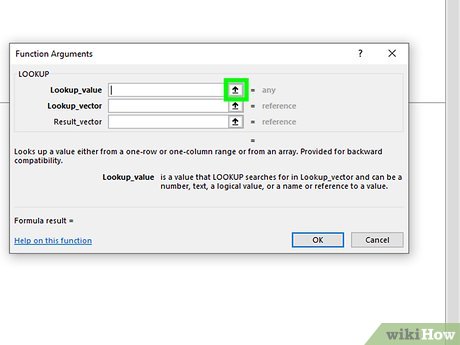 Select the cell with the drop-down list for the lookup_value.
 -
 Select the first column of your list for the Lookup_vector.
 -
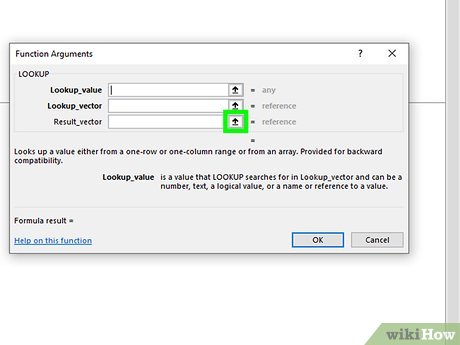 Select the second column of your list for the Result_vector.
 -
 Pick something from the drop-down list. The info should automatically change.
Method 3 of 4:
Using XL Comparator
-
 Open your browser and go to https://www.xlcomparator.net. This will take you to XL Comparator's website, where you can upload two Excel workbooks for comparison.
 -
 Click Choose File. This will open a window where you can navigate to one of the two Excel documents you want to compare. Make sure to select a file for both fields.
 -
 Click Next > to continue. Once you've selected this, a pop-up message should appear at the top of the page letting you know that the file upload process has begun and that larger files will take longer to process. Click Ok to close this message.
 -
 Select the columns you want to be scanned. Underneath each file name is a drop-down menu that says Select a column. Click on the drop-down menu for each file to select the column you want to be highlighted for comparison.
- Column names will be visible when you click the drop-down menu.
-
 Select contents for your result file. There are four options with bubbles next to them in this category, one of which you'll need to select as the formatting guidelines for your result document.
 -
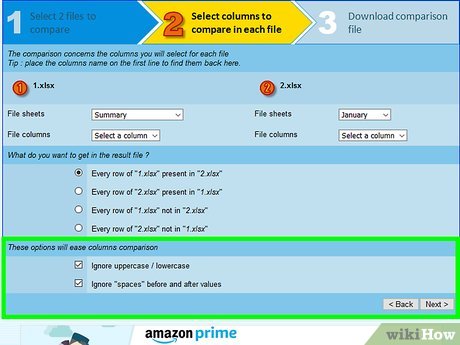 Select the options to ease column comparison. In the bottom cell of the comparison menu, you'll see two more conditions for your document comparison: Ignore uppercase/lowercase and Ignore "spaces" before and after values. Click the checkbox for both before proceeding.
 -
 Click Next > to continue. This will take you to the download page for your result document.
 -
 Download your comparison document. Once you've uploaded your workbooks and set your parameters, you'll have a document showing comparisons between data in the two files available for download. Click the underlined Click here text in the Download the comparison file box.
- If you want to run any other comparisons, click New comparison in the bottom-right corner of the page to restart the file upload process.
Method 4 of 4:
Accessing an Excel File Directly from a Cell
-
 Locate your workbook and sheet names.
- In this case, we use three example workbooks located and named as follows:
- C:CompareBook1.xls (containing a sheet named 'Sales 1999')
- C:CompareBook2.xls (containing a sheet named 'Sales 2000')
- Both workbooks have the first column 'A' with the name of the product, and the second column 'B' with the amount sold each year. The first row is the name of the column.
- In this case, we use three example workbooks located and named as follows:
-
 Create a comparison workbook. We will work on Book3.xls to do a comparison and create one column containing the products, and one with the difference of these products between both years.
- C:CompareBook3.xls (containing a sheet named 'Comparison')
-
 Place the title of the column. Only with 'Book3.xls' opened, go to cell 'A1' and type:
- ='C:Compare[Book1.xls]Sales 1999'!A1
- If you are using a different location replace 'C:Compare' with that location. If you are using a different filename remove 'Book1.xls' and add your filename instead. If you are using a different sheet name replace 'Sales 1999' with the name of your sheet. Beware not to have the file you are referring ('Book1.xls') opened: Excel may change the reference you are adding if you have it open. You'll end up with a cell that has the same content as the cell you referred to.
- Drag down cell 'A1' to list all products. Grab it from the bottom right square and drag it, copying all names.
-
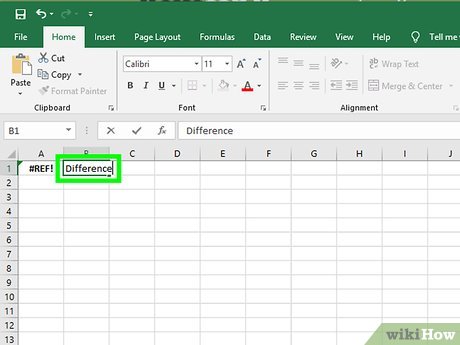 Name the second column. In this case, we call it 'Difference' in "B1".
 -
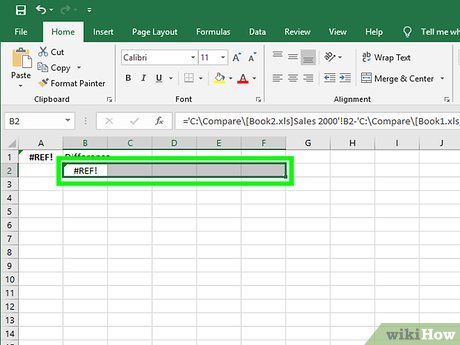
 (For example) Estimate the difference of each product. In this case, by typing in cell 'B2':
- ='C:Compare[Book2.xls]Sales 2000'!B2-'C:Compare[Book1.xls]Sales 1999'!B2
- You can do any normal Excel operation with the referred cell from the referred file.
-
 Drag down the lower corner square and get all differences, as before.