Considered one of the features that helps protect your phone from being seen by others. When you turn on Face ID, every time you open your phone or an app, your iPhone will ask for a passcode. This makes the phone more secure.
However, you must also consider locking Face ID screen, because when you have an incident such as an "accident" along the way, the pedestrians will not be able to access your phone to call relatives.
1. How to install Face ID - Password protect iPhone
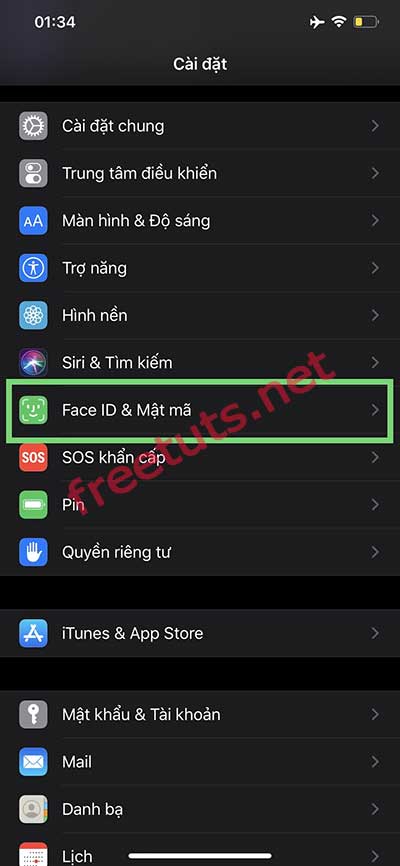
Step 1 : At the screen interface, select 'Settings'

Step 2 : Choose 'Face ID & Password'

Step 3 : Press 'Unlock iPhone' or 'Set up Face ID'
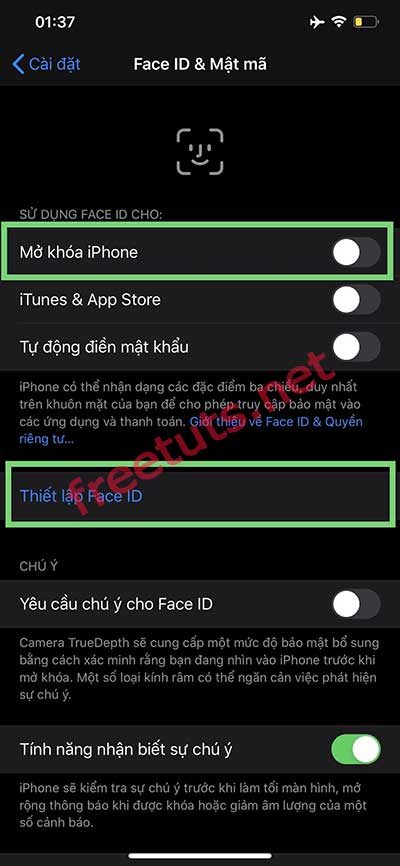
Step 4 : Read the instructions and press 'Get started'

Step 5: Turn your face slowly in a circular shape so that Face ID can recognize your face

Step 6 : Complete the circle

Step 7 : Click 'Continue'

Step 8 : Repeat the process

Step 9 : Click 'Done'

Step 10 : Set up an alternate password for Face ID

Step 11: Enter the password again

Step 12: Apple may ask you to log back into your iCloud account, log in and wait for completion.

2. How to remove Face ID - Password protect iPhone
If you have accidentally set it but don't want to use it anymore, you can delete it easily.
Step 1 : Select 'Install'

Step 2 : Choose 'Face ID & Password'
Step 3 : Enter the current password

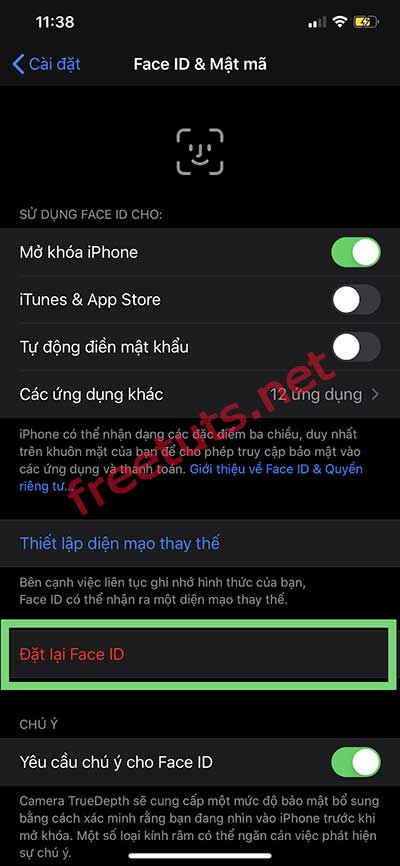
Step 4 : Select 'Reset Face ID' to disable
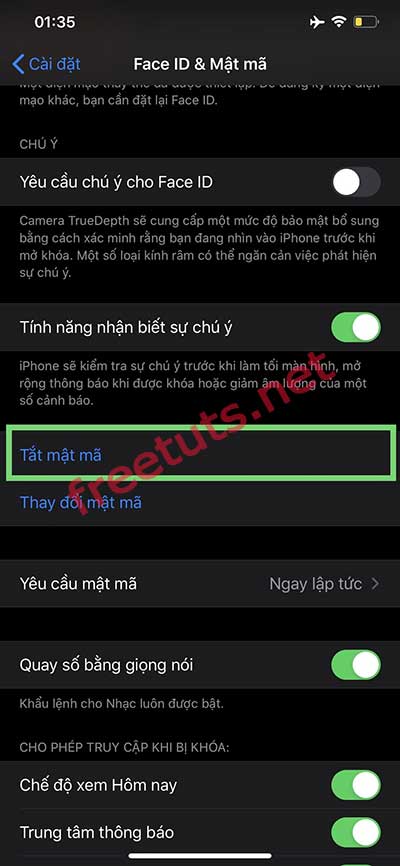
Step 5 : Select 'Turn off password'
Step 6: Enter the current password and wait for it to finish

Above are the basic steps to install and remove Face ID iPhone, this is a screen saver and your app should be very safe. However, you should also consider whether to use it or not.


Reader Comments 0
Sign in with email or Google to join the discussion.