Table of Contents
1. Update Skype to the new version
This guide explains how to resolve Skype Error Not Receiving the Message, starting with the most likely causes and moving through practical troubleshooting steps.
For Skype users on Windows 10, you can install the Skype version via the Microsoft Store here
2. Uninstall (Windows 7/8) or reset Skype (Windows 10)
2.1. Uninstall Skype on Windows 7/8 / 8.1
Step 1: Open Control Panel / Programs and Features and find Skype application, right-click => select Uninstall .

Step 2: You press the key combination Windows + R to open the Run tool. Next, enter the commands % appdata% (1) and OK (2) .
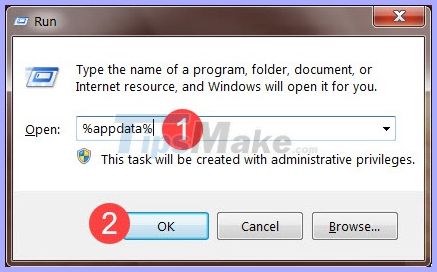
Step 3: Next, find and right-click on the Skype folder (1) => Delete (2) .

After completely uninstalling, please visit the link to download Skype in Part 1 to download the latest version of Skype to your computer.
2.2. Reset Skype on Windows 10
Step 1: Right-click Start (1) => App and Features (2) .

Step 2: In the App & features (1) section , navigate to the Skype app and click on Advanced options (2) .

Step 3: Scroll down and click on Reset .
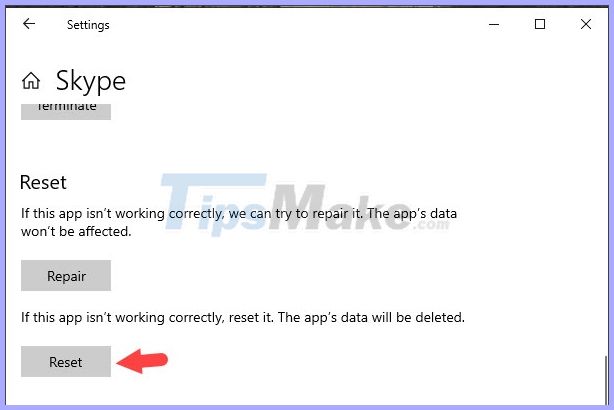
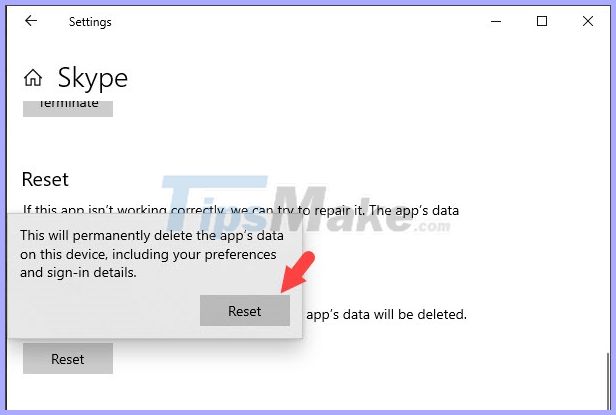
You continue to click on Reset to conduct data deletion and bring Skype application back to its original state.
With the above instructions, hopefully you will no longer see the error of not receiving messages on Skype anymore. Good luck!
FAQ
What usually causes Skype Error Not Receiving the Message?
The cause may involve incorrect settings, outdated software, damaged files, permission problems, device compatibility, or a temporary system issue.
What should I try first to resolve Skype Error Not Receiving the Message?
Restart the affected app or device, install pending updates, verify settings and connections, and follow the troubleshooting steps in order.
How can I prevent the issue from returning?
Keep software updated, maintain backups, avoid interrupted installations, and review system or device settings after major changes.
Related Articles
 How to Fix Errors Without Message Notifications on iOS 114 minutes read
 How to Fix Vietnamese Typing Error on Skype: Fix Skype Error5 minutes read
 Guide to Viewing Message History on Skype5 minutes read
 Microsoft Promises to Fix Skype Errors4 minutes read
 Skype Released Version 6.9 of the Bug Fix on Mac3 minutes read
 How to Fix Errors Cannot Find or Load Microsoft Installer to Install3 minutes read
Reader Comments 0
Sign in with email or Google to join the discussion.