How to Create a Bullet Point in Microsoft Applications
Bullet points are easy ways to deliver brief but effective points to your readers. In the Microsoft Office software package, you can use bullet points for each Office software. The method for creating a bullet point in each software is...
Table of Contents
Method 1 of 3:
Creating a Bullet Point in MS Word
-
 Open Microsoft Word. Do this by double-clicking on the blue 'W' icon with documents behind it.
 -
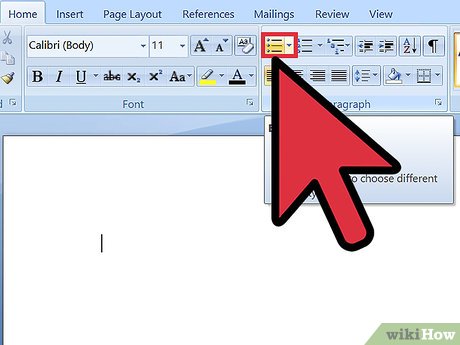 Click on the bullet icon at the top of the page. It should look like three vertical lines with bullet points to the left of each line.
 -
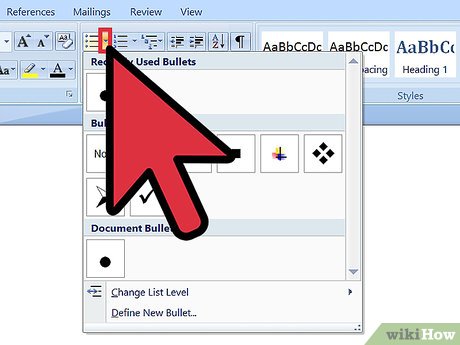 Choose which bullet points to use for your text. An expanded menu should appear with different kinds of bullet points. Click on one you like.
 -
 Compose your sentence or paragraph. After choosing a bullet, you can now type up some text that will be under that bullet.
- If you hit the 'Enter' key, a new bullet will then appear below the one you just made.
Method 2 of 3:
Creating a Bullet Point in Outlook
-
 Launch Outlook. Do this by double-clicking the orange 'O' icon on your desktop or programs list.
 -
 Select an email you want to reply to. Outlook will open into your Inbox by default. Here you can see a list of all your emails. Select one; this will open the Compose Reply window.
 -
 Click on the 'Formatting' toolbar. This is found at the top of the window.
 -
 Create bullet points. Click on 'Bullets' from the toolbar, and you should then see a bullet point on the area where you type in your message.
 -
 Compose your message. Just type in whatever message you want to be under that bullet.
- Hitting 'Enter' will create a new line with the bullet you have selected from the Bullets menu.
Method 3 of 3:
Creating a Bullet Point in Excel
-
 Launch the Excel software. You can do this by double-clicking the green 'X' icon in your desktop.
 -
 Double-click on a cell you want to add bullet points to. Double-clicking the cell will enable you to type texts inside it.
 -
 Create a bullet point. Press Alt + 7, and a bullet point will then appear in the cell.
Was this article helpful?
Your feedback helps us improve.
Related Articles
 How to Create a Bullet Point3 minutes read
 How to create bullet list in Excel11 minutes read
 How powerful is the destructive force of the bullet?4 minutes read
 If struck by lightning when flying, is the bullet affected?3 minutes read
 How to Model Bullets in 3DS Max9 minutes read
 How to create Restore Point on Windows 10 with just 1 double click4 minutes read
Reader Comments 0
Sign in with email or Google to join the discussion.