How to Connect Macbook Air to Monitor
Connect to the display via AirPlay

Connect your display and MacBook to the same Wi-Fi network. If you want to connect your MacBook to a display via AirPlay, both devices must be connected to the same Wi-Fi network. Refer to your user manual or manufacturer's website to learn how to connect your monitor to a Wi-Fi network.
Before you begin, you need to check to make sure your display and MacBook are both turned on.
You can connect your MacBook to a wireless display, Apple TV, smart TV, or any streaming device that supports AirPlay 2.
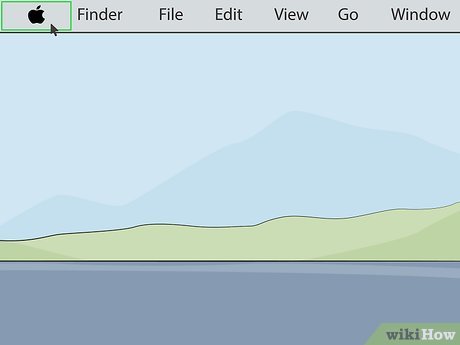
Click the Apple icon on the MacBook. This option is located in the menu bar in the upper left corner of the desktop. The Apple menu will drop down.

Click System Preferences . This option is located in your Mac's Apple menu.

Click Display . This option is located below the desktop icon in the System Preferences menu.
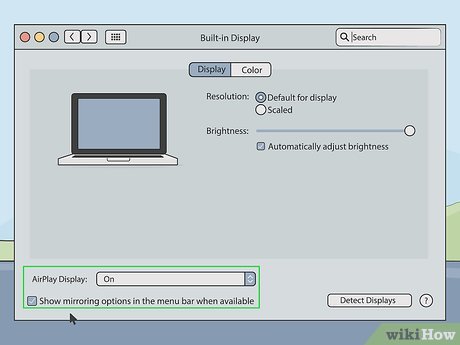
Click the box at the bottom of the Display window. This check box is next to "Show mirroring options in the menu bar when available". The AirPlay icon will appear in the menu at the top of the screen.
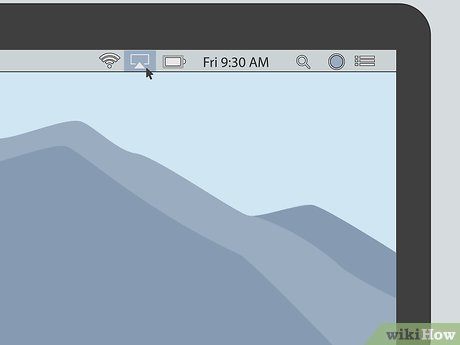
Click the AirPlay icon located in the menu bar. This option has a screen icon with a triangle at the bottom. You can find it in the upper right corner of the Menu bar. Devices available with AirPlay will appear.
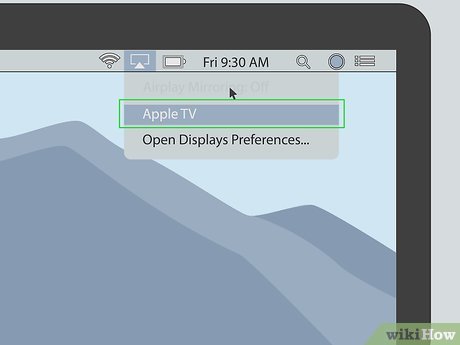
Click the display you want to connect to. Two screen options will appear in the pop-up window.
Not all displays support AirPlay connection. If your existing display doesn't support AirPlay, buy an Apple TV streaming box to connect your MacBook to your TV via AirPlay.
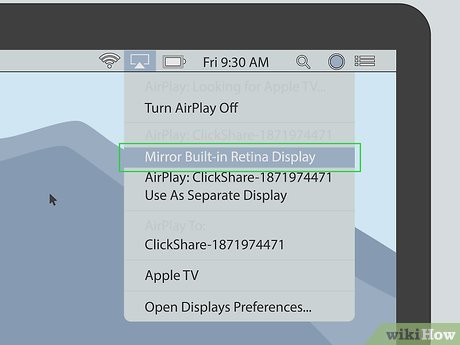
Click Mirror Built-in Display or Use as Separate Display . If you want the connected display to mirror the content on the Macbook screen, select "Mirror Built-in Display". If you want to use it as a second screen, select "Use as a Separate Display". The MacBook will connect to the existing display via AirPlay.
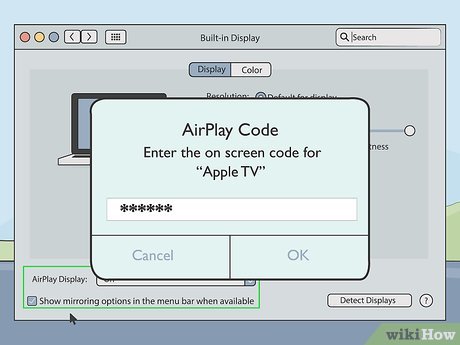
Enter your passcode on your Mac. Some TVs and monitors may display a password, which you'll need to enter to complete the connection.
To disconnect from the display, you need to click the AirPlay icon in the Menu bar, then click Turn off AirPlay .
Connect MacBook to monitor via HDMI cable
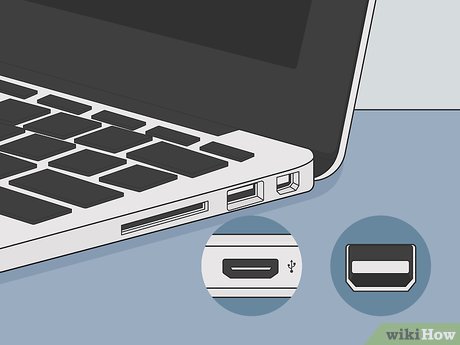
Test video output on MacBook Air. To connect to an external display, your MacBook needs an HDMI or Mini Displayport port.
Some new Macbook Air lines do not have HDMI ports or Mini Displayport. In this case, you need to purchase a USB-C-to-HDMI adapter to connect your Macbook Air to the display.
The HDMI cable is almost 2 cm wide with the bottom edge slightly smaller than the top edge.
The Mini Displayport port is square with two lower corners cut off, similar to the Thunderbolt port.
Thunderbolt and Mini Displayport ports have similar shapes, only slightly different. Take a look at the label on the gate. Mini DisplayPort has an icon that looks like a screen, while the Thunderbolt port has a lightning bolt label.
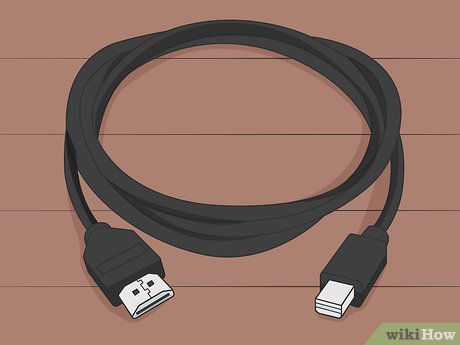
Buy the right cable. Once you've determined what type of video output your MacBook uses, you'll need to purchase the appropriate HDMI or Mini Displayport cable (depending on the port your MacBook has).
You need to buy a cable long enough to connect your MacBook to the display. If necessary, measure the distance between the two devices.
The Mini Displayport cable has one end as a Mini Displayport plug, the other end is an HDMI port. You can also purchase a Mini Displayport adapter to connect an HDMI cable directly to the Mini Displayport port.
If the monitor you're using has neither HDMI nor Mini Displayport, purchase an adapter from Apple or another electronics retailer. Suitable converters include MiniDisplay-to-DVI, MiniDisplay-to-VGA and HDMI-to-DVI.
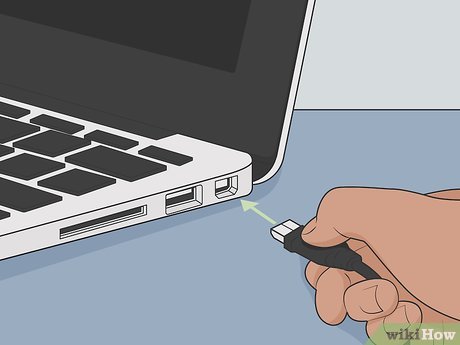
Plug one end of the cable into the Macbook. To connect, insert the end of the HDMI or Mini Displayport cable so that it fits into the port on your MacBook.
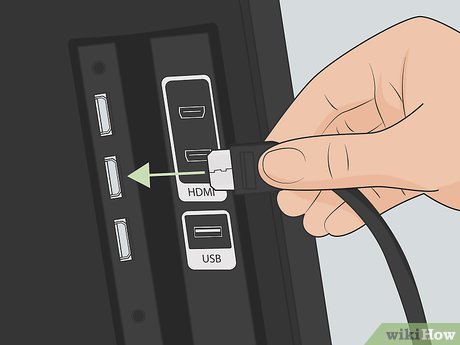
Plug the other end of the cable into the HDMI port on the monitor. Use the other end of the cable to connect to an empty HDMI port on the monitor.
If your monitor has multiple HDMI ports, you need to note which port your MacBook is connecting to. HDMI ports are usually numbered.
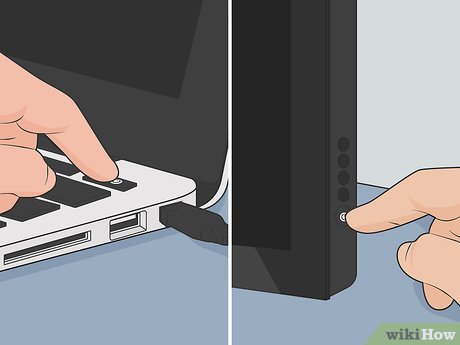
Turn on the display and MacBook. Press the power button on both the MacBook and the display.
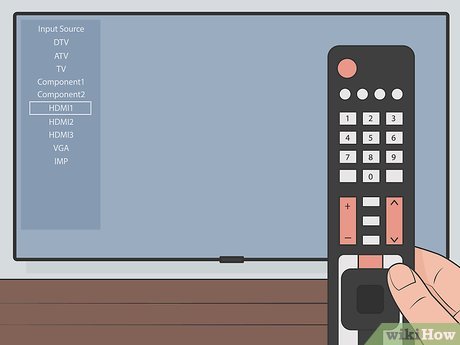
Select the corresponding video source on the screen. If you have multiple video or HDMI inputs, you need to press the Source , Input , Video In or similar button on the remote control or monitor. Then, select the port to which you connected your Mac. The MacBook will automatically appear on the screen. If nothing happens, proceed to the next step.
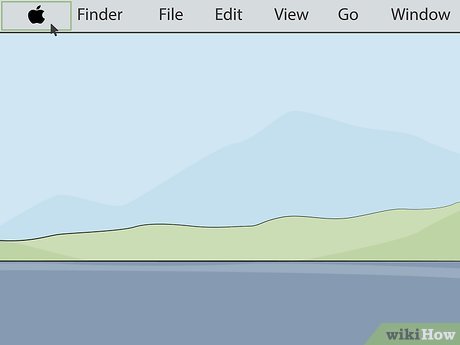
Click the Apple icon on the MacBook. This option is in the menu bar in the upper left corner of the screen. The Apple menu will drop down.
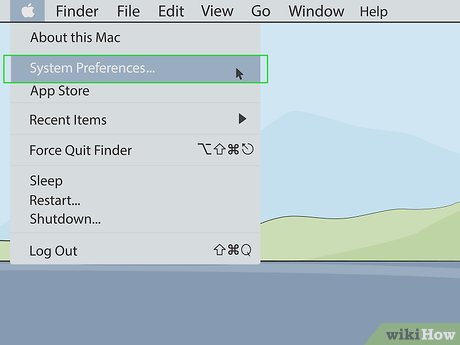
Click the System Preferences option located in your Mac's Apple menu.
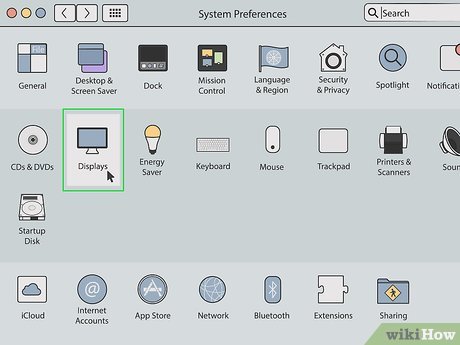
Click Displays . The option with this desktop icon is in the System Preferences menu.
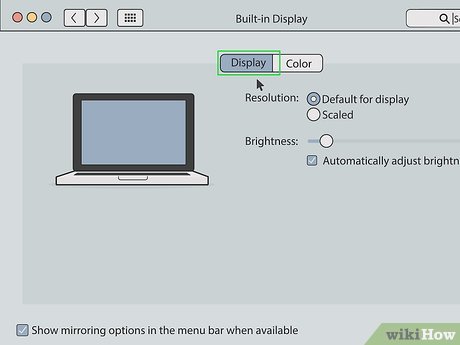
Click Display . This is the first tab at the top of the Displays window.
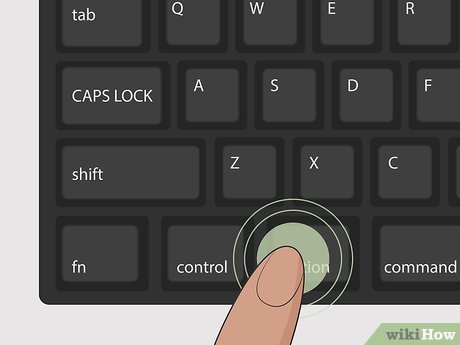
Hold down the key Options. The "Detect Displays" button will appear in the lower-right corner of the window.
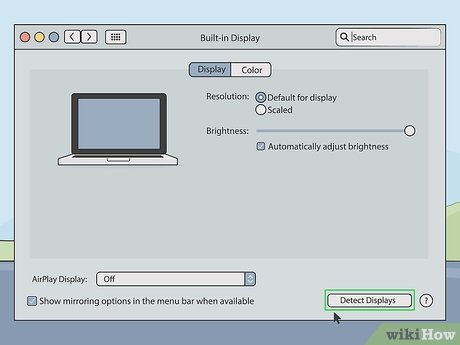
Click the Detect Display button in the lower right corner of the Display window. The MacBook will scan for the connected display.
Set screen resolution
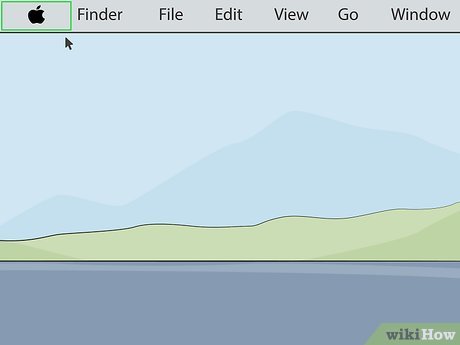
Click the Apple icon on the MacBook. This option is in the menu bar in the upper left corner of the screen. The Apple menu will drop down.
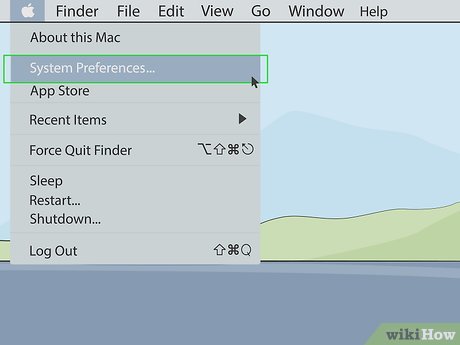
Click the System Preferences option located in your Mac's Apple menu.
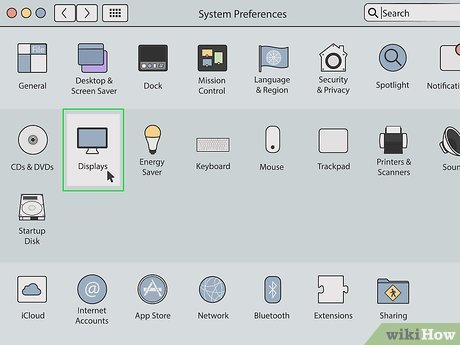
Click Displays . The option with this desktop icon is in the System Preferences menu.
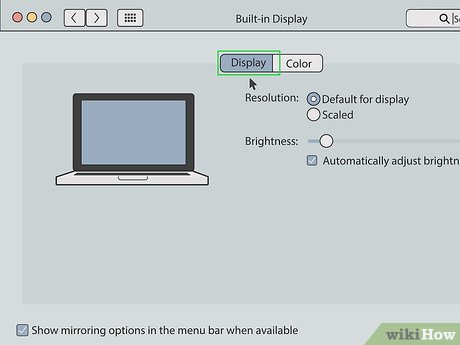
Click Display . This is the first tab at the top of the screen.
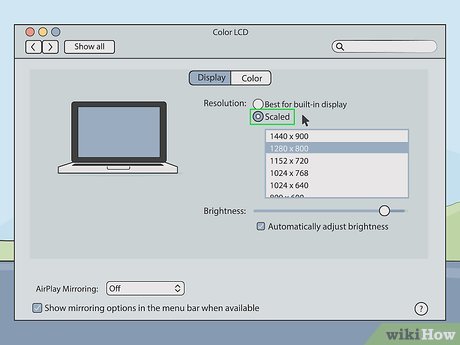
Hold down the key Optionsand select "Scale". This option allows you to choose the resolution for the screen. By default, MacBook will automatically choose the best resolution for both screens.
To change the MacBook screen resolution, you can select "Scaled" without holding down the "Options" key.
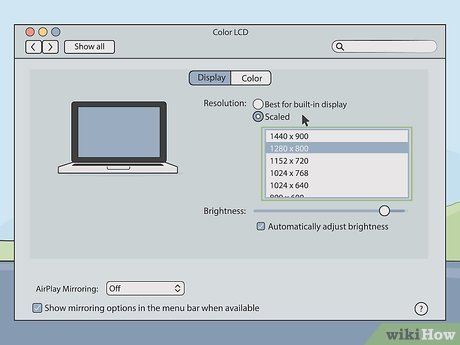
Select screen resolution. The higher the resolution, the smaller the icons will appear and the more space the screen will have. Low resolution means icons will be larger and leave less space on the screen. Some applications and windows may not fit on the screen if you use a small resolution.
If this is an HD display, select a maximum resolution of 1900 x 1080. For 4k or higher displays, you can select a resolution of up to 3840 x 2160.
Use as extended screen
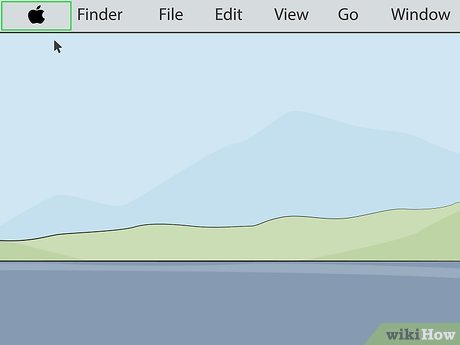
Click the Apple icon on the MacBook. This option is in the menu bar in the upper left corner of the screen. The Apple menu will drop down.
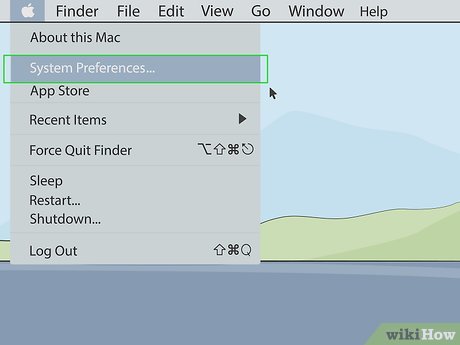
Click the System Preferences option located in your Mac's Apple menu.
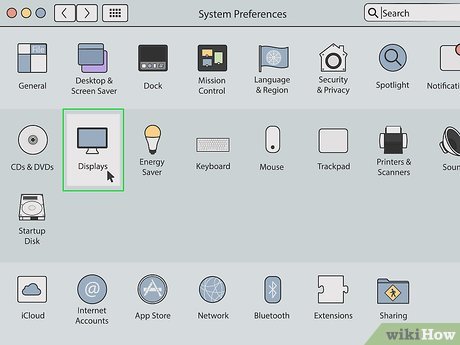
Click Displays . The option with this desktop icon is in the System Preferences menu.
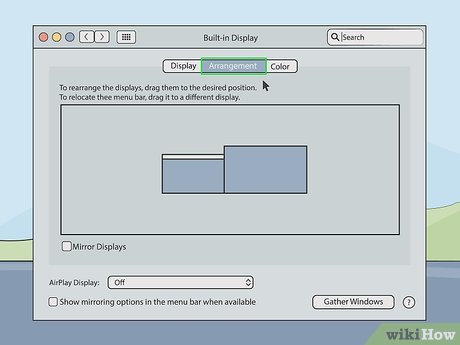
Click the Arrangement tab . This is the second tab at the top of the Display window.
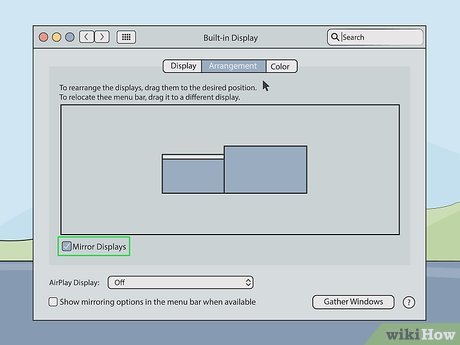
Click to uncheck the "Mirror Display" box in the lower right corner of the Display window. Thus, the new screen will be used as an extended screen. You can move content and applications from one screen to the other.
If you check "Screen Mirroring", the connected screen will accurately mirror the content being displayed on the MacBook's screen.
Change home screen
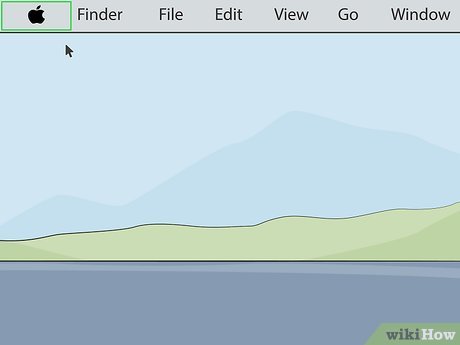
Click the Apple icon on the MacBook. This option is in the menu bar in the upper left corner of the screen. The Apple menu will drop down.
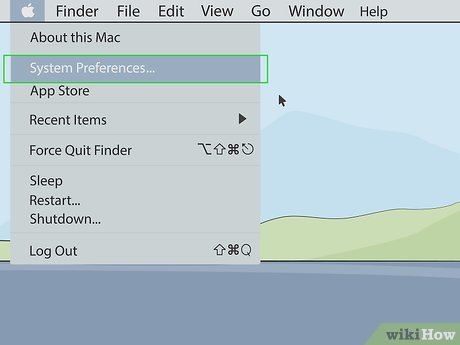
Click the System Preferences option located in your Mac's Apple menu.
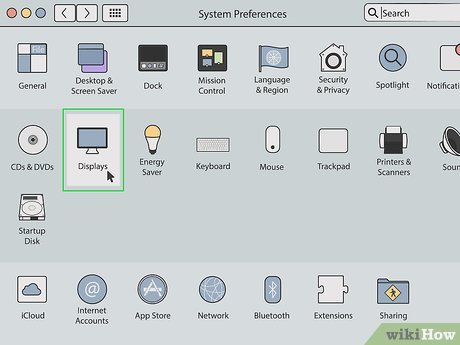
Click Displays . The option with this desktop icon is in the System Preferences menu.
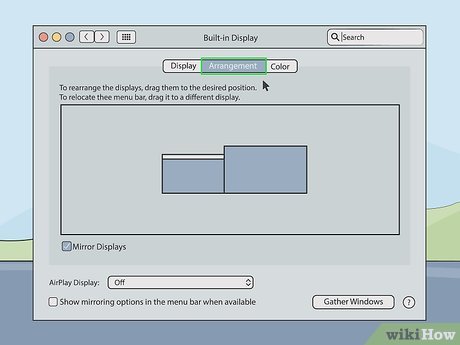
Click the Arrangement tab . This is the second tab at the top of the Display window.
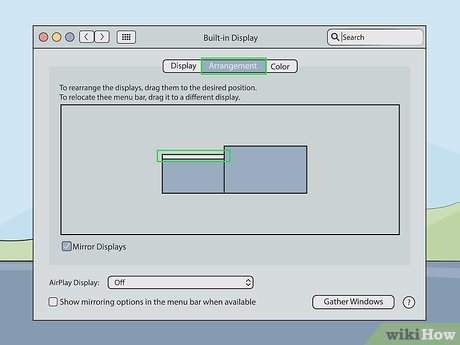
Click and hold your mouse on the white bar at the top of the current desktop icon. There are two rectangles below the "Arrangement" tab on the System Preferences window. These pictures represent two displays connected to the MacBook. The rectangle with the white bar on top is the current home screen.
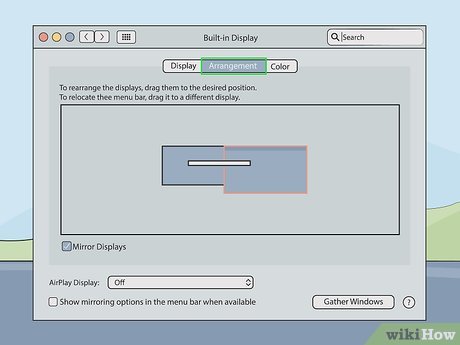
Drag the white bar onto the remaining desktop icon. To change the main screen, you need to drag the white bar at the top of this rectangle over the other one in the Arrangements tab. Both screens will flash briefly to adjust to the new settings. The screen you choose as your home screen will be the default interface on which the application launches.
Troubleshoot
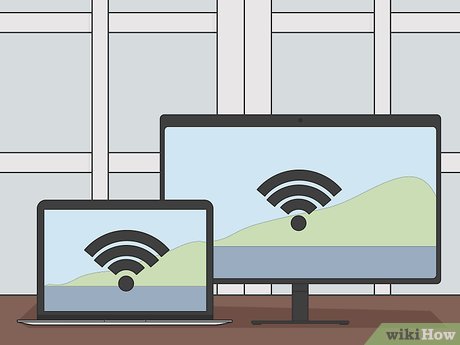
Move the MacBook closer to the additional display. If the AirPlay icon doesn't appear in the menu bar on your MacBook, try moving your MacBook closer to the wireless display.
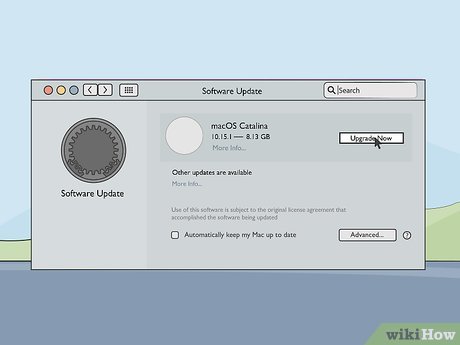
Update to the latest version of macOS. If you are using an old version of macOS, it is likely that AirPlay will have problems. It's possible that some older Macs won't be able to update to the latest version of macOS. Follow these steps to update to the latest version of macOS:
Click the Apple icon in the menu bar.
Click System Preferences (or About this Mac for earlier versions of macOS).
Click Software Update .
Click Update Now if an update is available.
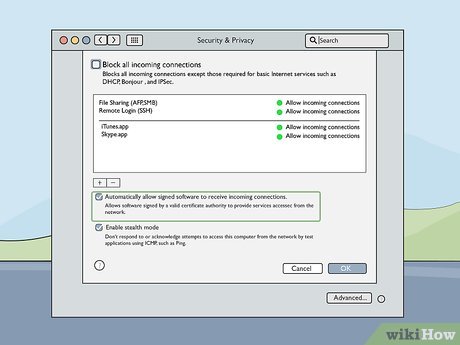
Check your Mac's firewall settings. In some cases, your Mac's firewall settings may prevent AirPlay from connecting to another display. You may also need to check your router's firewall settings or any other third-party firewall programs on your machine. Perform the following steps to check your firewall settings:
Click the Apple icon in the menu bar.
Click System Preferences .
Click Security & Privacy .
Click the Firewall tab .
Click the padlock icon in the lower right corner.
Enter the administrator password.
Click Firewall Options (Firewall Settings)
Check that the "Automatically allow signed software to receive incoming connections" box is checked.
Click Ok
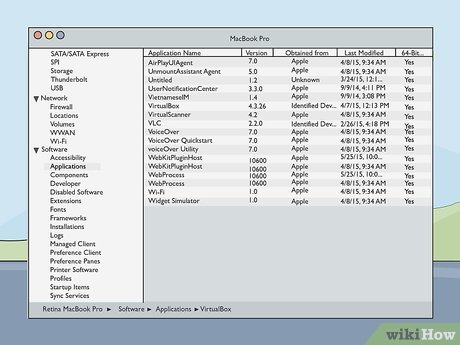
Check out AirPlayUIAgent. If the AirPlay icon is not displayed in the menu bar, you can do the following to check the AirPlayUIAgent app in System Information:
Click the magnifying glass icon in the upper right corner in the menu bar.
Type "System Information" in the search bar and press Enter .
Click Applications in the left menu bar.
Double click AirPlayUIAgent .
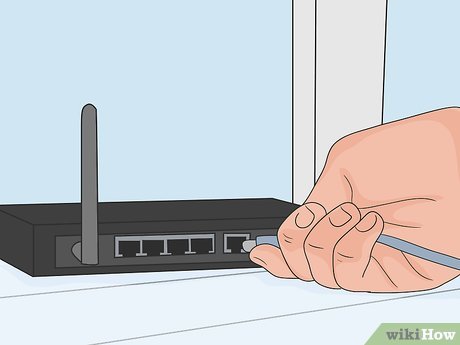
Restart the wireless router. In some cases, the Wi-Fi router may interfere, preventing the MacBook from connecting to the AirPlay device. The first step you need to do is restart the router to fix the problem. To proceed, simply unplug it, wait 30 seconds, then connect and restart the device.
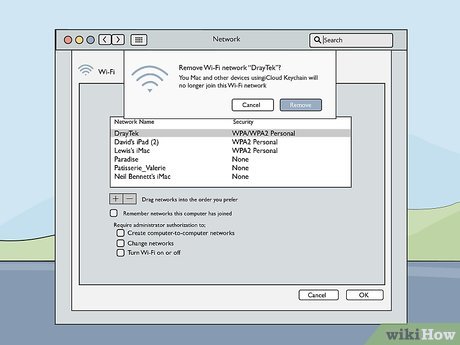
Remove other devices from the network. If you still can't connect to your AirPlay device, there may be other devices connected to the network that are affecting it. Try disconnecting each device from the network to see if that fixes the problem.