How to Clean the Charging Port
Smartphones and tablets have become an essential part of modern life. However, they will collect dust when left in a bag or clothing pocket for a long time. And sometimes, this can cause the charging port to stop working. Luckily, there are a few ways to clean the charging port before you decide to buy a new phone or charging cable..
Remove lint with toothpicks
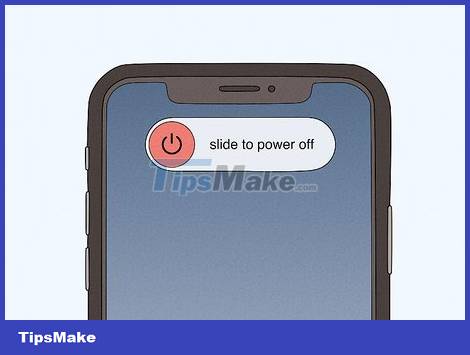
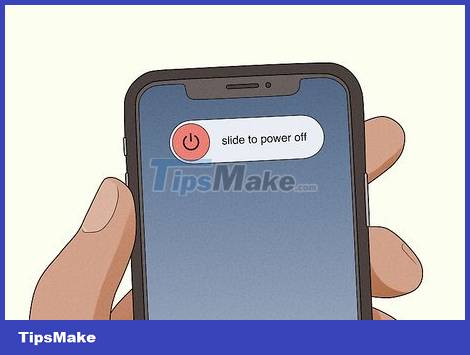
Turn off the phone to avoid damage. Press and hold the power button to turn off the phone. Some phone models will have a "Power Off" option in the options menu. Always turn off the phone before cleaning to avoid damaging and shorting electronic components.
Remove the battery after turning off the device as an added precaution.

Wrap some cotton around the tip of a toothpick. Place cotton balls or cotton pads on a flat surface. Place the toothpick at a 20-degree angle on the pad. One hand holds the pad and the other hand rolls the toothpick. Continue doing this until the cotton is rolled into the tip of the toothpick.
Do not use too much cotton, as it will hinder the cleaning process.

Stand the phone up and tilt it to the side. Place the front of the phone on a flat surface. Turn it up and tilt it slightly to the right or left. The charging port should be in front of you and the screen should be facing a flat surface.
Insert the cotton tip into the charging port. With the screen facing down, insert a toothpick into the charging port. Move the toothpick left and right while pushing up, making sure the cotton doesn't fall off. Repeat this until the debris falls off.
If necessary, blow into the charging port to loosen lint.
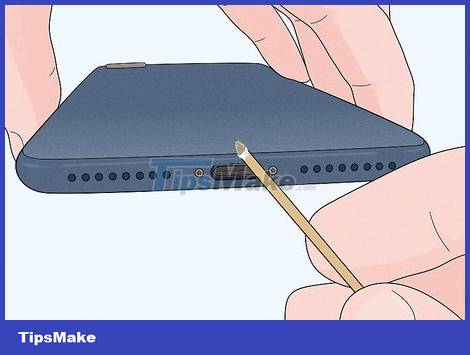
Gently scrape the edges of the charging port to remove lint. Move the toothpick along the sides if any lint is detected. Be careful though, the spring-loaded charging cable is attached to the charger located on both sides. If after cleaning for a while you still don't see any lint, stop.
If there is residual lint, consider using a can of compressed air to remove it.
Remove dirt with a needle
Remove the battery before cleaning the phone to avoid damage. The phone being turned on during needle cleaning can cause electric shock and damage electronic components. Almost any phone can be turned off by holding down the power button. Then, remove the battery to turn off the power.
On some phone models, you can also select "Power off" from the options menu to turn off the phone.
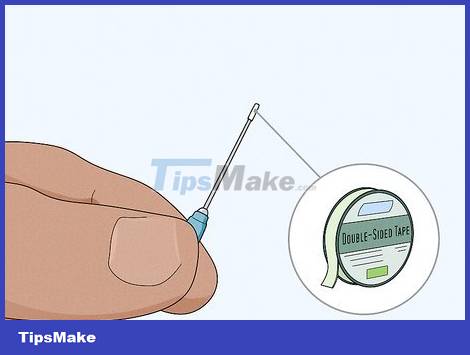
Wrap one end of the needle with double-sided tape. Buy a syringe with a 2.5 cm long 25G needle. Usually, any type of needle can be used, but this is the average length and size. Take a small piece of double-sided tape and wrap it around the tip of the needle.
Double-sided tape can be purchased from online distributors and stationery stores.
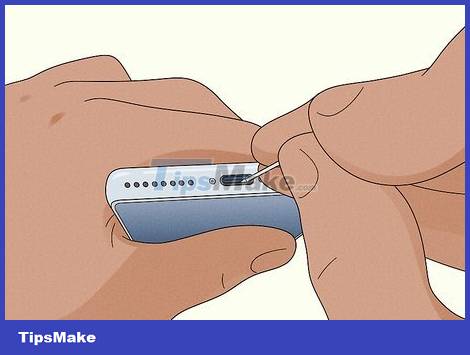
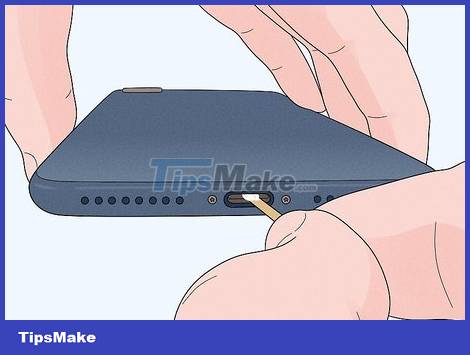
Insert the needle into the left or right side of the charging port. Hold the syringe comfortably as if it were a pencil. Gently insert the needle into the left or right side of the charging port. Lift the tip of the needle to pull the lint out of the charging port. Continue to gently lift the needle until all lint is removed from the charging port.
Be careful not to let the tip of the needle scratch the charging cable on the left and right sides of the charging port.
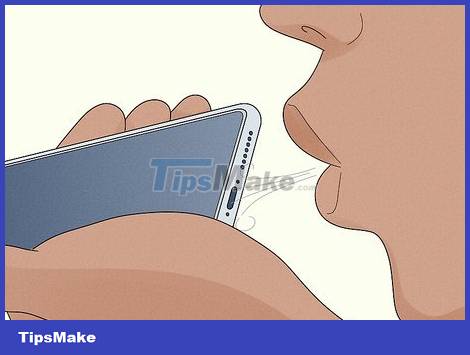
Blow into the charging port to remove any remaining lint. After cleaning the charging port with a needle, blow gently on it to remove any remaining lint. Take a look at the charging port and check for any remaining lint.
If you're having trouble getting the lint out, consider using a compressed air sprayer.
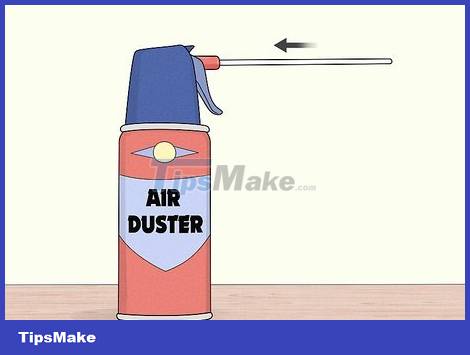
Blow away dirt with compressed air
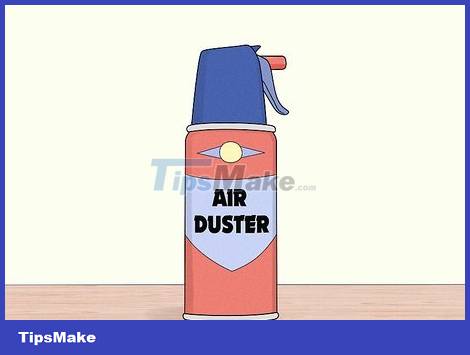
Buy a compressed air tank with a straw. Compressed air cylinders are sold by online distributors, electronics stores, and stationery stores. Make sure to buy a spray bottle with a straw so you can push air directly into the charging port.
Avoid using compressed air cans for Apple's lightning charging port (connection port), on iPhone, iPad and iPod.
Connect the suction hose to the nozzle. Screw the small, thin straw into the nozzle of the compressed air tank. Then, point the nozzle down and press the nozzle to test spray. Compressed air needs to be blown out from the nozzle.
Tighten the suction hose if you notice compressed air leaking on either side of the nozzle.
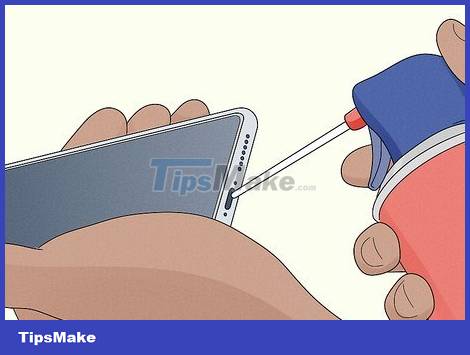
Blow air into the charging port for 1 to 2 seconds. Place the suction cup to the left or right side of the charging port. Press down on the charging port and hold the suction cup in place. Press the nozzle for 1 to 2 seconds to blow air into the charging port while holding the suction tube in place.
Repeat the above procedure and then check the charging port.
To avoid damaging the charging port, do not hold down the nozzle for more than 2 seconds. Too much air pressure can break the phone's fragile internal structure.