How to capture and record game screen on Windows 10 using Game Bar
Want to record memorable gaming moments on Windows 10 without installing software? Game Bar is a useful tool to quickly take screenshots and record game screens..
Game Bar on Windows 10 helps you capture and record game screens easily. Let's find out how to activate, use and optimize this feature below with TipsMake.
Instructions for taking game screenshots using Game Bar
Step 1: Enable the feature
- Go to any game and press the key combination Windows + G .

In the image above you can learn about some of the features:
Number 1: Connect to Xbox, use your Microsoft account, help you customize parameters as well as shortcuts. Share videos to Xbox.
Number 2: Allows you to quickly take a screenshot, the shortcut key is Windows + Alt + Prt sc (can be edited)
Number 3: Record that feature : allows recording video immediately, this feature is used when the Record feature is in pause mode.
Number 4: Start Recording , allows recording game screen on Windows 10 with shortcut Windows + Alt + R (can be edited)
Number 5: settings section.
To take a screenshot, we use the shortcut key mentioned above, number 2, and to take a screenshot, number 5.
Step 2: If you access the Settings section, in the General section , you can customize the video length with Clips or the recording mode when running in the background with Background Recoding , however, in this state, you are not allowed to record much.

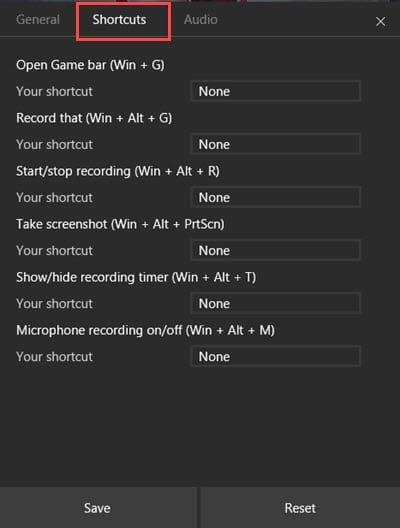
Step 3: Here we are allowed to edit the shortcuts, you can also install them in Xbox.
Step 4: If you want to record a video, press the key combination Windows + Alt + R and you can see on the right screen there will be a video recording icon, to stop you click the square Stop button .

Step 5: If we click on number 1, it will connect to Xbox, which allows you to customize more about the Game Bar.
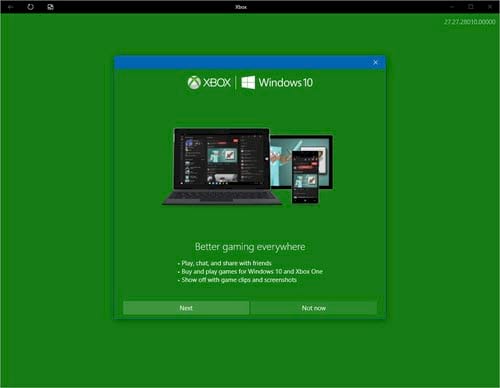
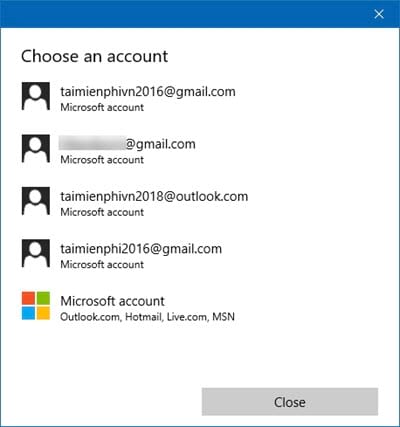
Step 6: Sign in using your Microsoft account.
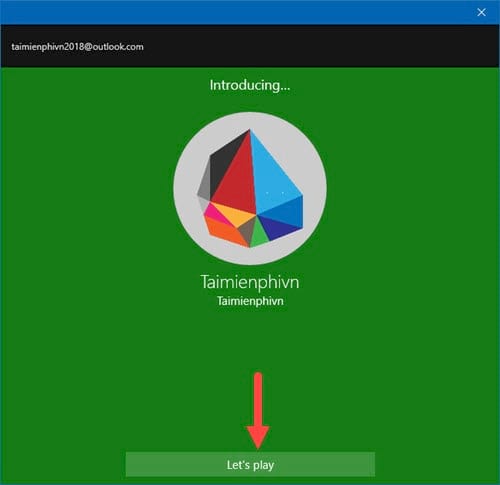
Step 7: Proceed to name your account if this is your first time using it.
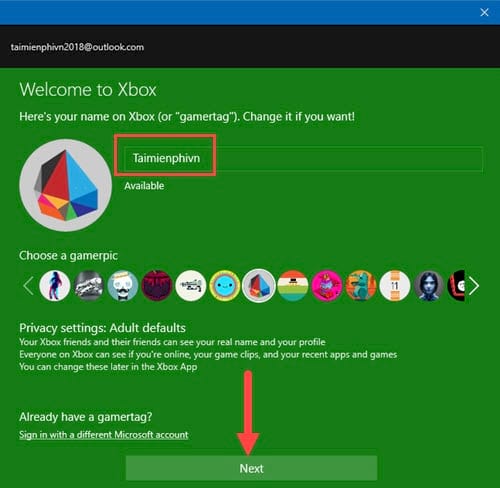
Step 8: Tap on Let's Play to get started on Xbox.
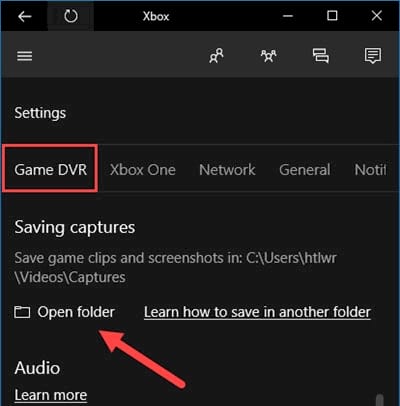
Step 9: In the Game DVR section of your xbox, you will see a place called Saving Captures .
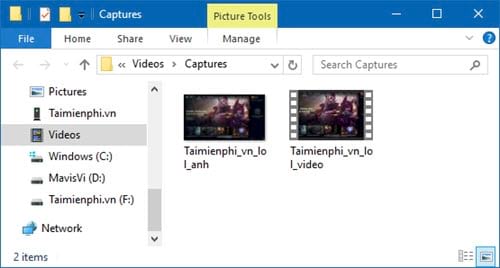
You will immediately be taken to the video location, take a screenshot of the game.
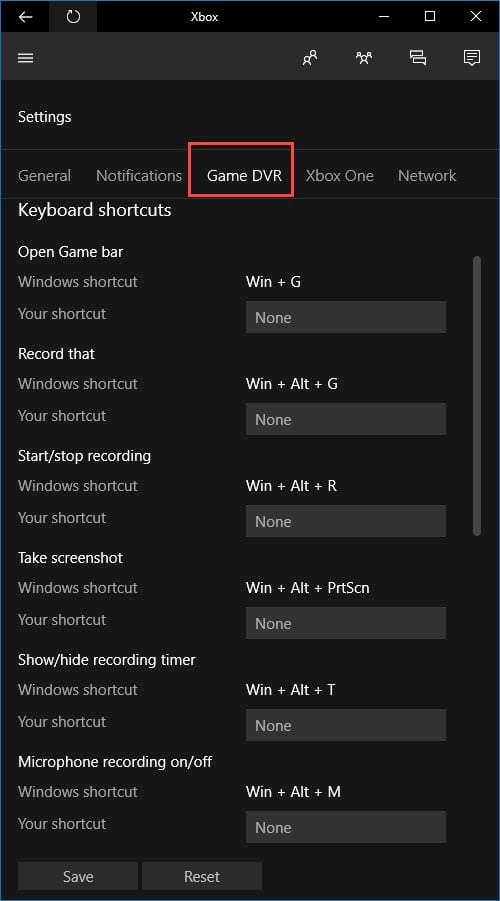
Step 10: Here you can adjust more about shortcut keys, just like the settings on Gamebar.
Hopefully with the above instructions, you can easily take screenshots while playing games on Windows 10 or record smooth game screen videos using Game Bar. If you need more customization, you can access Game Bar settings on Win 10 to change the shortcut keys and appropriate recording quality.