Corel Draw 12: Draw the butterfly
Do you always follow our basic drawing exercises with Corel? Next series of pinwheel drawings, spheres, and pictures ... today's lesson will be drawing butterflies with your chosen colors..

Step 1 : Draw the butterfly body
- Select the Ellipse Tool (Ellipse Tool), draw 2 Ellipse shapes, a large long shape making the body with the second smaller image as the butterfly head.
- Fold two Ellipse shapes, the small one above the big image at the bottom.
- Select both images.
- Select Object - Align and Distribute - Align Center Vertically.
- Select Object - Shaping - Weld.
- Draw two butterfly beards.
- Black body of butterflies (Figure 1).
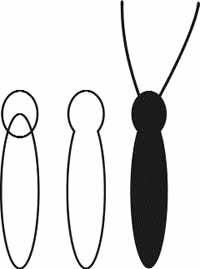
Figure 1
Step 2 : Draw butterfly wings
- Select Bezier tool to draw butterfly wings (Figure 2).
- Drawing next to the butterfly wing like the one above but smaller is inside.
- Large black wing shape and small inside image color as you like (Figure 3).
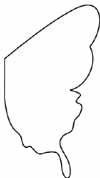
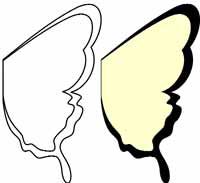
Figure 2
Figure 3
Step 3 : Decorate butterfly wings
- Select the Bezier tool to draw the upper and lower part of the butterfly wings (note: the curves of this pattern must be the same as the butterfly's curve).
- Color as you like (Figure 4).
- Add round dots with different colors so that the butterfly wings are colorful (Figure 5).
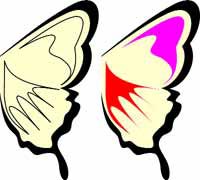
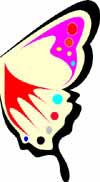
Figure 4
Figure 5
Step 4 : Complete
- Select all new butterfly wings to finish.
- Group all (select Object - Group).
- Create another butterfly wing by clicking and dragging out and right clicking, we get the second wing (Figure 6).
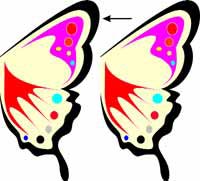

Figure 6
Figure 7
- Choose the second butterfly wing.
- Select the Mirror Buttons tool to flip symmetrically (Figure 7).
- Arrange two wings and body, we get the result as shown in Figure 8.

Figure 8
Lam Khe