Word 2016 Complete Guide (Part 8): Make a list
In Word documents, bookmarks and numbers are used to organize, list and emphasize text. In this article, you'll learn how to edit existing bulletins, insert new bullet and number, select bullet-like icons, and list-level formatting.
Introduce
List of stamps and numbers used in documents to organize, list and emphasize text. In this article, you will learn how to use the available bullet, insert new bullet and number, select bullet symbols, and list level formats.
Create bullet lists
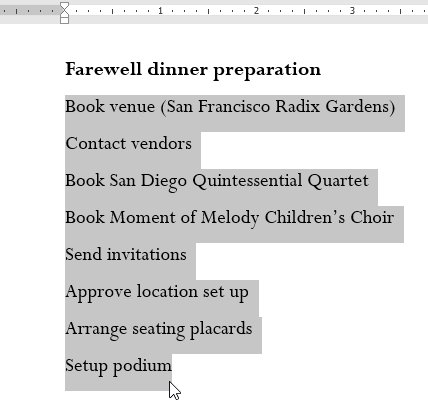
1. Black out text you want to format the list.
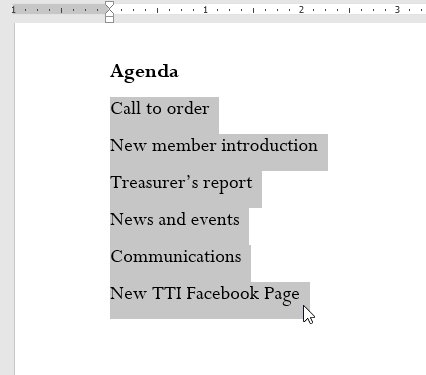
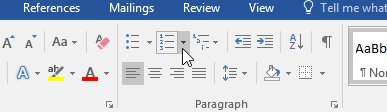
2. On the Home tab, select the down arrow next to the Bullets command. The bullet style list will appear.
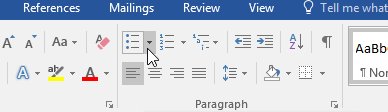
3. Move the cursor over the bullet styles. The draft of that bullet type will appear in the text. Then, select the type of bullet you want to use.

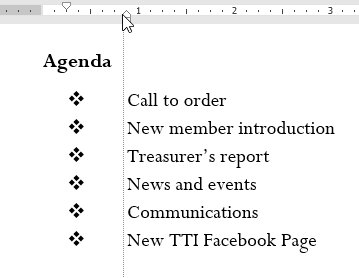
4. The list format is complete.

Options in Lists
To move the bullet book and bullet from a list, select the list and click the bullet or number list command.
While editing a list, you can press Enter to add a new line. And the new line will automatically have bullet or number. And at the end of the list, press Enter twice to return to the original format.
Drag the indentation mark on the ruler, you can customize the indent of the list and the spacing with bullet and number.
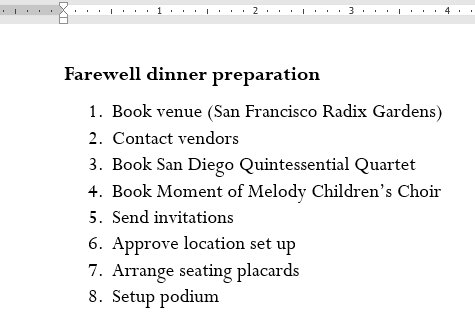
Create a number list
When you need to set up text with a digital list, Word provides several numeric options. You can format a list with Roman numbers, letters, or numbers.
1. Select the text you want to format.
2. On the Home tab, click the down arrow of the Numbering command. The list of numeric types will appear.
3. Move the cursor over each number type. The text will change according to the corresponding list style. Select the type you want to use.

4. The text is formatted with a list of numbers.
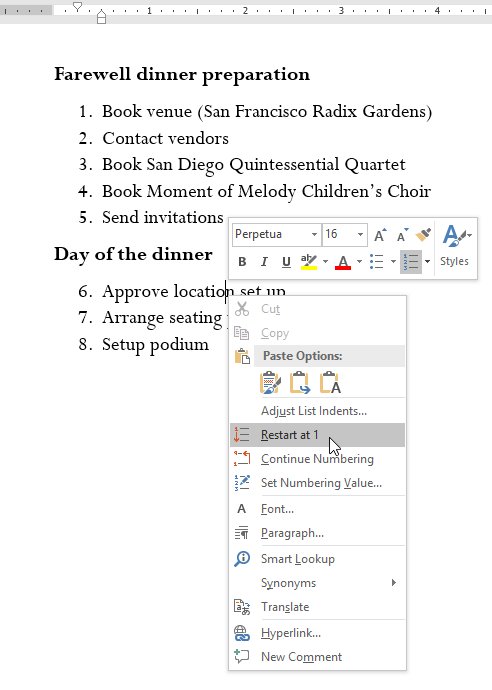
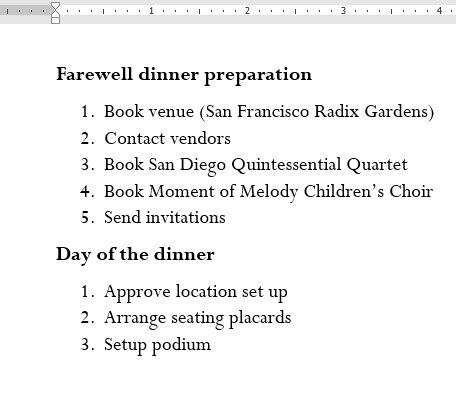
Restart the numbering
If you want to renumber, Word has Restart at 1 option . Here, you can apply numbers or letters lists.
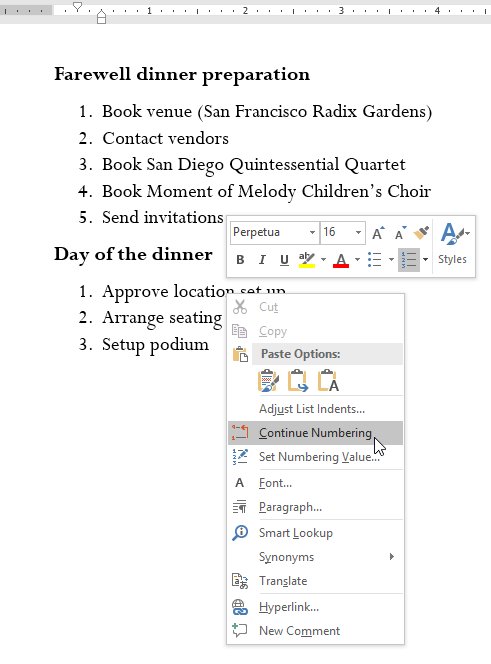
1. Right-click the text you want to renumber, then select Restart at 1 from the menu that appears.
2. Numbered list.
You can install a list to continue numbering from the list above by right-clicking and selecting Continue Numbering .
Set up Bullets
Create a bullet interface of the list that helps you emphasize the fixed and personalized items list. Word allows bullet formatting in many ways, such as using symbols, different colors, or uploading images like a bullet.
Use symbols
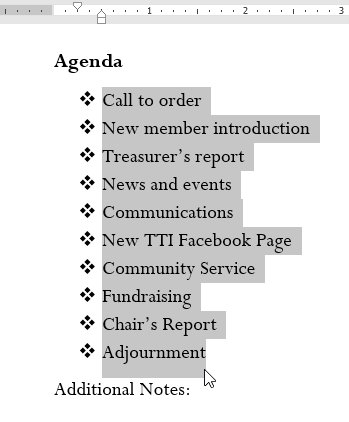
1. Select the list you want to format
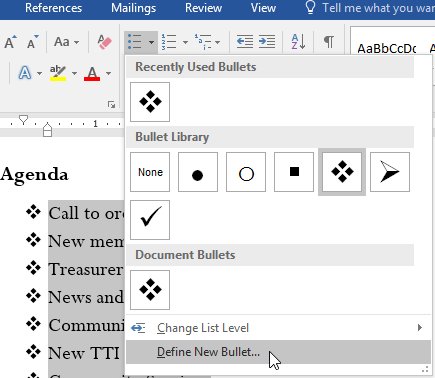
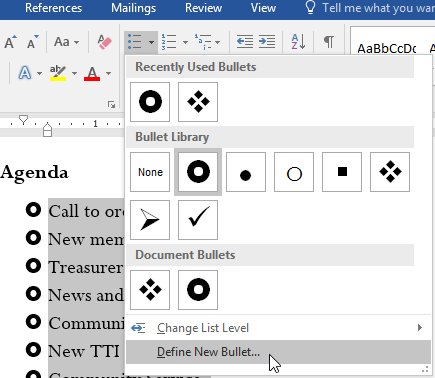
2. On the Home tab, click the arrow pointing down next to the Bullets command. Select Define New Bullet from the drop-down menu.
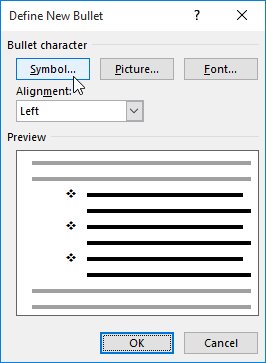
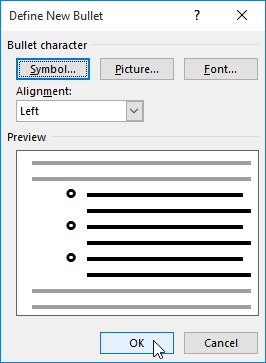
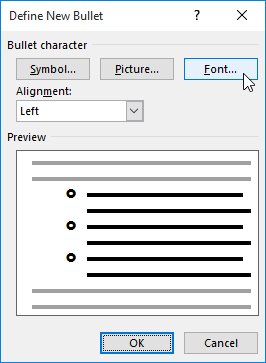
3. The Define New Bullet window appears and click the Symbol button.
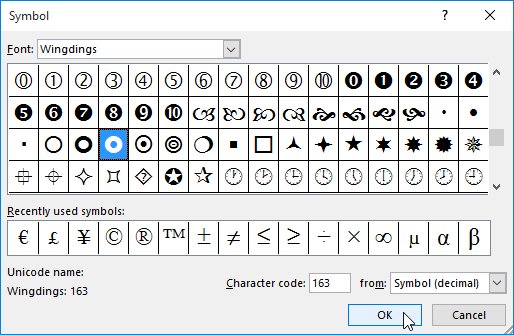
4. The Symbol box appears.
5. Click the Font drop-down box and select the font. Wingdings and Symbol fonts are a great choice because they have useful symbols.
6. Select the symbol, click OK .
7. The symbol appears in the Preview section of Define New Bullet. Then select OK.
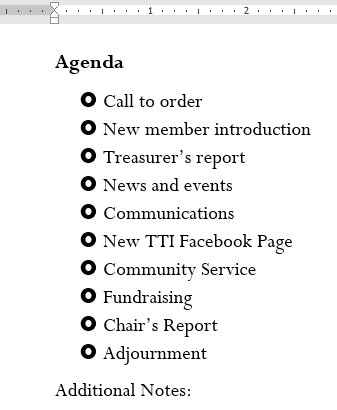
8. Symbols appear in the list.
Correct the Bullet color
1. Select the bookmark list you want to adjust.
2. Click the down arrow next to the Bullets command on the Home tab. Choose Define New Bullet .
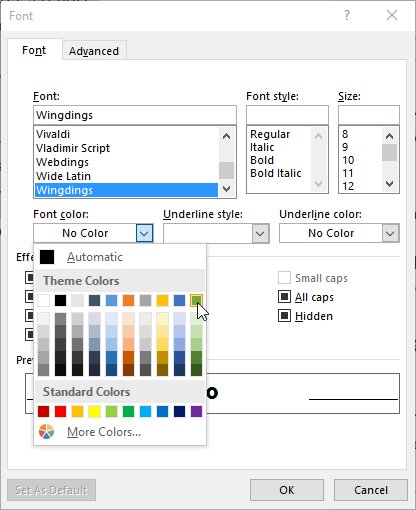
3. The Define New Bulle box displays, click the Font button.
4. The Font Box opens. Click Font Color . The color palette appears.
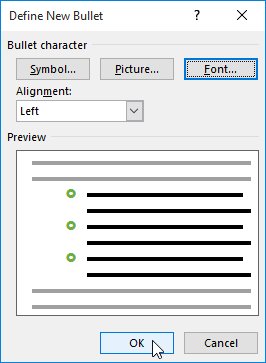
5. Select color and press OK .
6. Bullet is changed color shown in Preview, OK .
7. List of color bulletproof.

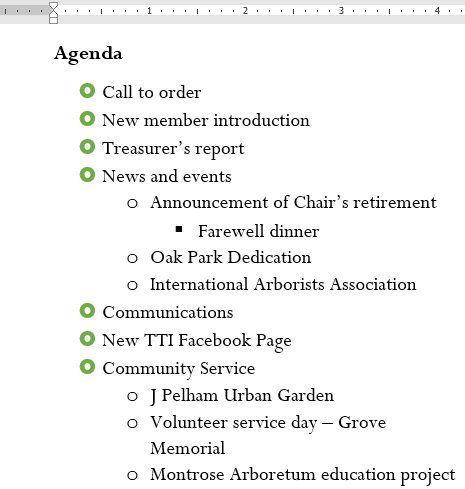
List level
Multi-level list allows creating lists with multiple levels. Any numbered and accented lists can become multi-level lists using the Tab key.
Create a multi-level list
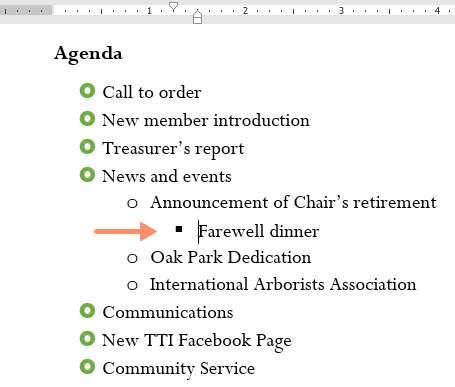
1. Place the insertion point before the line you want to move.
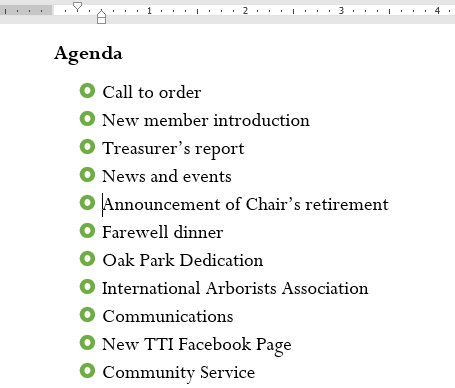
2. Press the Tab button to increase the indent level. The line will move to the right.

Increase or decrease indent level
You can set list level settings by increasing or decreasing the indent size. There are several ways to adjust the indentation level as follows:
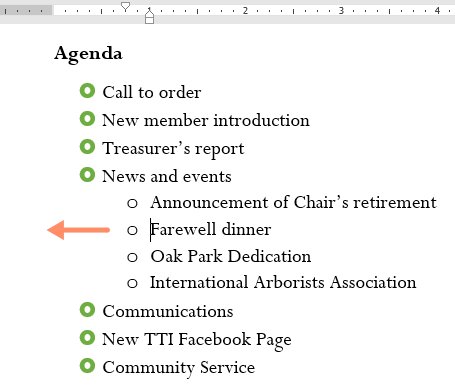
To increase indentation to one level, place the insertion point at the beginning of the line, then press the Tab button until the desired position is reached.
To reduce the indent level, place the insertion point at the beginning of the line, then hold down the Shift button and press Tab .
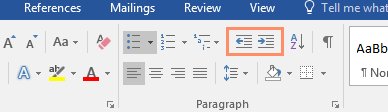
You can increase or decrease the indent level by using the indent command on the toolbar.
When formatting a level list, Word uses the default bullet styles. To change the list level type, select the appropriate list and then click Multilevel List on the toolbar.

You can also watch the following video for further reference:
- Complete guide Word 2016 (Part 1): Familiarize yourself with the Ribbon interface
- Complete guide Word 2016 (Part 9): Use Hyperlink
- Word 2016 Complete Guide (Part 24): How to use Track Changes and Comments
- Word 2013 Complete Guide (Part 3): How to store and share documents
- Create a list of tables in Word automatically
- Word 2016 Complete Guide (Part 3): Get familiar with basic text manipulation
- Word 2013 Complete Guide (Part 8): Using Indents and Tabs
- Word 2013 Complete Guide (Part 7): Text printing operations
- Guide to inserting images under text in PowerPoint - Changing image position
- Detailed instructions on how to install Microsoft Office 2021 on Windows and Mac.
- How to use the IMPORTRANGE function in Google Sheets
- The most detailed guide on how to number pages, skipping the first page and starting from any page in Word.
- How to use Copilot to create a PowerPoint presentation in just minutes.
- How to fix the Microsoft Outlook startup error on Windows
- Instructions on editing PDF files using Foxit PDF Reader


-
 How to quickly create menus and dropdown lists in Google Sheets
-
Lesson 16: List Groups in Bootstrap 5
-
How to restrict which friends on Facebook can see your posts - The Restricted list feature
-
How to share reminder lists on iPhone
-
PowerPoint 2019 (Part 12): Lists
-
Microsoft updates Windows 11 supported CPU list and… makes things more confusing
 How to quickly create menus and dropdown lists in Google Sheets
 Lesson 16: List Groups in Bootstrap 5
 How to restrict which friends on Facebook can see your posts - The Restricted list feature
 How to share reminder lists on iPhone
 PowerPoint 2019 (Part 12): Lists
 Microsoft updates Windows 11 supported CPU list and… makes things more confusing
-
Application
-
Web Email
-
Website - Blog
-
Web browser
-
Support Download - Upload
-
Software conversion
-
Social Network
-
Simulator software
-
Online payment
-
Office information
-
Music Software
-
Map and Positioning
-
Installation - Uninstall
-
Graphic design
-
Free - Discount
-
Email reader
-
Edit video
-
Edit photo
-
Compress and Decompress
-
Chat, Text, Call
-
Archive - Share
-
-
System
-
Mac OS X
-
Hardware
-
Game
-
Tech info
-
Technology
-
Science
-
Life
-
Electric
-
Program
-
Mobile