Word 2016 Complete Guide (Part 3): Get familiar with basic text manipulation
If you are new to Microsoft Word, you will need to learn more about the basics of how to enter, edit and organize text. Basic operations include adding, deleting and moving text on your documents, and how to cut, copy and paste text.
Table of Contents
Introduce
If you are new to Microsoft Word, you will need to learn more about the basics of how to enter, edit and organize text. Basic operations include adding, deleting and moving text on your documents, and how to cut, copy and paste text.
Readers can refer to the basic operations when working with Word documents in the video below:
In addition, you can refer to the Complete Guide of Word 2016 (Part 1 and 2) here:
- Complete guide Word 2016 (Part 1): Familiarize yourself with the Ribbon interface
- Complete guide Word 2016 (Part 2): Get familiar with OneDrive, create, save and share documents
1. Using insertion points to add text
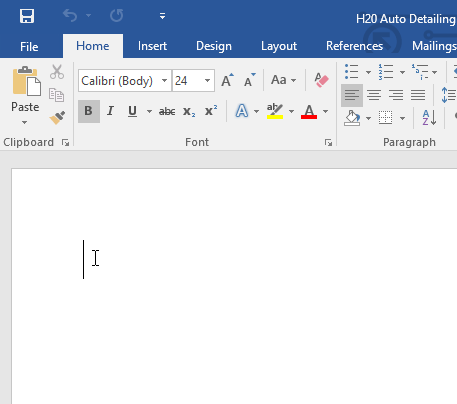
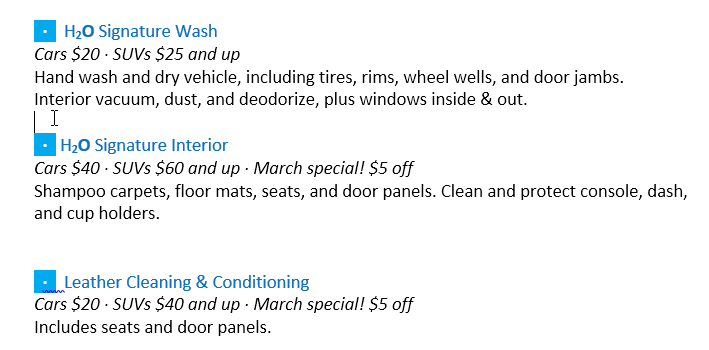
Insertion point is a flashing vertical line in your document. It displays the location you can enter text on the document page. You can use insertion points in many different ways.
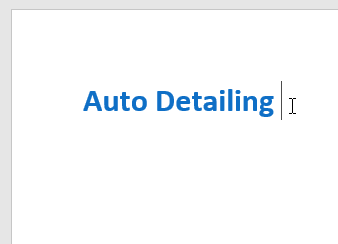
- Blank document : When opening a blank document, the insertion point will appear in the top left corner of the page. If you want, you can enter text from this location.
- Distance between words : Press Spacebar to add distance after words or between paragraphs.
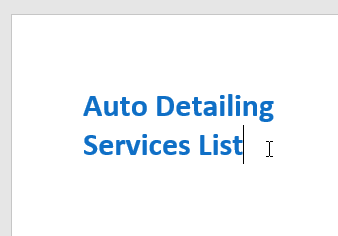
- Next line down : Press Enter to move the insertion point to the next line.
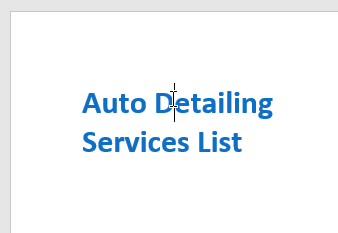
- Edit specific location : After the import is complete, you can use the mouse to move the insertion point to a specific location in the document. Simply click on the location in the text - the position where you want to place the insertion point to edit.
- Arrow keys : Also you can use arrow keys to move insertion points. The left and right arrows move between adjacent characters on the same line, while the up and down arrows move the paragraphs.
In a blank document you can double-click to move the insertion point to another location on the page.
2. Select text
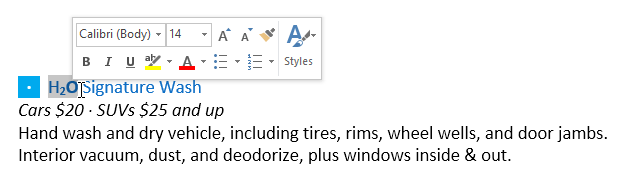
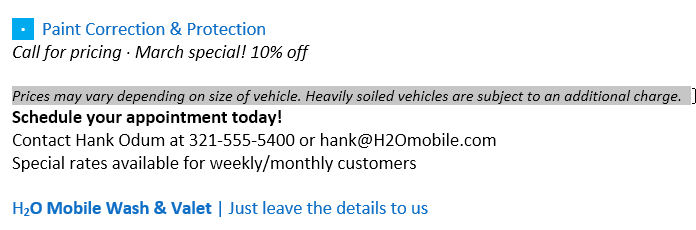
Before formatting or moving text, you will have to select that text. To do this, click on the text you want to select, then release the mouse button. The selected text will be blacked out.

- When selecting text or image in Word, a Toolbar containing the shortcut keys will appear. If the Toolbar does not appear, try hovering over the selected item.
3. Select multiple lines in the text
1. Move the insertion point to the left of any line.

2. Click and the text will be selected.
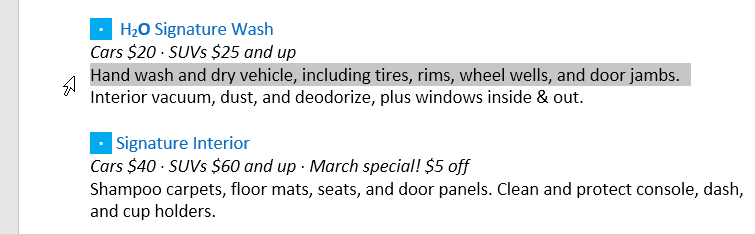
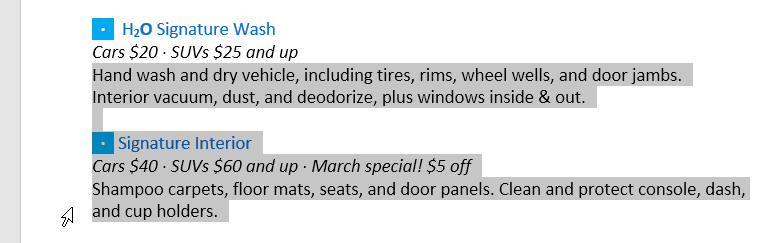
3. To select multiple lines, click drag the mouse up or down.
4. To select all documents in the document, select the Select command in the Home tab , then click Select All . Or alternatively, press Ctrl + A.
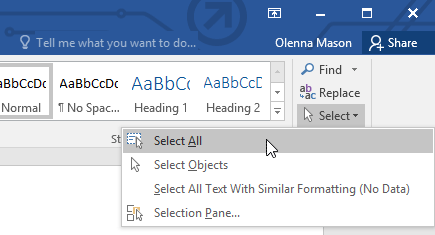
- Other shortcuts include double-clicking to select 1 word or 3-click to select the entire sentence or paragraph.
4. Delete text
Here are some ways to delete text:
- To delete the text to the left of the insertion point, press the Backspace key on the keyboard.
- To delete the text to the right of the insertion point, press the Delete key.
- Select the text you want to delete, then press Delete .
5. Copy and move the text
Word allows users to copy text in documents and paste into another location. If you want to move the text to other locations in the document, you can cut and paste or drag and drop.
- Copy and paste text:
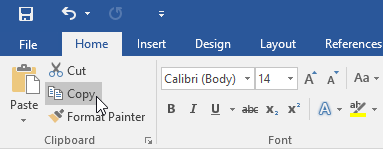
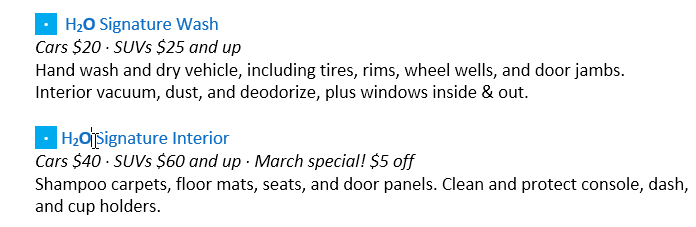
1. Select the text you want to copy.

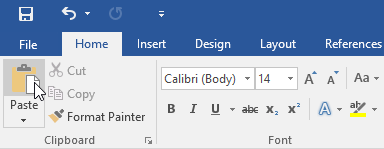
2. Click the Copy command on the Home tab . Alternatively, you can press Ctrl + C.
3. Move the insertion point to the location where you want to paste the text.

4. Click the Paste command on the Home tab . Alternatively, you can press Ctrl + V.

5. Text will appear at the location where you paste.
- Cut and paste text:
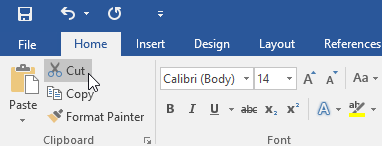
1. Select the text you want to cut.
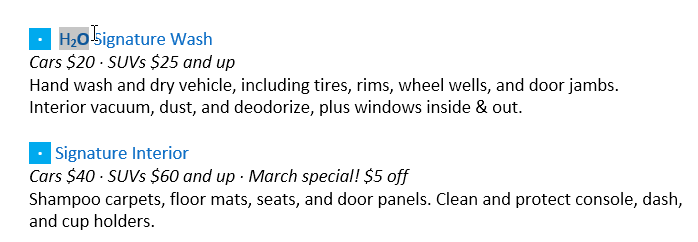
2. Click the Cut command on the Home tab . Or alternatively, press Ctrl + X.
3. Move the insertion point to the position where you want to paste the cut text.
4. Click the Paste command on the Home tab . Alternatively, you can press Ctrl + V.
5. The text that you paste will appear in the location where you paste it on the document.
- Drag and drop text:
1. Select the text you want to move.
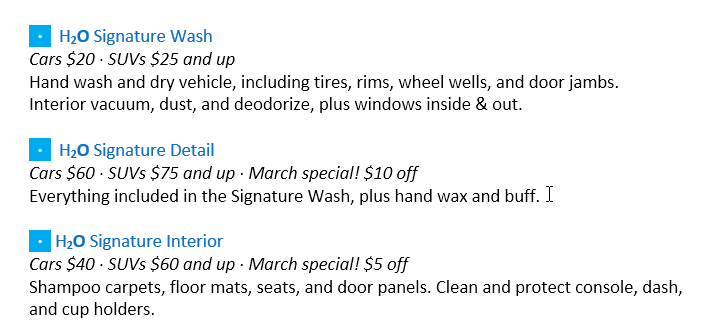
2. Click and drag the text to the position you want to paste. A small rectangle icon will appear below the arrow so users can know that the text is being moved.
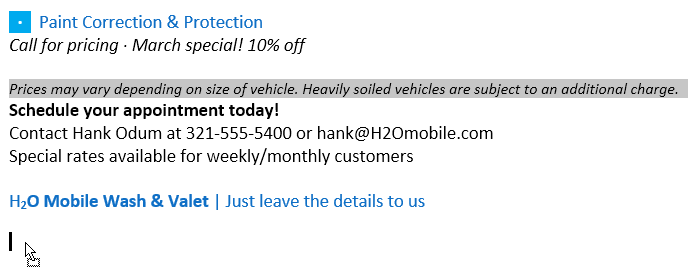
3. Release the mouse button and the text will appear where you pasted.
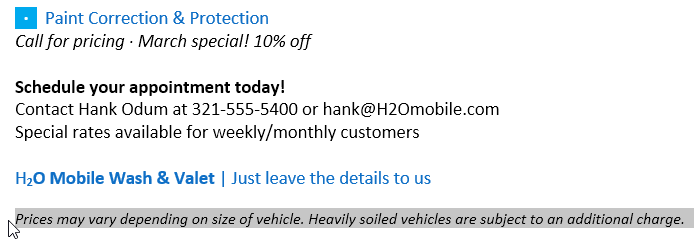
If the text does not appear at the exact location you want to insert, then you can press Enter to move the text to a new line.
6. Undo and Redo
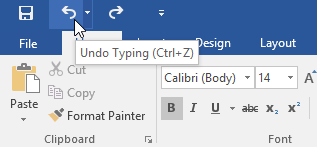
Suppose you are working on a document and you accidentally delete the text. Fortunately, there's no need to re-enter the text you just accidentally deleted. Word allows users to undo most recent actions.
To do this, find and select the Undo command on the Quick Access Toolbar . Alternatively, you can press Ctrl + Z. You can continue to use this command for multiple changes in a row.
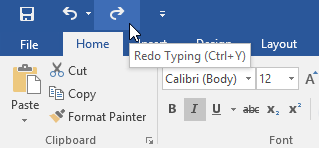
In contrast, the Redo command allows you to redo Undo operations. Alternatively, you can access the Redo command by pressing Ctrl + Y.
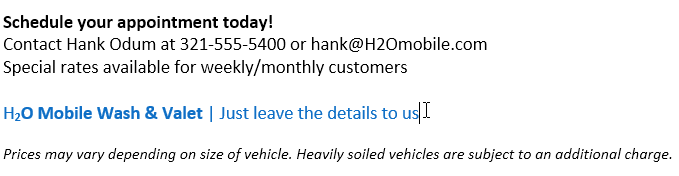
7. Symbol
If you want to insert characters that are not on the keyboard, such as the copyright (©) or trademark (™) symbol, then you can add these symbols with the Symbol command.
To insert an icon:
1. Move the insertion point to the position you want to add the symbol.
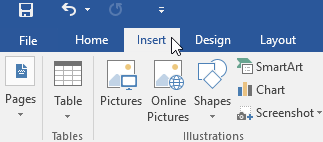
2. Click the Insert tab .
3. Navigate and select the Symbol command, then select any icon you want from the drop-down menu. If you cannot find the icon you want to add, select More Symbols .
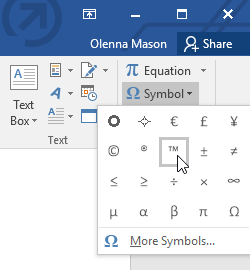
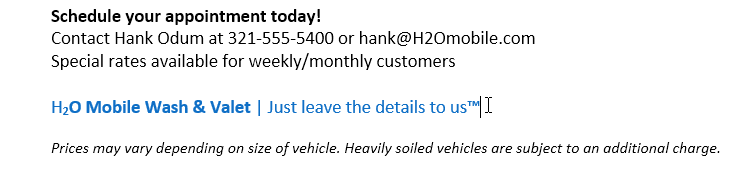
4. The icon you want to add will appear on the document.
Refer to some of the following articles:
- How to check the version of Microsoft Office you are using is 32-bit or 64-bit
- Fix the error "The document is locked for editing by another user" when opening a Word document
- Download and install or reinstall Office 365, Office 2016, Office 2013 on your computer
Good luck!
Was this article helpful?
Your feedback helps us improve.
Related Articles
 Word 2013 Complete Guide (Part 11): How to create hyperlink links4 minutes read
 Word 2013 Complete Guide (Part 7): Text printing operations3 minutes read
 Word 2013 Complete Guide (Part 10): Bullets, Numbering, Multilevel list in Microsoft Word9 minutes read
 Word 2013 Complete Guide (Part 6): Aligning page layout5 minutes read
 Complete guide Word 2016 (Part 9): Use Hyperlink2 minutes read
 Word 2016 Complete Guide (Part 13): Divide the text column3 minutes read
Reader Comments 0
Sign in with email or Google to join the discussion.